How to Fix Freezer Jam – Easy Solutions
That moment when you reach for frozen peas only to find your freezer door stuck shut by layers of ice—it’s more than just annoying. Freezer jam, the stubborn frost buildup that blocks shelves and seals doors, strikes when you least expect it. Whether you’re dealing with light frost or solid ice blocks, this guide shows you exactly how to fix freezer jam quickly and prevent it from returning. Most cases can be resolved without professional help, saving you costly repair bills while keeping your food safely frozen.
Ignoring freezer jam leads to bigger problems: reduced efficiency, higher energy bills, and eventually food spoilage when temperatures fluctuate. The good news? With the right approach, you can restore your freezer’s performance in a few hours. This guide walks you through diagnosing the problem, removing existing ice safely, and implementing long-term solutions so you never wrestle with frozen doors again.
Identify Your Freezer Jam Culprit
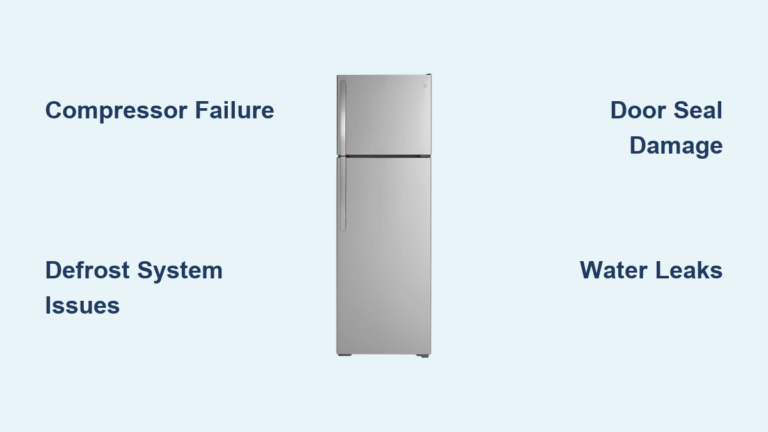
Pinpointing why ice builds up in your freezer helps you choose the right fix and prevents wasted effort on temporary solutions. Most freezer jam cases stem from one of three common issues that allow moisture to enter and freeze inside your appliance.
Door Seal Failures Causing Ice Buildup
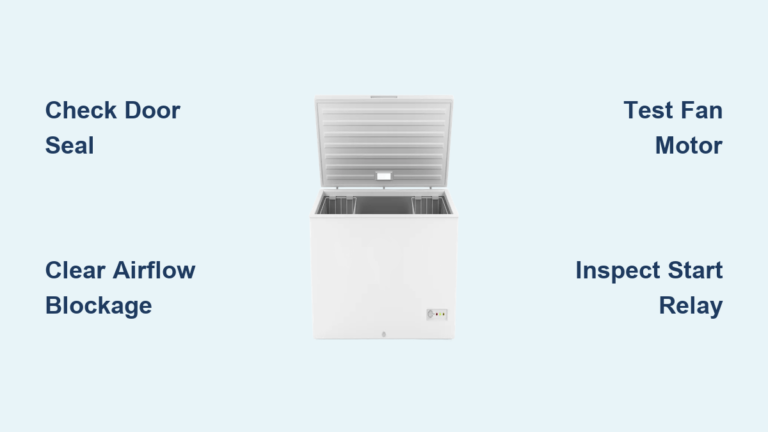
The rubber gasket around your freezer door creates an airtight barrier against warm, moist kitchen air. When this seal cracks, hardens, or loses its magnetic grip, humid air constantly leaks inside. This moisture immediately freezes on cold surfaces, creating ice layers that grow thicker with each passing day. Test your seal by closing a dollar bill in the door—if you pull it out with no resistance, your seal needs attention. Many homeowners mistake this for a defrost system problem when simply replacing the worn gasket solves the issue completely.
Temperature Settings That Accelerate Frost
Freezers operate best between 0°F and 5°F (-18°C to -15°C). Settings below this range cause moisture to freeze faster without improving food safety. Even worse, fluctuating temperatures from a faulty thermostat create freeze-thaw cycles that rapidly build thick ice. Verify your actual temperature with an appliance thermometer rather than trusting the dial setting. Place the thermometer in the center of your freezer for 24 hours to get an accurate reading—you might discover your freezer runs much colder than intended, explaining the excessive frost.
Humidity Infiltration From Door Usage
Every time you open your freezer door, humid air rushes in and freezes on contact with cold surfaces. Families with frequent door openings—especially during cooking when kitchen humidity peaks—create perfect conditions for ice buildup. The problem compounds when initial frost prevents the door from sealing completely, allowing even more warm air inside. Children who leave the door partially open while deciding what to grab can cause more damage in minutes than normal use creates in weeks. Tracking your door opening frequency reveals surprising opportunities to reduce moisture infiltration.
Manual Defrosting: Your Most Reliable Fix

When ice buildup blocks shelves or prevents proper door closure, manual defrosting remains the most effective solution. This method removes all ice safely without risking damage to interior components—a critical advantage over aggressive chipping techniques that can puncture refrigerant lines.
Prepare Your Freezer for Safe Defrosting
Start by unplugging your freezer completely—never attempt defrosting while the appliance remains connected to power. Remove all food items and transfer them to coolers with ice packs to maintain safe temperatures. Take out shelves, drawers, and ice trays for separate cleaning. Position towels around the freezer base to absorb melting water, and keep a bucket and sponge nearby for overflow. This preparation prevents water damage to your kitchen floor and protects your food during the process.
Accelerate Melting Without Damage
While waiting for ice to melt naturally works, these safe acceleration methods save hours of downtime. Place shallow bowls of hot (not boiling) water inside the freezer and close the door for 15-minute intervals. The steam loosens ice effectively without risking thermal shock to plastic components. For targeted melting, use a hair dryer on low heat held 6-8 inches from ice surfaces, constantly moving to avoid concentrated heat. Never use sharp tools—what seems like quick progress with a knife or ice pick can cause expensive damage to interior walls or refrigerant lines.
Complete Cleanup Before Restarting
Once ice has fully melted, clean interior surfaces with a baking soda solution (2 tablespoons per quart of warm water) that removes odors without harsh chemicals. Pay special attention to door gaskets and drainage channels where moisture hides. Dry every surface thoroughly with clean towels—residual moisture creates instant frost when you restart the freezer. While drying, inspect removed components for cracks or warping that might contribute to future ice buildup. Only when everything is completely dry should you begin restoring your freezer to operation.
Fix Underlying Problems to Prevent Recurrence
Removing existing ice solves today’s problem but fixing the root cause stops freezer jam from returning next month. Address these critical factors after completing your defrosting process.
Replace Faulty Door Seals Immediately
With your freezer empty, examine the entire door gasket for cracks, tears, or sections that no longer create resistance when closed. Run your finger along the seal to feel for weak spots where air leaks in. Order a manufacturer-specific replacement gasket—generic versions often don’t create proper seals. Installation typically involves removing a retaining screw strip, pulling out the old gasket, and snapping the new one into place. A properly installed seal should compress noticeably against the cabinet door, creating visible resistance when you try to pull a dollar bill from the closed door.
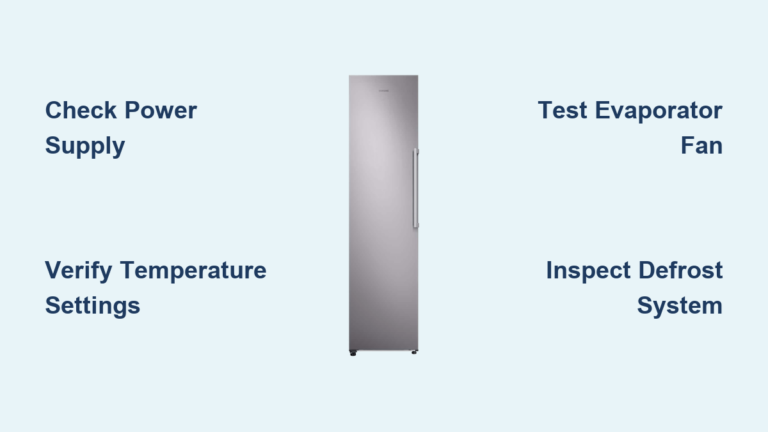
Optimize Temperature Settings for Your Environment
Use an appliance thermometer to verify actual freezer temperature, not just dial settings. Adjust the thermostat incrementally—changing by one degree at a time—and allow 24 hours between adjustments for accurate readings. In humid climates, set your freezer toward the warmer end of the safe range (4-5°F) to reduce frost formation without compromising food safety. If your freezer has a “power freeze” setting that runs the compressor continuously, disable it unless you’re rapidly freezing large quantities of food.
Implement Smart Door Usage Habits
Create household rules for freezer access: limit opening duration to 30 seconds, close the door firmly with a deliberate push, and never leave it partially open while searching for items. Install a door alarm that sounds after 60 seconds of open time—these inexpensive devices prevent the massive moisture influx that creates severe jam. During cooking or dishwashing when kitchen humidity peaks, avoid freezer access entirely if possible. These small behavioral changes dramatically reduce moisture entering your appliance.
When to Call a Professional Technician
Some freezer jam situations indicate problems beyond DIY repair capabilities. Recognizing these warning signs prevents wasted effort and potential safety hazards.
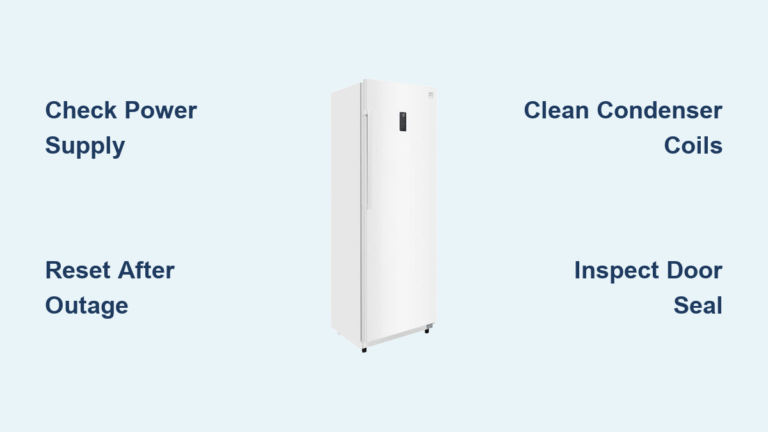
Refrigerant Leak Indicators

If your freezer builds ice rapidly despite perfect door seals and correct temperatures, or if you notice unusual warmth on exterior cabinet surfaces, you may have a refrigerant leak. These require specialized recovery equipment and EPA-certified technicians to handle properly. Attempting DIY repairs on refrigerant systems violates environmental regulations and creates safety risks—always call a professional for suspected leaks.
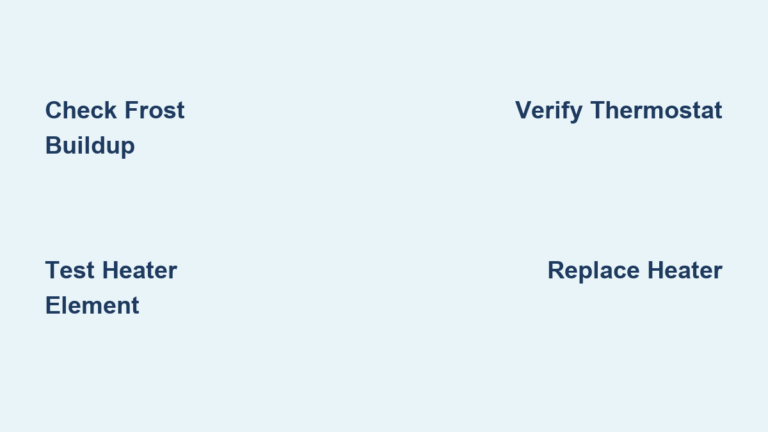
Automatic Defrost System Failures
Modern freezers rely on defrost heaters, thermostats, and timers to prevent ice buildup. If your freezer runs cold but never initiates defrost cycles, these components may have failed. Testing requires electrical knowledge and access to service manuals specific to your model. When multiple defrost components fail simultaneously, professional diagnosis becomes more cost-effective than replacing parts through trial and error.
Drainage System Blockages
Many freezers have internal drainage channels that carry melted frost to an external pan. When these clog with ice or debris, water pools inside the freezer and refreezes into solid blocks. Clearing these requires accessing hard-to-reach areas behind interior panels—a job best left to technicians who can safely disassemble components without causing damage.
Prevent Freezer Jam With Simple Maintenance
The most effective freezer maintenance takes just minutes but prevents hours of frustrating defrosting later. Implement these habits to keep ice buildup under control.
Schedule Quarterly Defrost Checks
Mark your calendar to inspect for early frost accumulation every three months. Catching light buildup (under 1/4 inch) allows quick melting with hot water bowls rather than full defrosting sessions. During these checks, clean door seals with warm, soapy water and verify proper compression around the entire door perimeter. This brief maintenance prevents minor frost from developing into unmanageable ice blocks.
Maintain Optimal Freezer Organization
A properly stocked freezer maintains temperature more efficiently than an empty one, but overcrowding restricts air circulation. Keep frozen items organized with space between packages for proper airflow. Use flat, stackable containers that maximize space without blocking vents or pressing against door seals. When restocking after defrosting, leave the door open no longer than absolutely necessary to minimize moisture entry.
Conduct Monthly Seal Integrity Tests
Make the dollar bill test part of your routine—slide it between the seal and cabinet at multiple points around the door. Replace seals showing any compression loss, cracking, or brittleness before they fail completely. Clean seals regularly to remove food residue that prevents proper contact. A well-maintained seal represents your first line of defense against freezer jam, making this simple test one of the most valuable maintenance habits you can adopt.
Freezer jam doesn’t have to disrupt your kitchen routine. By understanding why ice builds up, removing it safely, and addressing the root cause, you restore your appliance’s performance with minimal downtime. The most successful freezer owners implement simple preventive habits that take less time than dealing with severe ice buildup. Start with one maintenance habit today—check your door seal or adjust your temperature setting—and you’ll notice the difference at your next grocery trip when your freezer door opens smoothly without ice resistance.