Freezer Heater Not Working: Quick Fix Guide
When your freezer heater stops functioning, your appliance transforms from a reliable food preserver into a frost factory almost overnight. You’ll notice thick ice layers forming on shelves, walls, and evaporator coils, while your frozen foods develop freezer burn and stick together in solid blocks. Water begins pooling at the bottom of your freezer or even leaking onto your kitchen floor as the defrost system fails to melt accumulated frost. This comprehensive guide delivers precise diagnostic steps and repair solutions for your freezer heater not working problem, helping you restore proper operation before food spoilage occurs. Whether you’re facing minor frost buildup or complete icebox conditions, these actionable techniques will help you identify and fix the root cause efficiently.
Spot Critical Frost Buildup Patterns Fast
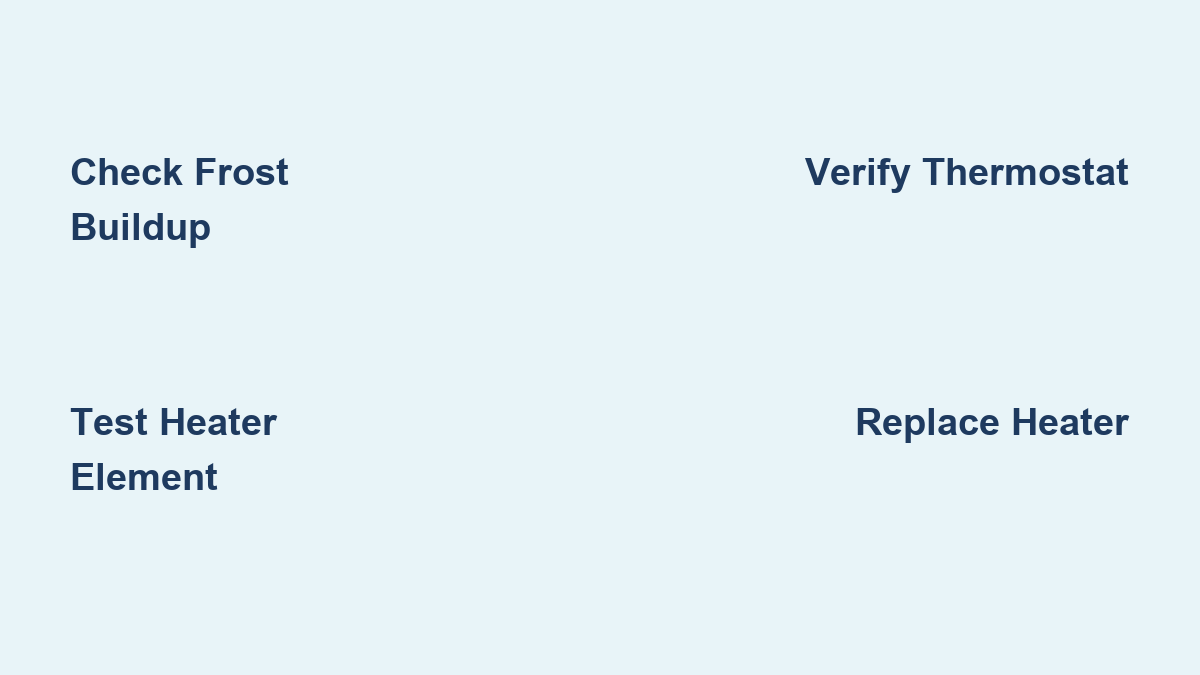
Thick, uneven frost accumulation spreading across your freezer’s interior walls represents the first unmistakable sign your defrost heater has stopped working. Within days, this frost transforms into solid ice sheets up to an inch thick, particularly noticeable behind the back panel where evaporator coils hide. Unlike normal light frost that appears briefly after door opening, this persistent buildup won’t melt during regular operation cycles. You’ll find food packages frozen solid to shelves, with individual items fusing together so completely that separating them requires partial thawing.
Pay special attention to frost patterns that indicate specific failure points. Heavy ice concentrated at the bottom of the freezer suggests your defrost heater has completely failed, while partial frost buildup higher on the walls might indicate intermittent operation. When ice completely blocks airflow vents, your freezer temperature rises despite the compressor running continuously—a sure sign the frost insulates the evaporator coils and prevents proper cooling. If you notice water dripping from the freezer compartment or forming puddles on your kitchen floor, this confirms melted frost isn’t draining properly because the defrost cycle never completed.
Listen for unusual operational sounds that confirm heater failure. During normal defrost cycles, you might hear a faint buzzing or clicking as the system activates. If these sounds occur but you detect no warmth inside the freezer during what should be the defrost period, your heater has likely burned out while other components still function. The compressor running nonstop without achieving proper temperatures creates higher energy bills and premature wear on other critical components.
Break Down Defrost System Component Interactions

Your freezer’s defrost system operates through precise coordination between three essential components that must work together to prevent ice accumulation. The defrost heater—a thin, coiled element typically positioned along the evaporator fins—receives power during scheduled defrost cycles to melt accumulated frost. This heater only activates when needed, thanks to the defrost thermostat that monitors evaporator coil temperature and interrupts power once melting completes. The defrost timer controls the entire sequence, automatically triggering defrost cycles every 8-12 hours of compressor operation to prevent excessive frost buildup.
Understanding how these components interact explains why your freezer heater not working problem creates such severe consequences. When the timer advances into defrost mode, it cuts power to the compressor while simultaneously sending electricity to the heater circuit. The thermostat ensures the heater only operates when temperatures are cold enough for frost removal but prevents overheating by breaking the circuit once temperatures reach approximately 40-47°F. Without this precise coordination, frost accumulates unchecked, eventually blocking airflow and causing temperature fluctuations that ruin frozen foods.
This interdependent relationship means a single failed component can disable the entire defrost system. While the heater itself fails most frequently due to repeated thermal cycling, equally common culprits include a defective thermostat that won’t complete the circuit or a malfunctioning timer that never triggers defrost cycles. This explains why identical symptoms—excessive frost, water leakage, and temperature issues—can stem from multiple potential causes, making systematic diagnosis essential before replacing parts.
Conduct Proper Heater Element Testing
Before testing your defrost heater, always disconnect power at the circuit breaker or unplug your freezer—working on live electrical components risks serious shock hazards. Access the evaporator assembly by removing freezer shelves, drawers, and the back panel, which often requires a screwdriver and possibly a nut driver set. Once exposed, visually inspect the heater element for obvious damage like broken coils, burn marks, or swollen sections that indicate failure.
Perform electrical testing using a digital multimeter set to measure resistance (ohms). Locate the heater’s two connection terminals—typically spade connectors at each end—and touch one probe to each terminal. A functional defrost heater registers between 20-50 ohms depending on your specific model, while an open circuit (showing “OL” or no reading) confirms a burned-out element. Be aware that some heaters fail intermittently, showing correct resistance when cold but opening up when heated—this requires more advanced testing during actual operation.
If your heater tests functional but the defrost system still fails, check for hidden connection issues. Corroded or loose wiring at the heater terminals can prevent proper operation despite a good element. Gently wiggle connections while monitoring your multimeter reading—intermittent readings indicate a poor connection that requires terminal replacement. Many technicians bypass the thermostat temporarily with a jumper wire to verify whether the heater activates, which helps isolate whether the problem lies with the heater itself or another component in the circuit.
Verify Thermostat and Timer Operation Accurately

When your freezer heater not working issue persists despite a functional heater element, test the defrost thermostat next. This small component clips directly onto the evaporator coil and opens the circuit when temperatures rise above 40-47°F. With your multimeter set to continuity mode, check for electrical flow across the thermostat terminals while it’s cold (below 40°F). A working thermostat shows continuity when cold but opens the circuit as it warms—use a hairdryer on low setting to gradually warm the thermostat while monitoring your meter.
The defrost timer requires different testing approaches depending on its location, typically found behind the kickplate, inside the control panel, or near the compressor. Most mechanical timers feature a small slot where you can insert a screwdriver to manually advance through the cycle. As you turn the timer, listen for a distinct click indicating the transition into defrost mode—during this period, the compressor should stop while the heater activates. If advancing the timer doesn’t trigger this changeover, the timer has failed and needs replacement.
Electronic control boards in newer freezers complicate diagnosis since they manage defrost cycles without a mechanical timer. These systems often display error codes through blinking lights on the control panel that indicate specific defrost circuit failures. Consult your freezer’s service manual for code interpretation—common indicators include multiple rapid flashes that specifically point to heater circuit problems. When in doubt, professional diagnosis becomes necessary for these advanced control systems.
Execute Precise Heater Replacement Procedures
Replacing your defrost heater requires careful attention to installation details that determine long-term success. Before removing the old heater, photograph its exact positioning and connection points—many heaters follow specific routing paths through evaporator fins that affect melting efficiency. Disconnect electrical connectors noting wire colors and positions, as some manufacturers use non-standard color coding that could cause problems during reinstallation.
Install the new heater by following your reference photos exactly, ensuring proper thermal contact with evaporator coils. A heater positioned incorrectly won’t melt frost effectively, causing the defrost system to underperform despite having a new component. Secure all mounting brackets and clips firmly but avoid over-tightening, which could damage the fragile heating element. When reconnecting wires, replace any corroded terminals with new spade connectors to ensure solid electrical contact—poor connections cause premature heater failure.
After reassembly, initiate a manual defrost cycle if your model supports it, or monitor the next automatic cycle. Proper operation shows as slight warming inside the freezer compartment during defrost mode—never hot enough to damage food but sufficient to melt frost. Check for unusual odors or smoking during initial operation, which indicate wiring errors requiring immediate power disconnection. Wait 24-48 hours before conducting a final frost accumulation check to confirm complete system functionality.
Select Perfectly Matched Replacement Components
Finding the exact heater replacement requires precise model identification beyond just the visible model number. Locate your freezer’s full model and serial number, typically found inside the door jamb or behind the kickplate, then cross-reference this information with parts databases. Some manufacturers use multiple heater variants within the same model series based on production date, making the serial number essential for accurate part matching.
Original equipment manufacturer (OEM) heaters offer guaranteed compatibility but cost 30-60% more than aftermarket alternatives. When selecting aftermarket parts, verify specifications match your original heater’s voltage (usually 120V for residential units), wattage (typically 300-800W), and physical dimensions. Reputable parts suppliers provide detailed compatibility charts—never rely solely on “fits most” claims that could lead to improper fitment.
For older or discontinued models, consider universal heater kits that include multiple mounting options and adjustable brackets. These kits often cost less than OEM parts while providing comparable performance when installed correctly. Always compare your old heater’s physical specifications before purchasing—measure length, note terminal spacing, and document wattage markings to ensure the replacement matches your freezer’s specific requirements.
Implement Proactive Defrost System Maintenance
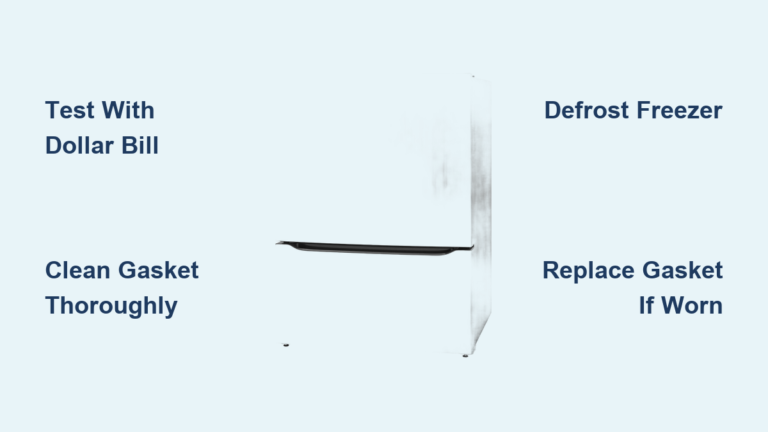
Monthly interior inspections prevent minor frost accumulation from developing into major defrost system failures. Open your freezer and examine walls and evaporator areas for uniform frost patterns—consistent light frost indicates normal operation, while heavy buildup signals developing problems. Check door seals using the dollar bill test—close the door on a bill and try pulling it out; resistance should be consistent around the entire door perimeter.
Prevent excessive frost by avoiding common usage mistakes that overwhelm your defrost system. Never place warm or hot foods directly into the freezer—allow items to cool to room temperature first to reduce steam and moisture introduction. Keep freezer door openings brief and minimize frequency, as each opening introduces humid air that eventually freezes. Maintain proper freezer capacity—ideally 70-85% full—to ensure adequate air circulation without blocking airflow vents.
Schedule professional maintenance annually for older units or every 18-24 months for newer models. A qualified technician performs comprehensive defrost system checks, verifies proper heater operation, and cleans critical components that affect system performance. This preventative investment typically costs less than emergency repairs and prevents the significant food loss that accompanies unexpected defrost system failures.