Camper Freezer Not Working: Quick Fix Tips
Your camper freezer suddenly stops cooling during a weekend trip, turning your carefully packed ice cream into a melted mess and threatening to spoil hundreds of dollars worth of food. This frustrating scenario happens to RV owners more often than you’d think, especially when you’re far from service centers. The good news is that most camper freezer problems have straightforward causes you can identify and often fix without professional help. Whether you’re using a Dometic, Norcold, or another brand, this guide gives you the exact steps to diagnose and resolve the issue before your next adventure.
When your camper freezer isn’t working properly, the problem typically falls into one of several categories: power supply issues, component failures, or maintenance-related problems. Understanding these categories helps you systematically eliminate possibilities until you find the culprit. By the end of this guide, you’ll know exactly how to pinpoint why your freezer stopped working, whether you can fix it yourself, and when it’s time to call in a professional.
Confirm Your Camper’s Power Source Is Functioning Correctly
Before tearing apart your freezer, verify that it’s actually receiving proper power. Many “broken” freezers are simply suffering from preventable power issues that take minutes to resolve.
Test Your 12-Volt System with a Multimeter
Your camper’s 12-volt DC system powers critical refrigerator components even when running on propane. Grab a multimeter and check your battery voltage—it should read between 12.6-12.8 volts when at rest. If it’s below 12.1 volts, your battery lacks sufficient power to operate the control board. Check both disconnected and connected readings; a drop exceeding 0.5 volts under load indicates a failing battery or parasitic drain. Don’t forget to clean corroded terminals with a wire brush and baking soda solution, as corrosion creates resistance that prevents proper power delivery.
Validate 120-Volt Shore Power Connections
Plug a working device like a lamp into the same campsite outlet to confirm power availability. Inspect your power cord for damage, especially where it connects to your RV and the pedestal. Check your power management display for voltage readings—anything below 108 volts or above 132 volts can cause refrigerator malfunctions. Many campers overlook that RV refrigerators require stable power; voltage fluctuations from poor campground connections frequently trigger shutdowns that mimic component failures.
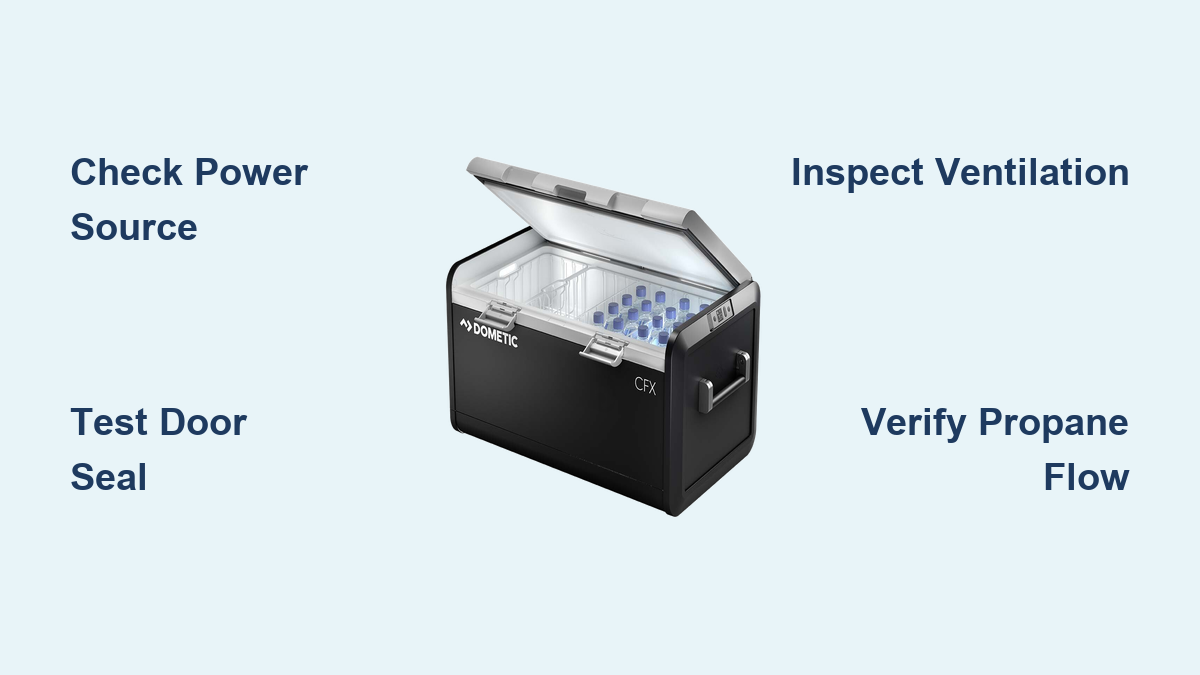
Verify Propane Flow and Flame Quality
For absorption refrigerators, confirm adequate propane pressure by testing another appliance. Remove the refrigerator access panel and inspect the burner assembly—your flame should be steady and blue with a sharp cone shape. A yellow, flickering flame indicates combustion problems that won’t generate sufficient heat for cooling. Apply soapy water to all propane connections; bubbles reveal leaks requiring immediate attention. Ensure your propane regulator is functioning properly, as inconsistent pressure often causes intermittent cooling failures that seem random.
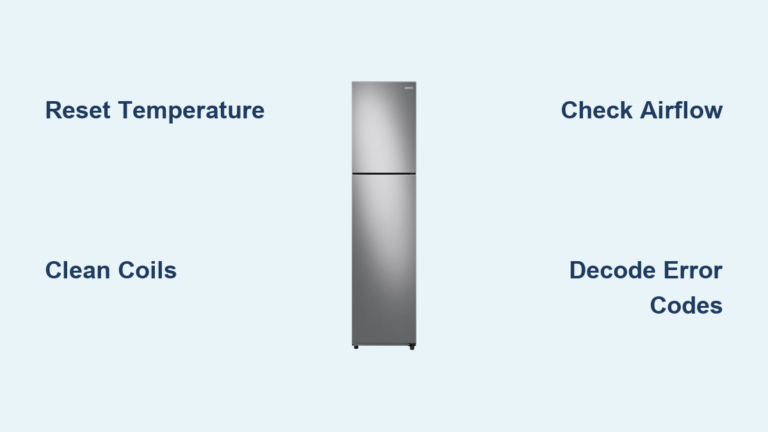
Decode Your Freezer’s Diagnostic Signals

Modern camper freezers communicate problems through indicator lights and error codes—your first diagnostic clue when the unit stops working.
Interpret Dometic Refrigerator Blinking Light Patterns
Dometic units use specific blink sequences to identify failures. Count the flashes carefully: two short blinks followed by a pause might indicate a temperature sensor failure, while five rapid blinks could signal a ventilation problem. Consult your owner’s manual for exact code meanings, but remember that immediate error codes often point to electrical issues, while delayed codes suggest developing cooling problems. Some models display digital codes like “E1” for sensor failures or “E5” for ignition problems—document these precisely when calling for service.
Understand Norcold’s Color-Coded Warning System
Norcold refrigerators typically use green for normal operation and red for faults. A flashing red light that appears immediately after startup often indicates an electrical problem, while one that develops after hours of operation suggests cooling system issues. Pay attention to whether the error occurs during propane or electric mode operation—this distinction helps pinpoint whether the problem is power-source specific or systemic. Some Norcold models have a “check” light that illuminates when internal diagnostics detect abnormal operation parameters.
Inspect Critical Sealing Components That Maintain Cold Temperatures
Even a perfectly functioning cooling system fails when warm air continuously infiltrates through compromised seals.
Test Door Gasket Integrity with the Dollar Bill Method
Close your freezer door on a dollar bill at multiple points around the seal perimeter. If you can easily pull the bill out without resistance, that section of the gasket isn’t sealing properly. Look for cracks, tears, or deformation in the rubber—common in older units or those exposed to intense UV. Clean the entire seal with warm, soapy water to remove dirt buildup that prevents proper contact, then apply silicone lubricant (never petroleum-based) to restore flexibility. For stubborn gaps, adjust door hinges slightly to improve compression against the seal.
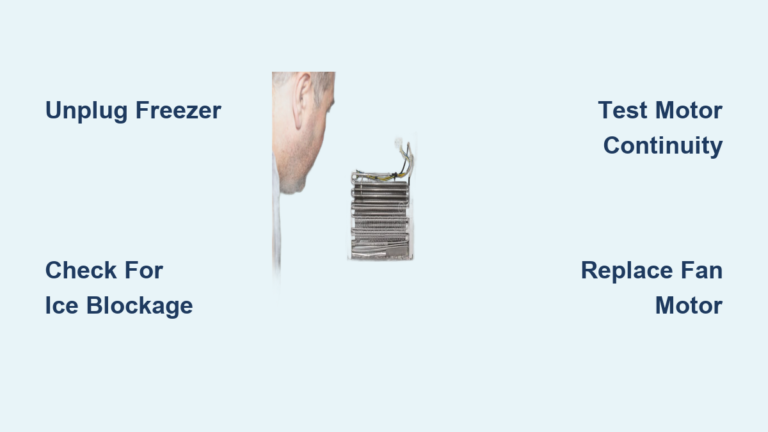
Eliminate Ventilation Blockages Inside and Out
Your camper freezer requires unobstructed airflow to expel heat generated during operation. Remove the exterior vent cover and clear debris like leaves, spider webs, or nesting materials. Inside your RV, check the ventilation channels behind and above the refrigerator—stored items often block these critical pathways. Vacuum accumulated dust from internal vents using a soft brush attachment, being careful around wiring. Restricted airflow causes overheating that triggers safety shutoffs, mimicking complete system failure when the solution is simply clearing blocked vents.
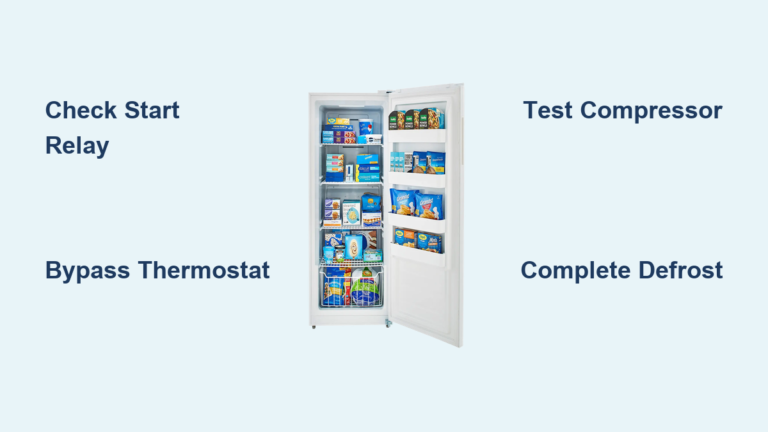
Diagnose Cooling System Component Failures

When power and seals check out, focus on internal components specific to your refrigerator type.
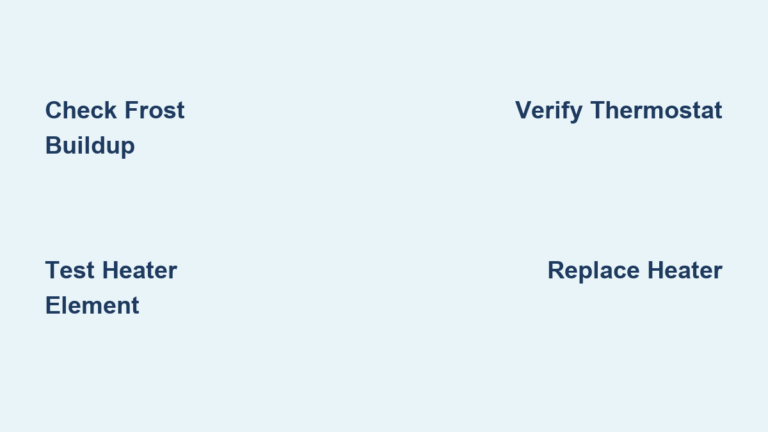
Test Electric Heating Elements in Absorption Units
If your freezer works on propane but not electricity, the heating element has likely failed. With power disconnected, access the heating element terminals and check for continuity with a multimeter. No continuity means the element is burned out and needs replacement. This is a moderate DIY project requiring basic electrical skills—ensure you purchase the exact replacement part for your model. Note that heating elements typically last 5-7 years; frequent cycling through power sources accelerates wear.
Identify Cooling Unit Degradation Signs
Absorption refrigerators develop internal problems when non-condensable gases contaminate the sealed system. Warning signs include uneven cooling (freezer works but fridge compartment doesn’t), persistent frost on specific evaporator areas, or gradually declining performance over months. Unfortunately, cooling unit replacement requires EPA-certified technicians due to pressurized ammonia content. If you suspect this issue, document performance patterns before seeking professional service—this information helps technicians diagnose faster.
Know When Professional Help Is Necessary

Some repairs exceed safe DIY limits and require specialized expertise.
Recognize Refrigerant System Warning Signs
Oil stains around copper tubing, hissing sounds from the cooling unit, or visible corrosion on fittings indicate refrigerant leaks. These require EPA-certified technicians with proper recovery equipment—attempting DIY repairs risks serious injury from pressurized chemicals. Similarly, cooling unit replacement involves brazing and system evacuation that demands professional certification. If your freezer shows these signs, stop using it immediately and contact an RV specialist.
Determine Electrical Repair Complexity
While testing simple components is safe, complex electrical issues involving control boards, inverters, or intermittent faults require professional diagnosis. If you’ve systematically checked all accessible components without finding the problem, or if error codes persist after replacing suggested parts, professional help becomes cost-effective. The average service call costs less than replacing multiple components through trial-and-error troubleshooting.
Prevent Future Failures With Proactive Maintenance
Extend your camper freezer’s lifespan with these simple preventive measures.
Implement a Monthly Cleaning Routine
Remove all contents and clean interior surfaces with a baking soda solution to neutralize odors and prevent mold. Pay special attention to the drain hole, which clogs easily with food particles. Every three months, pull the refrigerator slightly from its housing (if possible) to vacuum dust from rear coils and ventilation passages. Check exterior vent covers for debris accumulation after each trip—this single step prevents 30% of common cooling failures.
Monitor Performance Before Problems Occur
Check freezer temperatures at the start of each trip using a separate thermometer—proper operation requires maintaining 0°F or below. Keep a simple log noting temperature readings, unusual sounds, or performance changes. Gradual warming over multiple trips often precedes complete failure, giving you time to address issues before they ruin your food. Most importantly, never overload your freezer; proper air circulation inside the compartment is essential for consistent cooling.
When your camper freezer isn’t working, systematic troubleshooting saves time, money, and frustration. Start with power verification, decode error signals, inspect seals and ventilation, then methodically test components. Most failures stem from simple issues you can resolve in under an hour with basic tools. For complex cooling system problems, professional help is worth the investment. By implementing regular maintenance and monitoring, you’ll prevent many common failures before they spoil your next adventure. Keep this guide handy in your RV manual folder—you’ll appreciate having these proven solutions when cool temperatures suddenly become a distant memory.