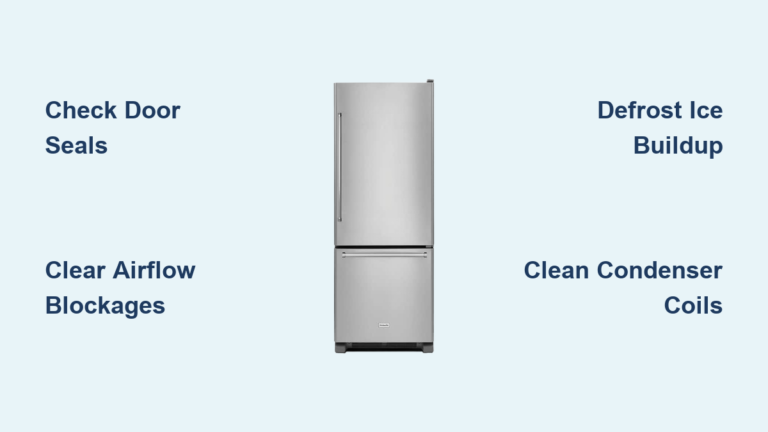
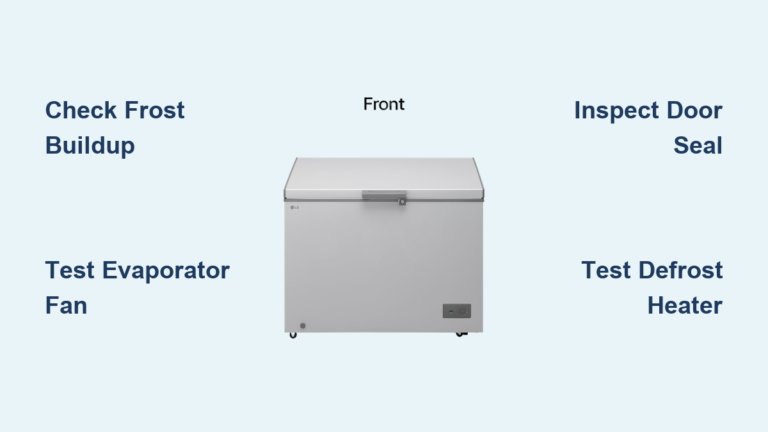
Whirlpool Freezer Door Not Closing? Fix It Fast
That annoying gap between your Whirlpool freezer door and the cabinet frame isn’t just a minor inconvenience—it’s a direct threat to your frozen food investment. When your Whirlpool freezer door won’t close properly, warm air sneaks in, causing frost to build up on walls and shelves while your energy bills climb. You might notice your freezer running constantly, strange condensation patterns, or even thawing food despite the temperature setting being correct. This guide gives you the exact steps to diagnose and fix your Whirlpool freezer door not closing issue in under 30 minutes, whether you’re dealing with a simple obstruction or a failing seal. No special tools required for most fixes—just your hands and a few common household items.
Test Door Seal Integrity With the Dollar Bill Method
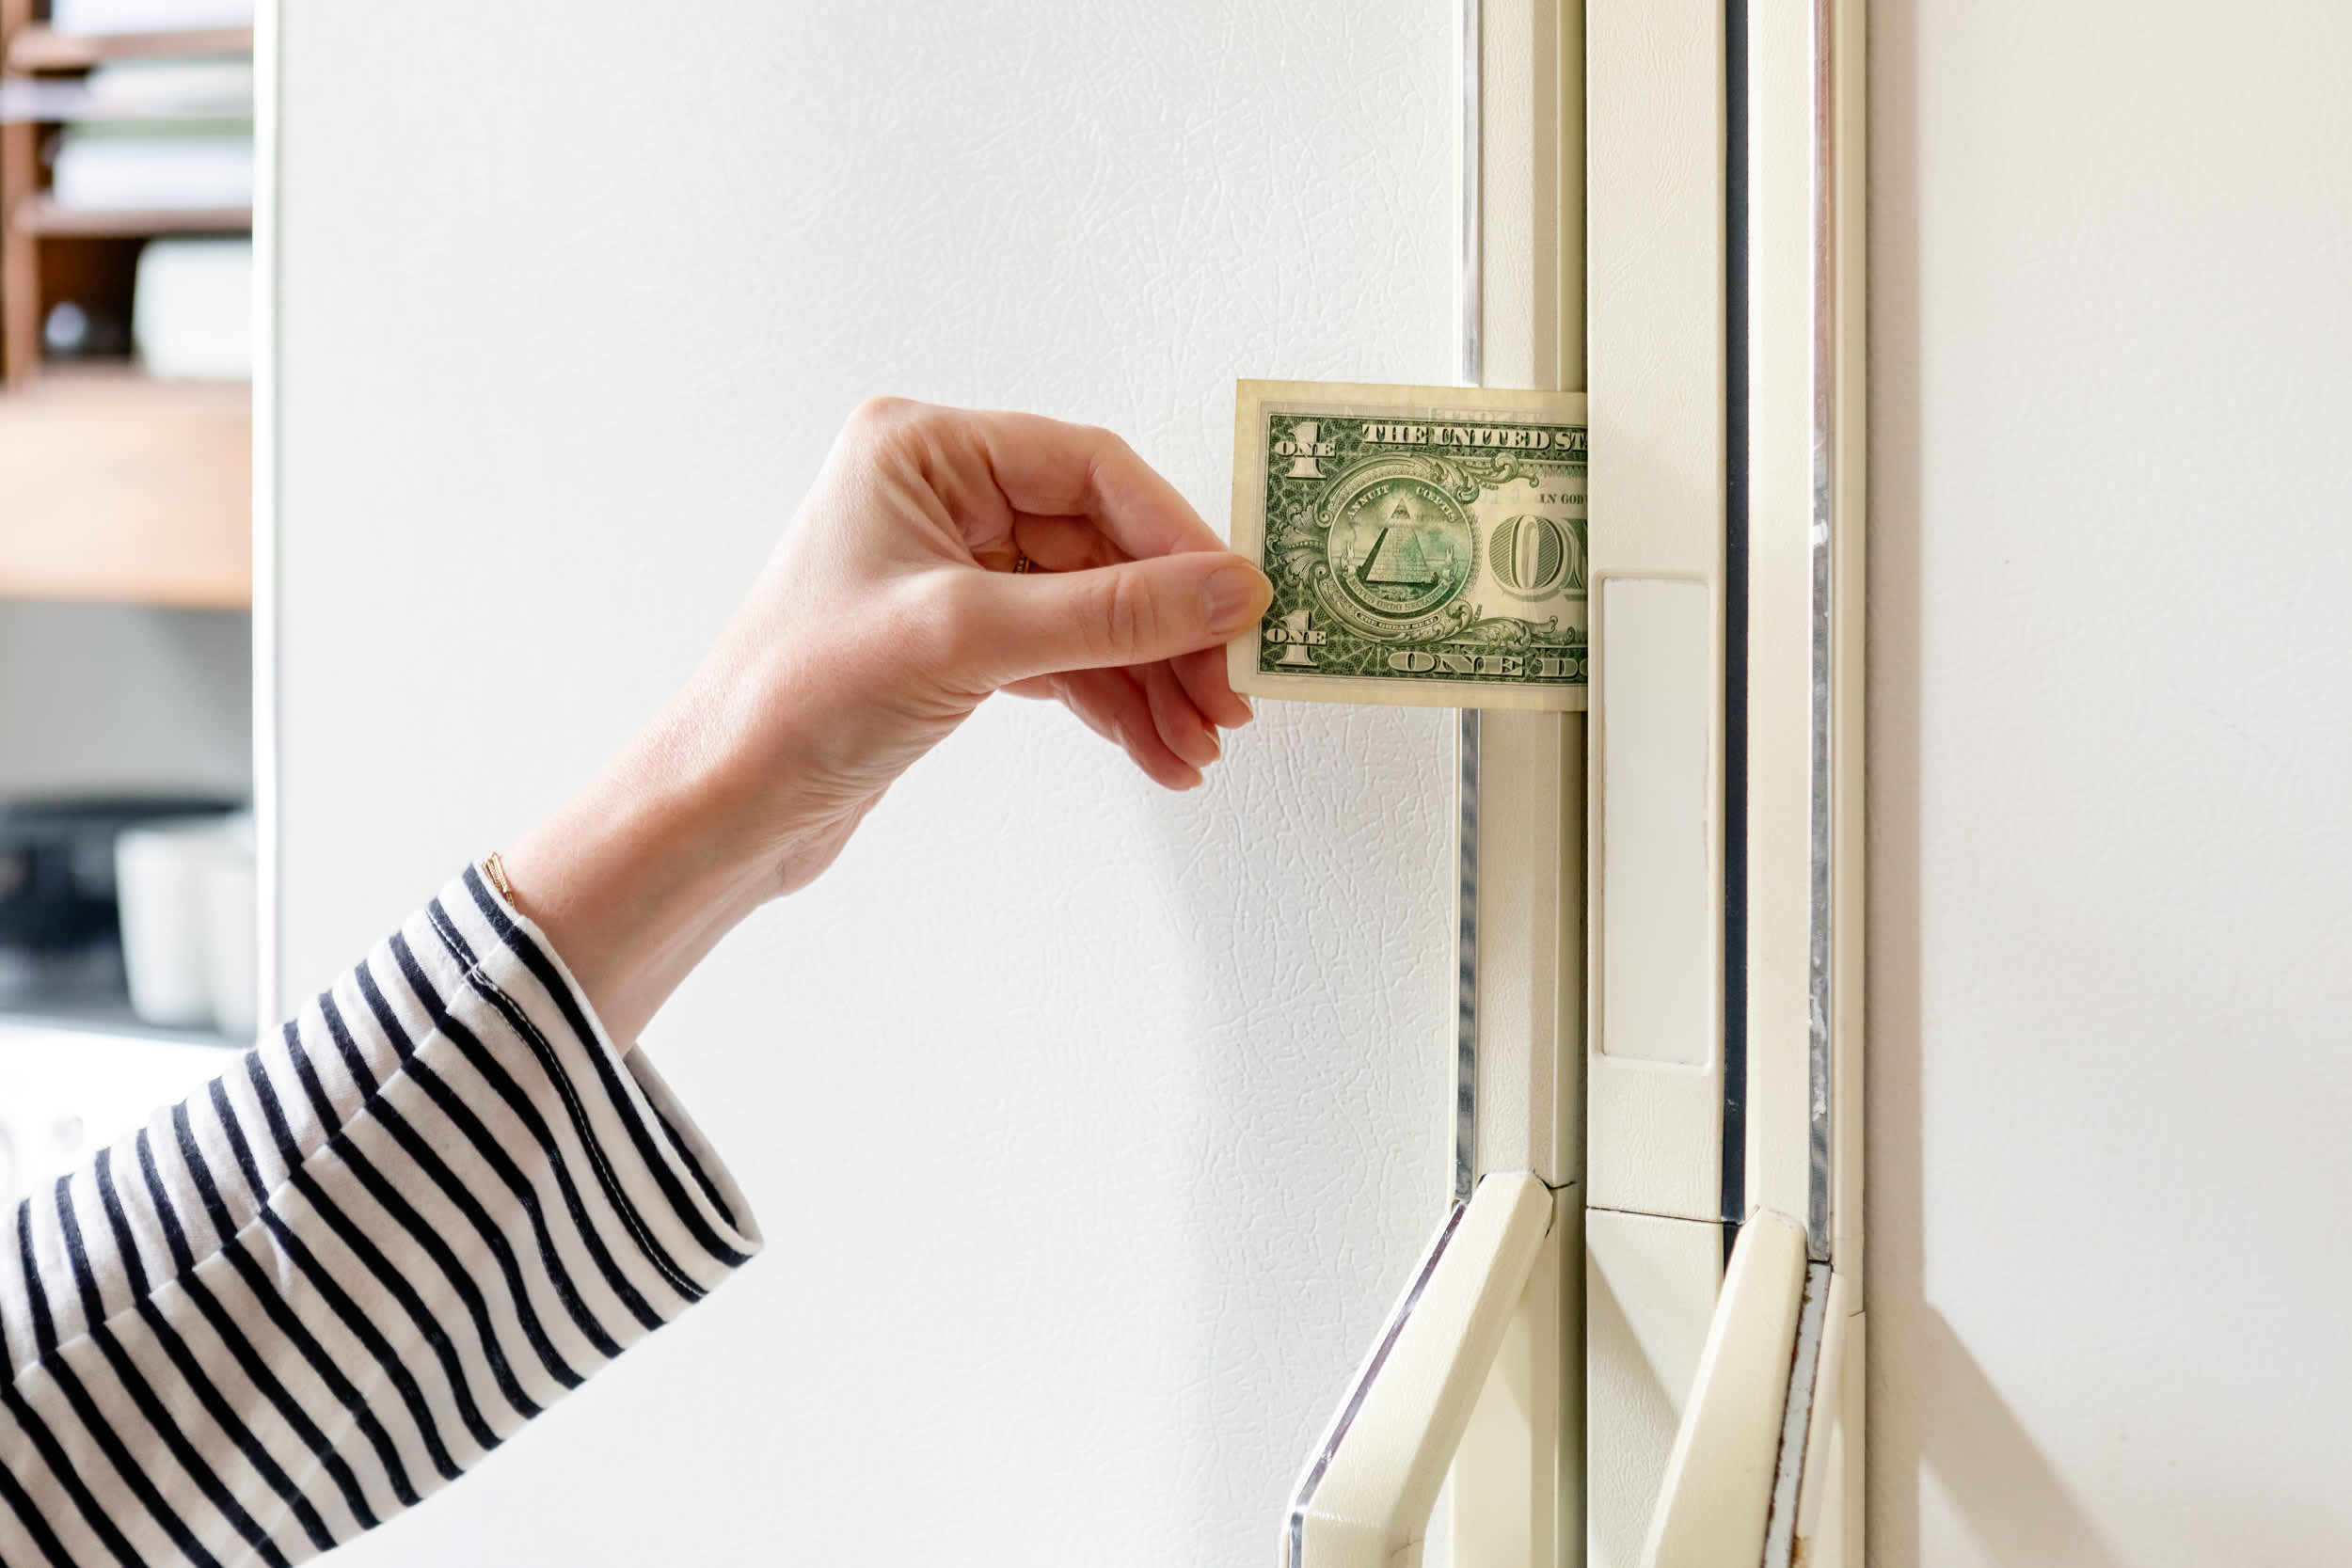
Before you start disassembling parts or ordering expensive replacements, verify whether your door seal is actually the culprit. The dollar bill test is the industry-standard diagnostic tool that takes less than two minutes to perform and gives you immediate feedback. Take a dollar bill (or any piece of paper) and place it between the door seal and cabinet frame at the top center of your freezer door. Close the door gently so the paper is trapped in place, then grip the paper firmly and try to pull it out slowly while moving along the entire perimeter of the seal.
A healthy seal creates noticeable resistance—you should feel the paper tug against your fingers as you try to slide it free. If the paper slips out effortlessly at any point, that section of the seal isn’t making proper contact with the cabinet. Perform this test at six strategic points: top center, top right corner, right side middle, bottom right corner, bottom center, and left side where the door latch engages. Pay special attention to corners and hinge areas where seals typically wear fastest due to repeated stress during daily use.
What Weak Seal Tension Means for Your Freezer
When your seal fails the dollar bill test, three specific issues could be responsible. First, the gasket material may have degraded from constant temperature fluctuations, losing its flexibility and magnetic properties. Second, food residue, frost buildup, or spilled liquids might be preventing full contact between the seal and cabinet. Third (and most common), your freezer might be slightly unlevel, which prevents the door from closing with enough force to engage the magnetic seal properly. Identifying which factor applies to your situation saves you hours of unnecessary work—most unlevel freezer issues can be corrected in under five minutes with a simple adjustment.
Clear Food and Basket Obstructions Blocking Door Closure
Food packages extending past shelf edges cause 40% of Whirlpool freezer door not closing issues, yet most homeowners never check for this simple culprit during initial troubleshooting. Open your freezer and examine the interior with fresh eyes—look for containers, frozen food bags, or ice cream tubs positioned so they protrude into the door’s closing path. Pay particular attention to the lower basket, which often gets overlooked when items shift during normal use.
Baskets that have partially dislodged from their tracks create invisible obstructions that prevent full door closure even when nothing appears to be blocking the way. To check, pull out each basket completely and verify it slides smoothly back into position without resistance. Listen for the distinct “click” that confirms proper seating. If a basket slides in easily but doesn’t click into place, realign it until you hear that sound—this simple step resolves door closing problems in most upright freezer models within 60 seconds.
Fix French Door Seal Problems in Seconds
French door freezer models have a unique vertical hinge seal on the left refrigerator door that frequently causes closing issues when improperly positioned. This seal automatically folds inward when the left door opens, then extends to form a barrier between both doors when closed. If this seal gets accidentally folded outward during normal use, it physically prevents both doors from closing completely.
The fix requires no tools and takes just seconds: manually fold the vertical seal inward toward the refrigerator compartment before closing the doors. Make this a habit after every use—simply run your hand along the vertical seal to ensure it’s positioned correctly. This preventative measure stops 90% of French door closing problems before they start, saving you from unnecessary frost buildup and energy waste. If the seal won’t stay folded inward, gently clean the hinge area with a soft cloth and mild detergent to remove debris preventing proper movement.
Adjust Front Brake Feet for Proper Freezer Leveling
Improper leveling causes more Whirlpool freezer door not closing issues than any other single factor, yet it’s often overlooked during troubleshooting. When your freezer isn’t level, gravity works against the door instead of helping it close. A unit tilted forward creates doors that resist closing or won’t stay shut, while a backward tilt causes doors that close too easily but fail to seal properly along the bottom edge.
For upright freezer models, leveling requires adjusting the front brake feet using a 1/4-inch hex driver. Turn both brake feet clockwise the same amount—typically 2-4 full rotations—to raise the front of the freezer slightly higher than the back. This subtle tilt (just 1-2 degrees) allows doors to close smoothly while ensuring the gasket makes consistent contact around the entire perimeter. Complete this adjustment with the freezer empty for best results, then verify with a spirit level placed on the freezer top—you want the front to sit just 1/8 inch higher than the back.
Remove Hidden Shipping Materials Blocking Door Movement

New Whirlpool freezers often retain hidden shipping materials that interfere with door operation if not completely removed during installation. During your initial inspection, check behind the door gasket for cardboard inserts or protective foam blocks tucked into the seal channel. These materials prevent the gasket from making full contact with the cabinet frame, creating what appears to be a seal failure when the real issue is simply unremoved packaging.
To inspect thoroughly, gently pull back the door seal along its entire perimeter, paying special attention to the corners where manufacturers often tuck extra support materials. Use your fingers to feel behind the gasket for any foreign objects. If you find packaging materials, carefully remove them without damaging the seal. This simple check takes less than two minutes but resolves door closing problems in approximately 15% of newly installed freezers.
Inspect Gasket Damage and Restore Seal Function

Your door gasket’s magnetic strip is essential for creating an airtight barrier between the cold freezer interior and warm outside air. Test this critical component by holding a small metal object (like a key or screwdriver) against the seal material—the object should hold firmly in place along the entire perimeter. If it falls off at any point, that section of the gasket has lost its magnetic properties and needs replacement.
For minor seal issues that don’t require full gasket replacement, try these quick fixes:
– Warm stiff seals with a hair dryer on low heat for 30 seconds to restore flexibility
– Clean dirty seals with mild soap and warm water using a soft toothbrush for crevices
– Remove frost buildup with a plastic scraper (never metal) to prevent seal damage
Important warning: Never use boiling water to remove frost from seals—this can warp the gasket material permanently. If cleaning and warming don’t restore proper seal function within 24 hours, gasket replacement becomes necessary to prevent ongoing energy waste and food spoilage.
Address Environmental Factors Affecting Door Performance
Installation location significantly impacts your Whirlpool freezer door not closing issues. Freezers placed in garages or basements where temperatures fall below 40°F experience gasket stiffening that prevents proper sealing. Conversely, units installed near ovens, dishwashers, or heating vents suffer accelerated gasket degradation from repeated heat exposure.
Verify your installation meets these critical requirements:
– Minimum 3 inches of clearance at the top and sides
– At least 1 inch between the back and wall
– Floor surface must be solid, level, and non-carpeted
– Ambient temperature between 55°F and 110°F
Carpeted floors compress under the freezer’s weight over time, causing gradual tilting that misaligns door hinges. If carpet is unavoidable, place a rigid plywood panel (at least 1/2 inch thick) beneath the unit to distribute weight evenly and prevent uneven settling that leads to door closing problems.
When to Schedule Professional Whirlpool Service
Some Whirlpool freezer door not closing issues exceed DIY repair capabilities. Contact Whirlpool service if you notice:
– Bent or visibly damaged door hinges
– Cabinet warping that prevents proper door alignment
– Gasket replacement requiring specialized tools
– Door latch mechanisms that won’t engage properly
Pro tip: If your freezer is under warranty or covered by an extended service plan purchased within 30 days of acquisition, most door seal repairs qualify for coverage. In the United States, schedule service through Whirlpool’s online portal; Canadian customers should use the Canada-specific service options. Professional technicians can perform precise door alignment adjustments that aren’t possible through consumer-level troubleshooting, often resolving persistent closing issues in a single visit.
Prevent Future Whirlpool Freezer Door Problems
Monthly maintenance prevents most door closing issues before they develop into serious problems. Make these checks part of your routine:
– Inspect door seals for cracks, tears, or hardening
– Clean seals with mild soap and water to remove residue
– Verify freezer remains properly leveled after cleaning
– Ensure adequate clearance around the unit for ventilation
Store food containers flush within shelves without overhanging edges, and avoid placing hot items directly into the freezer—allow leftovers to cool first to prevent excess moisture that accelerates seal degradation. By addressing minor issues promptly and maintaining your freezer according to these guidelines, you’ll extend the life of your door seals, prevent frost buildup, protect your food investment, and avoid the energy waste that comes with a poorly sealing Whirlpool freezer door not closing properly.