Fix Frigidaire Freezer Door Not Closing Issue
A freezer door that refuses to close properly ranks among the most frustrating appliance problems you can encounter in your kitchen. When your Frigidaire freezer door not closing correctly, the consequences ripple through your entire refrigeration system—energy costs climb, temperatures become inconsistent, and your frozen foods face accelerated spoilage. The door closing mechanism relies on multiple components working in harmony: the door gasket creates the seal, hinges allow smooth movement, and the door’s alignment determines whether everything connects properly. Understanding why your freezer door won’t close empowers you to take decisive action, whether that means a simple cleaning task or recognizing when professional service becomes necessary.
This guide walks you through every major cause of freezer door closing problems, from everyday obstructions to worn seal components. You’ll learn step-by-step diagnostic procedures, cleaning techniques that protect delicate gasket materials, and maintenance habits that prevent recurrence. By the end, you’ll have a clear roadmap for restoring your freezer’s performance—or knowing exactly when to call in expert help.
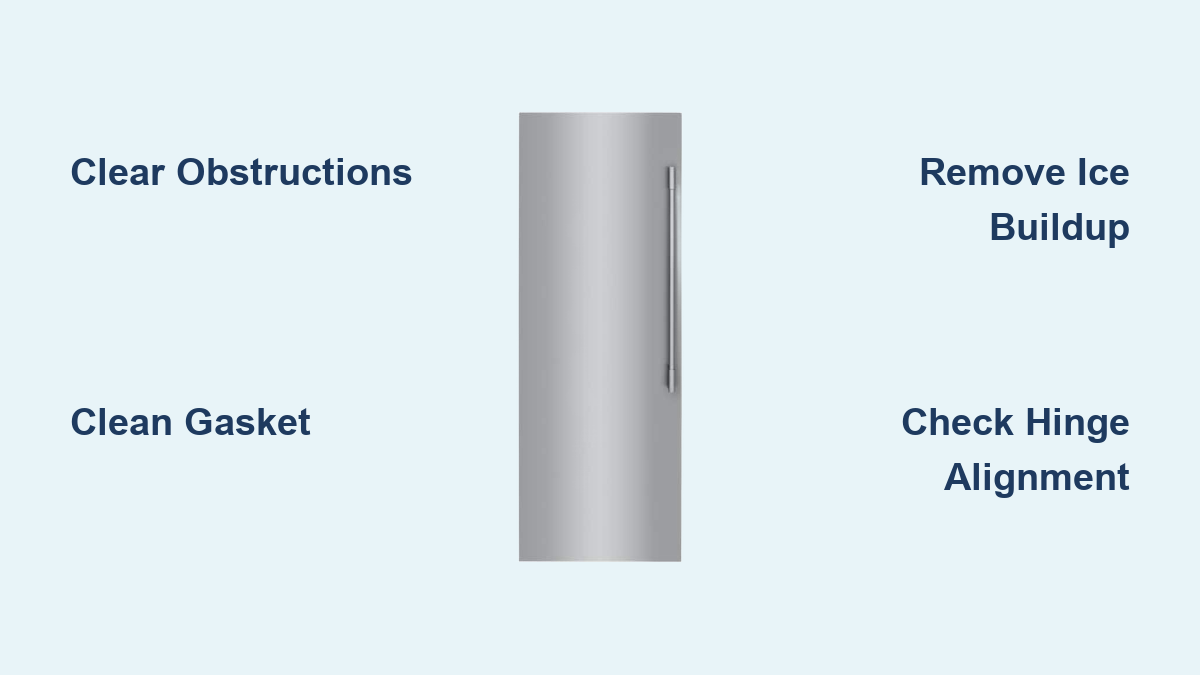
Clear Physical Obstructions Preventing Closure
Before assuming a mechanical failure, systematically eliminate the possibility that an object has shifted into your Frigidaire freezer door’s path during normal use. Begin by completely emptying your freezer compartment—remove every item including food packages, ice trays, storage containers, and accessories. With the compartment empty, visually inspect all edges where items might protrude beyond their intended storage area. Check corners, shelves, and especially the areas near the door hinges where smaller items can work their way into problematic positions.
Ice accumulation along door edges creates stubborn physical barriers that prevent closure. Examine the door frame and cabinet interior where the gasket contacts the cabinet. If you see frost buildup, ice chunks, or frozen debris, these must be removed before the door will close properly. Run your fingers gently along the gasket’s entire perimeter to detect hidden ice or debris trapped in the seal’s folds. Even small amounts of accumulated ice can create enough interference to prevent a complete seal.
After clearing visible obstructions, test the door by closing it slowly while watching for any point of resistance. If the door closes fully but pops open immediately, you’re likely dealing with a seal or alignment issue rather than an obstruction. However, if the door physically won’t swing all the way closed, continue searching for hidden blockages in door tracks, hinge areas, or along the cabinet frame.
Inspect and Clean Door Gaskets for Proper Sealing

The door gasket—sometimes called the door seal—serves as the critical barrier between your freezer’s cold interior and room temperature air. When this seal becomes dirty, damaged, or deformed, the door cannot achieve the airtight closure your freezer needs to function efficiently. Regular inspection and cleaning of the gasket prevents most closing problems and extends the seal’s operational life.
Examine the entire gasket perimeter carefully, looking for several types of damage that compromise sealing performance. Run your fingers along both the interior and exterior surfaces of the seal, feeling for cracks, tears, or areas where the material has become brittle. Check for sections that appear deformed, flattened, or permanently compressed—these indicate sections where the seal has lost its flexibility and ability to rebound against the cabinet frame. Look for signs of mold, mildew, or discoloration, which suggest accumulated moisture and organic matter have infiltrated the seal material. Pay particular attention to corners and fold points, where damage most commonly develops due to the stress of repeated opening and closing.
Cleaning a dirty gasket often resolves closing problems without requiring replacement. Prepare a cleaning solution of warm water mixed with mild dish soap or baking soda—these gentle cleaners remove grease and food residue without degrading rubber or vinyl seal materials. If your gasket design allows removal, take it out completely and wash all surfaces, including the inner channels where debris commonly accumulates. For fixed gaskets, use a soft cloth or sponge to clean along every surface, paying extra attention to the crevices where the gasket folds against the cabinet frame. Rinse thoroughly with clean water to remove all soap residue, then dry completely before closing the door.
How to Remove Stubborn Gasket Residue
For sticky buildup that resists standard cleaning, a solution of white vinegar and water effectively breaks down accumulated grime without harming the seal material. Apply the solution with a soft brush, work it into problem areas, then rinse with plain water and dry thoroughly. Never use harsh chemicals, abrasive cleaners, or scrubbers on gaskets, as these cause accelerated deterioration that leads to cracking and seal failure. After cleaning, test the door closure to verify whether the seal has improved.
Remove Ice Buildup from Critical Areas
Ice accumulation inside your freezer creates multiple problems that prevent proper door closure and indicate potential issues with your unit’s defrost system. When ice builds up along door edges, around the frame, or within the gasket channels, it physically blocks the door from closing while also compromising gasket performance over time.
If you discover ice accumulation, begin by removing all food items and placing them in coolers with ice packs to maintain temperature during the repair process. Use a plastic scraper or spatula—never metal tools—to carefully dislodge ice chunks from door edges and gasket channels. Work gently to avoid puncturing refrigerant lines or damaging electrical components hidden behind interior panels. For thick ice buildup, you may need to leave the freezer door open and allow natural melting to occur, placing towels around the base to absorb water as it drains.
After removing visible ice, dry all surfaces completely with clean towels. Any remaining moisture will refreeze when the freezer resumes operation, recreating the problem you just addressed. Check the door gasket again after drying, as ice removal may reveal damage to the seal that was previously hidden beneath frost buildup. Examine the drain pan and defrost system components if accessible, as overflow from a clogged or malfunctioning defrost system often causes recurring ice problems.
Check Door Alignment and Hinge Integrity

Even when gaskets are clean and obstruction-free, a misaligned door or worn hinges can prevent proper closure. Over time, door hinges loosen, shift, or wear in ways that throw off the door’s alignment with the cabinet frame. Regular hinge inspection catches these problems early, before they progress to complete seal failure.
Inspect your door hinges visually, looking for signs that they have become loose or shifted from their original position. Check the mounting screws at both the top and bottom hinges—vibrate from regular use and accidental door slamming gradually loosens these fasteners. Gently try moving the door side-to-side when partially closed; any detectable play or movement suggests loose hinges that need tightening. Examine hinge components for signs of wear, bending, or deformation that might prevent proper door positioning.
Tightening and Adjusting Frigidaire Hinges
Tightening loose hinges often resolves alignment problems that prevent door closure. Use a screwdriver or appropriate wrench to secure all mounting screws at both hinge locations, being careful not to overtighten and strip the screw holes. After tightening, test the door closure while observing how the gasket contacts the cabinet frame. The seal should make consistent contact all around the perimeter without any visible gaps or areas of incomplete compression.
If tightening doesn’t resolve the alignment issue, the door may need adjustment or the hinges may require replacement. Some Frigidaire models allow for hinge adjustment using built-in leveling mechanisms or shims. Consult your owner’s manual for specific adjustment procedures for your model. Worn or bent hinges typically require complete replacement, as they cannot restore proper function through adjustment alone.
When Professional Service Becomes Necessary for Frigidaire Freezers

Some freezer door problems exceed what DIY troubleshooting can address. Recognizing when to call a professional prevents further damage and saves time compared to struggling with repairs beyond your skill level. Understanding your warranty coverage and service options helps you make informed decisions about how to proceed.
If your freezer was installed within the past 30 days, contact your original installer before calling a general appliance service provider. Installation-related problems—improper leveling, damaged components during delivery, incorrect assembly—typically fall under the installer’s responsibility. Document the specific symptoms you’ve observed and the troubleshooting steps you’ve completed, as this information helps the installer diagnose the issue more efficiently during their initial visit.
Units beyond the 30-day installation window require direct contact with Frigidaire or an authorized service provider. Have your model number and serial number ready when you call—these identifiers help technicians bring appropriate parts and understand your specific appliance’s service history. Describe the problem in detail: when it started, whether it’s constant or intermittent, and what you’ve already attempted. This preparation allows the service provider to schedule appropriately and ensures the technician arrives prepared with common replacement components.
Check Warranty Coverage Before Paying for Repairs
Before paying for any repair, verify whether your Frigidaire freezer remains under warranty. Most new appliances include limited warranties that cover parts and labor for specific time periods, and some door components may fall within covered categories. Understanding your warranty status can significantly reduce or eliminate repair costs.
Locate your appliance’s model number and serial number—these appear on a label typically found inside the freezer compartment, along the side wall, or on the back of the unit. Check your purchase documentation to determine when the appliance was bought and whether any extended warranty coverage was purchased. Contact Frigidaire customer service with this information to confirm warranty status and coverage details for the specific symptoms you’re experiencing.
Warranty coverage for door closing problems varies by cause and component. Installation-related issues may be covered by your installer’s guarantee rather than the manufacturer’s warranty. Normal wear on door gaskets may or may not be covered depending on your warranty terms. Document all troubleshooting steps before contacting warranty service—this demonstrates that you’ve performed reasonable maintenance and helps the warranty provider process your claim efficiently.
Prevent Future Door Closing Problems with Regular Maintenance
Proactive maintenance and proper usage habits dramatically reduce the likelihood of experiencing freezer door problems again. Implementing a regular care routine protects your investment and maintains consistent freezer performance over the appliance’s lifespan.
Establish a monthly inspection routine that examines your door gasket for signs of wear, deformation, or accumulated debris. Catching developing problems early—before they cause complete seal failure—allows for simpler, less expensive interventions. Quarterly gasket cleaning using mild soap and water maintains seal flexibility and prevents the buildup of substances that interfere with closure. During these cleaning sessions, also check that hinge mounting screws remain tight and that the door aligns properly with the cabinet frame.
Adopt operational habits that protect door closing components from premature wear. Never slam the freezer door—this jarring impact gradually loosens hinges and can deform gasket material over time. Close the door promptly after retrieving items, minimizing the time cold air escapes and warm air enters. Ensure items stored inside the freezer don’t protrude beyond shelf edges into the door’s path. Allow hot foods to cool to room temperature before freezing them, as the temperature shock can cause temporary ice formation that affects seal performance.