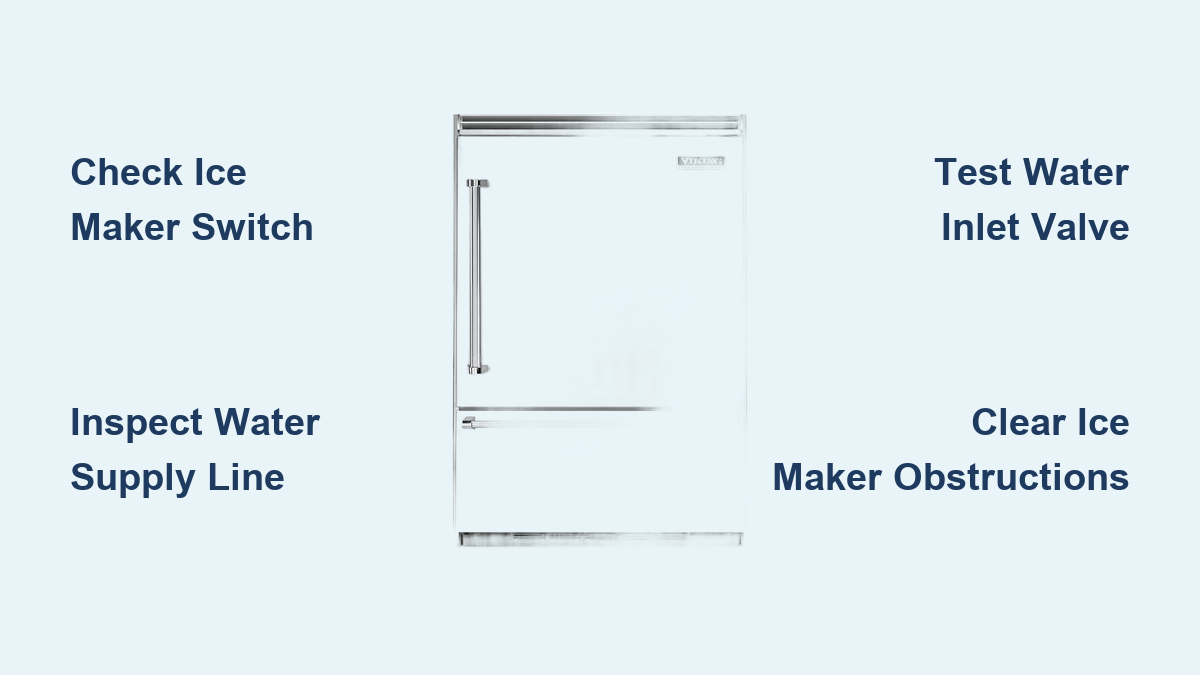
How to Fix Viking Freezer Not Making Ice
Your Viking freezer’s ice maker has gone silent, and you’re probably wondering what went wrong. Perhaps you’ve noticed the ice bin remaining stubbornly empty after weeks of reliable service, or maybe your morning coffee ritual has been disrupted by the absence of those crisp, clear cubes. Whatever brought you here, you’re dealing with a frustrating but surprisingly common issue that many Viking freezer owners face.
A Viking freezer not making ice can stem from several causes, ranging from simple user oversights to more complex component failures. Before you reach for your phone to schedule an expensive service call, work through this comprehensive troubleshooting guide. Most ice maker problems fall into a handful of predictable categories, and many can be resolved with basic DIY diagnostics that take less than an hour.
This guide walks you through every major troubleshooting step, from checking the obvious settings to diagnosing internal component failures. By the end, you’ll understand exactly what’s causing your ice maker to malfunction and whether you can fix it yourself or need professional assistance.
Verify Ice Maker Power and Settings First
Before diving into complex repairs, confirm your Viking ice maker is actually receiving power and properly configured. Many owners overlook the simple toggle switch located directly on the ice maker assembly, typically positioned near the front of the unit. This small lever can accidentally get flipped during routine cleaning or when removing the ice bin, instantly disabling ice production.
Locate this switch—often white or black plastic—and ensure it’s in the “ON” position. Some Viking models also include a secondary ice maker control within the freezer’s digital interface, accessible through the main control panel. Navigate through your freezer’s settings menu to verify the ice maker function is enabled. While checking settings, confirm your freezer temperature sits between 0-5°F; temperatures above 10°F prevent proper ice formation regardless of other components functioning correctly.
Don’t skip the power reset procedure—unplug your freezer or flip its dedicated circuit breaker for five minutes, then restore power. This simple action resolves numerous electronic glitches affecting ice maker operation. After resetting, allow 24 hours before determining if the ice maker remains non-functional, as the system requires time to complete its production cycle.
Inspect Water Supply Line and Inlet Valve Functionality

The most frequent culprit behind a Viking freezer not making ice involves restricted water flow. Your ice maker needs consistent water pressure between 20-120 PSI to operate correctly, and even minor obstructions can halt production completely while the freezer continues cooling normally.
Begin by tracing the water supply line from your home’s plumbing connection to the freezer’s rear panel. Look for kinks, crimps, or visible damage along the entire length of the tubing—these seemingly minor bends often restrict flow enough to stop ice production. If damage exists, replace the supply line with a new ¼-inch refrigerator water line, available at most hardware stores for under $10.
The water inlet valve controls water delivery to your ice maker. This component can fail in two ways: mineral deposits clogging the internal screen or solenoid coils burning out. To check for clogs, shut off the water supply, disconnect the line from the valve, and inspect the small filter screen inside. Clean debris with a soft toothbrush and rinse thoroughly. If the valve shows no signs of clogging but still doesn’t function, test for electrical continuity using a multimeter. No continuity indicates a failed solenoid requiring replacement.
Pro Tip: Place a shallow container under the water line before disconnecting to catch residual water—this prevents messy spills inside your freezer compartment.
Examine Ice Maker Assembly Components for Failure
When settings and water supply check out, focus on internal ice maker components. Several critical parts can fail independently while others continue functioning, creating confusing symptoms that require careful diagnosis.
The motor and gear assembly drives the harvest cycle that rotates the ice mold. Listen for clicking or whirring sounds when the ice maker should be cycling—these indicate the motor is attempting but failing to complete its rotation. A completely silent ice maker suggests either a burned-out motor or interrupted power supply. Testing requires a multimeter to check for continuity through the motor windings; no reading confirms motor failure.
The heating element that slightly warms the mold to release ice cubes often fails without obvious symptoms. When this happens, ice sticks to the mold, preventing proper ejection. Look for ice cubes permanently fused to the mold or excessive frost buildup around the ice maker assembly. Some Viking models display specific error codes when heating elements fail, while others simply stop producing ice without warning.
The temperature sensor monitors mold temperature to trigger the harvest cycle. When reading incorrectly, the ice maker may never initiate production or cycle erratically. Testing requires comparing resistance readings against manufacturer specifications at various temperatures—a process many homeowners find too complex, leading them to replace the entire assembly when sensor failure is suspected.
Diagnose Frozen Water Lines Inside Freezer Compartment

Water lines running through your freezer’s interior can freeze, creating blockages that prevent water from reaching the ice mold. This commonly occurs in garages or unheated spaces where ambient temperatures fluctuate, or when door seals allow warm, moist air to enter.
Locate the water line where it enters the freezer compartment, typically running along the back wall or through a small port. Feel along the tubing for unusually cold sections or visible frost—these indicate freeze points. You can also disconnect the line at the ice maker inlet and gently blow air through it; resistance confirms a blockage.
To thaw frozen lines, apply warm (not hot) air from a hair dryer, working slowly to avoid melting plastic components. Once thawed, blow through the line to clear remaining ice fragments. Address the root cause by ensuring proper door seal integrity—clean gaskets with mild soap and water, replacing them if cracked or compressed. For freezers in cold environments, consider applying foam tape around the water line inlet to prevent future freezing.
Test Ice Maker Control Module and Sensors
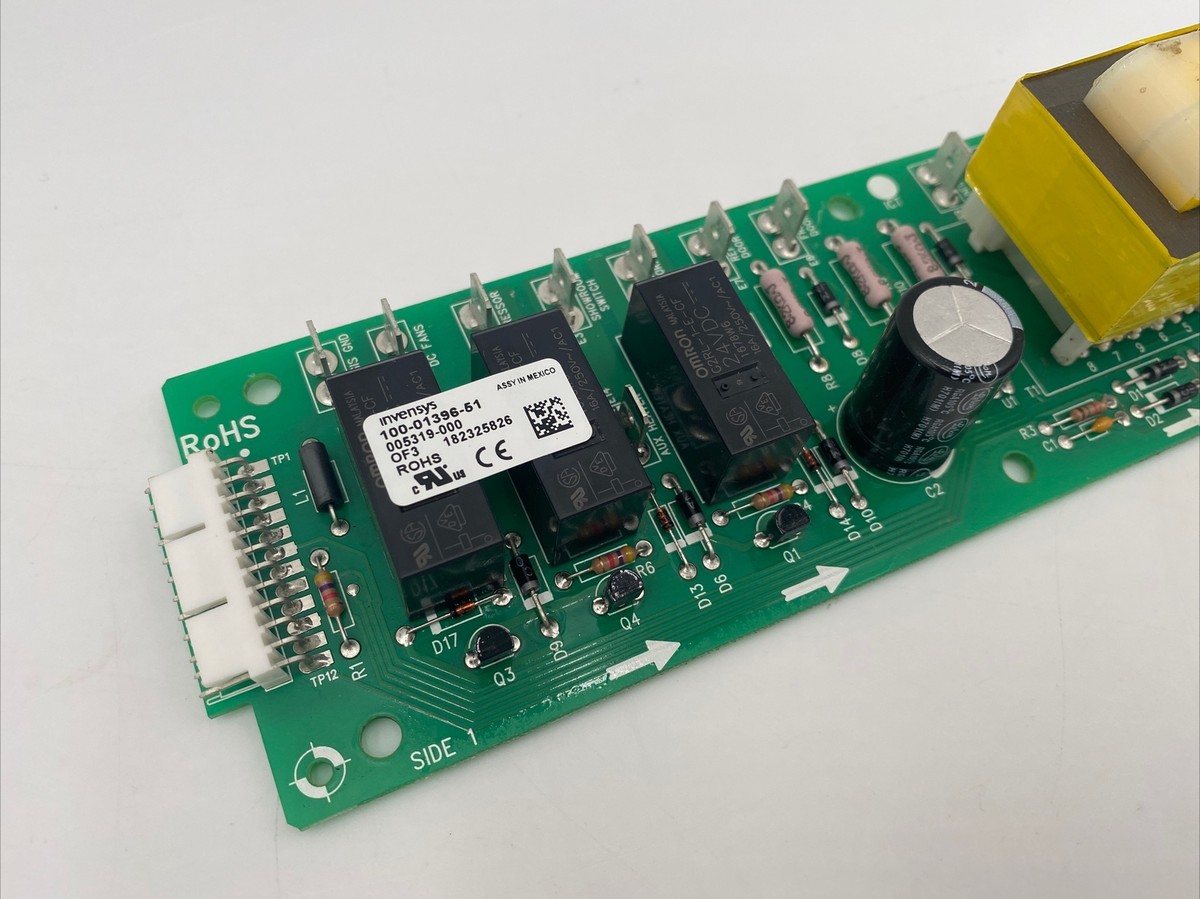
Modern Viking models rely on electronic control modules that manage the entire ice production cycle. When these fail, symptoms range from complete inactivity to erratic cycling that produces malformed or insufficient ice.
Access the control module by removing the ice maker assembly’s front cover, usually secured with one or two screws. Inspect the circuit board for obvious damage: bulging capacitors (with domed or leaking tops), burned components, or corroded connections. Any visible damage means the control module requires replacement.
Sensor failures are harder to diagnose without specialized equipment. The ice maker uses thermistors to monitor mold and ambient temperatures. Incorrect readings prevent proper harvest cycle initiation. Many service manuals specify resistance values at given temperatures; comparing your readings against these specifications confirms sensor functionality.
Before replacing expensive components, try a complete reset by disconnecting power for 30 minutes. Electronic glitches sometimes resolve with this hard reset, potentially saving you from unnecessary part purchases. After restoring power, allow 24 hours for normal operation to resume.
Clear Physical Obstructions from Ice Maker Mechanism
Sometimes the solution is immediately visible: a physical obstruction within the ice maker mechanism. Ice cubes can fuse together in the mold, foreign objects can fall into the assembly, or frost buildup can interfere with moving parts.
Remove your ice bucket and inspect the assembly thoroughly. Look for ice cubes stuck in the mold or harvest fingers that don’t move freely. Clear obstructions with a plastic spatula or wooden spoon—never use metal tools that could damage plastic components. The water inlet cup at the top of the ice maker can also cause problems if misaligned; check for cracks or warping that might alter water flow.
While the assembly is exposed, verify the ice level sensing arm moves freely throughout its range. This arm rises as ice accumulates; if stuck in the “full” position, your ice maker believes the bin is already overfilled and won’t produce more ice. Clean the arm and pivot point to ensure smooth movement.
Evaluate Freezer Temperature and Airflow Conditions
Incorrect freezer temperatures will prevent ice production regardless of other components functioning properly. Verify your freezer temperature using a standalone appliance thermometer placed on the middle shelf—allow 24 hours for accurate reading. Ideal ice maker operation occurs between 0-5°F; temperatures above 10°F typically prevent ice production.
Airflow problems create localized warm spots where the ice maker sits, even when overall compartment temperature reads correctly. Blocked air vents, overstuffed shelves, or items placed directly in front of the ice maker restrict circulation. Ensure at least two inches of clearance around all vents and avoid storing items directly in front of or on top of the ice maker.
Excessive frost buildup indicates a defrost system problem. When the automatic defrost cycle fails, frost insulates the evaporator coils, reducing overall cooling efficiency. The ice maker, located in the warmest part of the freezer, often suffers first from this reduced cooling capacity. Heavy frost accumulation typically requires professional attention to the defrost system components.
Know When to Call a Professional Viking Technician
Some ice maker problems require certified technicians with specialized tools and genuine Viking replacement parts. Recognizing when you’ve reached this point prevents further damage and ensures proper repairs.
Electrical issues involving direct wiring connections, control board replacements, or refrigerant handling all require professional service. Attempting these repairs without proper training risks electrical shock, further component damage, or voiding your warranty. If your troubleshooting points toward a failed control module or sealed system component, contact an authorized Viking service provider.
Consider your freezer’s age when evaluating repair costs. Ice makers typically last 10-15 years with proper maintenance; investing several hundred dollars in repairs for an aging unit may not be economical. Compare professional diagnosis and repair costs against replacement options, including potential energy savings from newer, more efficient models.
Maintain Your Ice Maker for Reliable Performance
Prevention proves far easier than repair when it comes to ice maker maintenance. Implement these simple routines to extend your ice maker’s lifespan:
Replace your water filter every six months to prevent mineral buildup in the inlet valve and water lines. Clean the ice maker assembly quarterly with warm, soapy water to remove residue and maintain hygiene. After extended periods of non-use, run several harvest cycles to flush the system and ensure proper function before regular use resumes.
Final Note: A Viking freezer not making ice rarely requires emergency intervention, but prompt attention prevents small problems from becoming major headaches. Most issues resolve through systematic troubleshooting of settings, water supply, and visible components. When professional service becomes necessary, having completed these diagnostic steps helps technicians identify problems faster and potentially reduce service costs. With proper maintenance and timely repairs, your Viking ice maker should provide years of reliable service, keeping your beverages perfectly chilled and your entertaining effortless.