How to Measure a Freezer: Step-by-Step Guide
You’ve found the perfect freezer online—great price, ideal capacity, energy-efficient model—but when delivery day arrives, the unit won’t fit through your doorway or into the designated space. This frustrating scenario happens daily to homeowners who skip proper measurement before purchasing. Taking accurate measurements for your new freezer isn’t just about fitting it into a space; it’s about preventing costly delivery complications, installation delays, and potential return shipping fees. Whether you’re adding a chest freezer to your garage or replacing an upright model in your kitchen, precise measurements ensure smooth delivery, proper installation, and years of trouble-free operation.
Measuring for a freezer involves far more than checking basic width, depth, and height. You must account for delivery paths, door swing clearance, overhead obstacles, ventilation requirements, and environmental factors specific to your installation location. This comprehensive guide walks you through every critical measurement consideration with actionable steps to guarantee your new freezer fits perfectly and functions optimally. By the end, you’ll know exactly how to measure a freezer for your specific space, avoiding the common pitfalls that leave so many homeowners scrambling on delivery day.
Determine Upright vs Chest Freezer Dimensions First
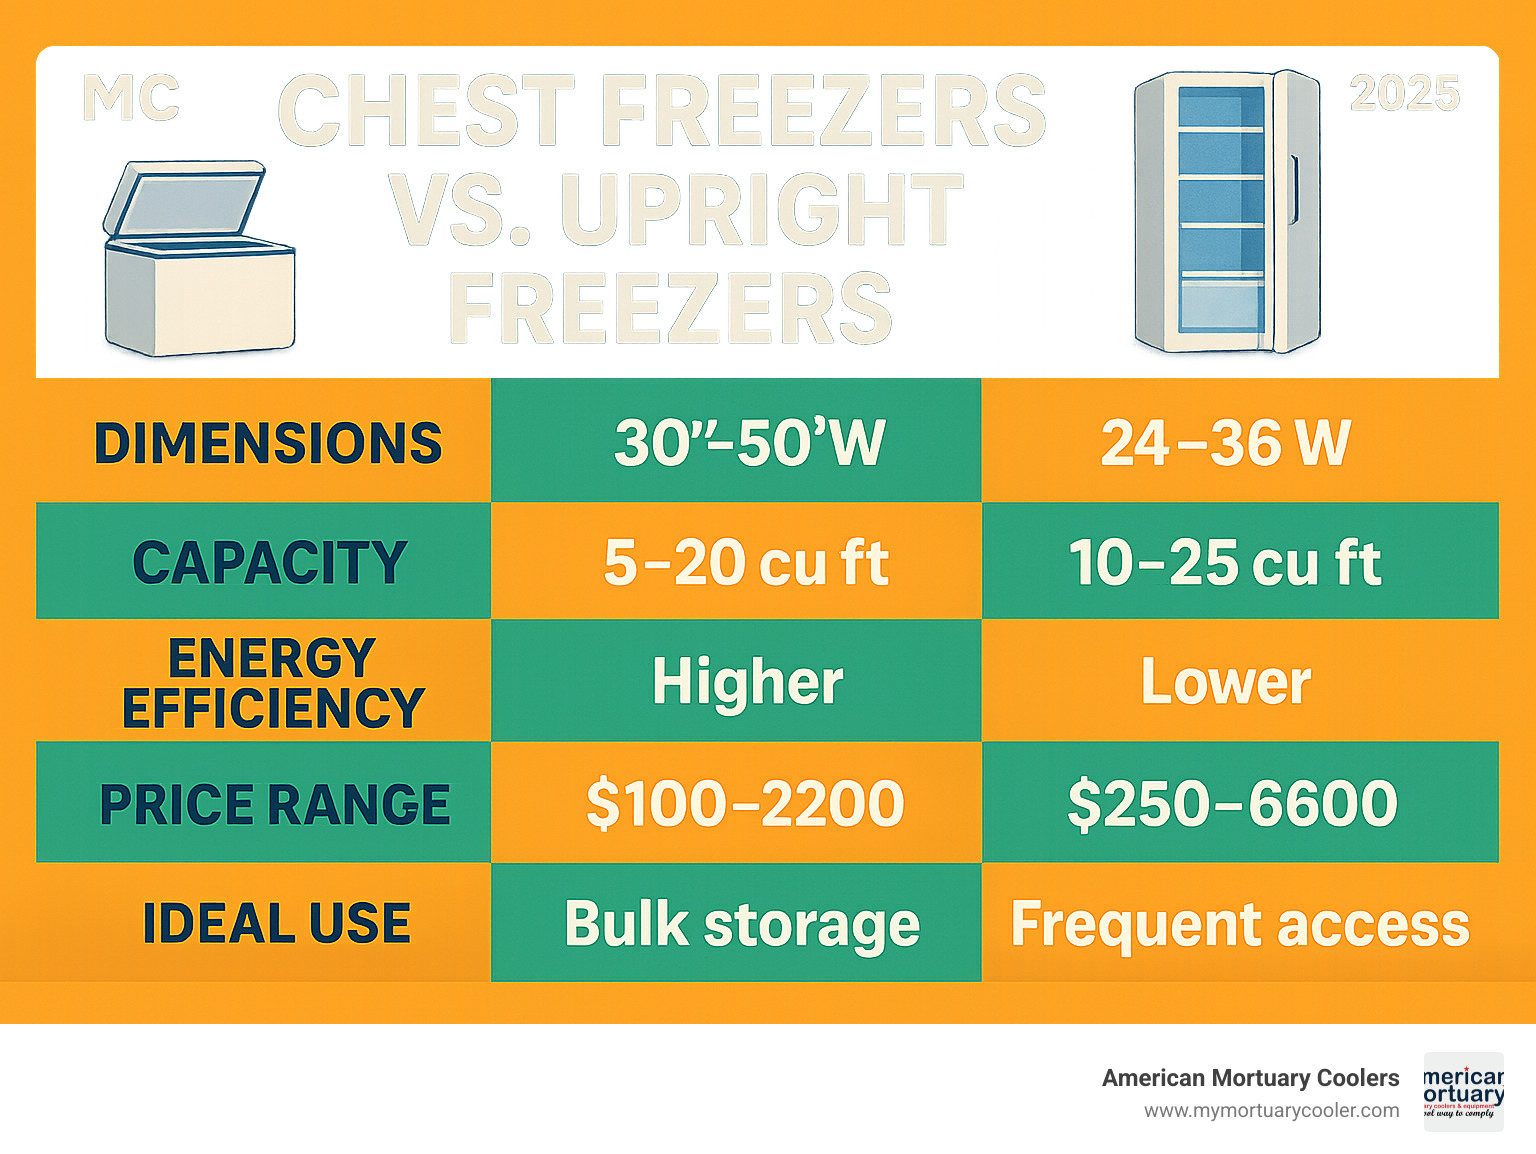
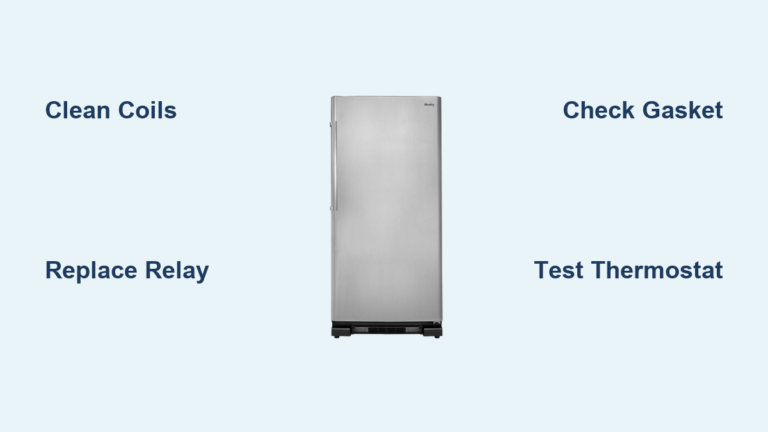
Before breaking out your tape measure, decide which freezer configuration best matches your storage needs and available space constraints. Upright freezers typically range from 24-36 inches wide, 24-32 inches deep, and 50-70 inches tall, resembling refrigerator dimensions with front-opening doors. Chest freezers generally measure 20-60 inches wide, 20-30 inches deep, and 30-40 inches tall with top-opening lids. This fundamental choice determines which clearance measurements matter most and prevents wasted time measuring for the wrong configuration.
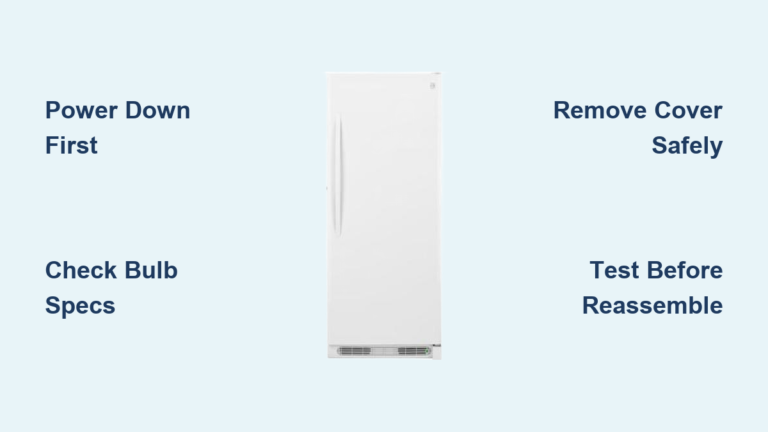
Upright Freezer Clearance Requirements
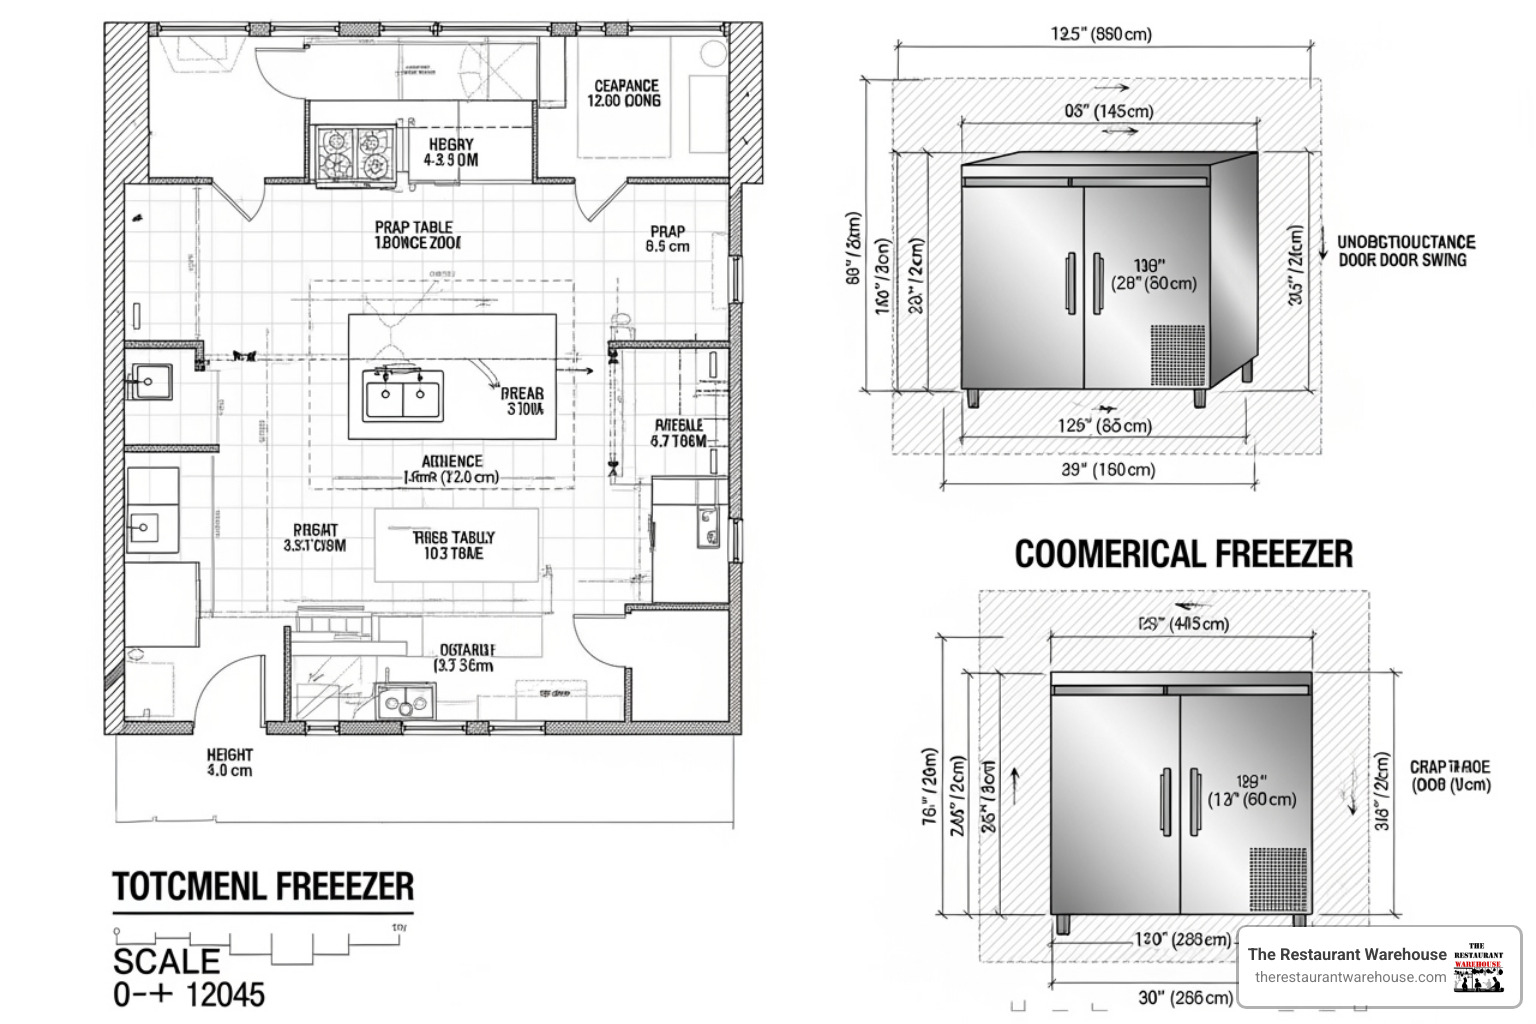
Upright models need significant front clearance for door swing—typically 90-120 degrees of unobstructed space. Measure from your wall forward to the nearest obstruction (like a door frame or parked vehicle) and ensure this distance exceeds the freezer’s depth by at least 3-4 inches. Also verify overhead clearance beyond the unit’s stated height; most upright freezers have adjustable feet adding ¼-½ inch to their height specification. Without this extra margin, you can’t level the unit properly, causing door alignment issues and compressor strain.
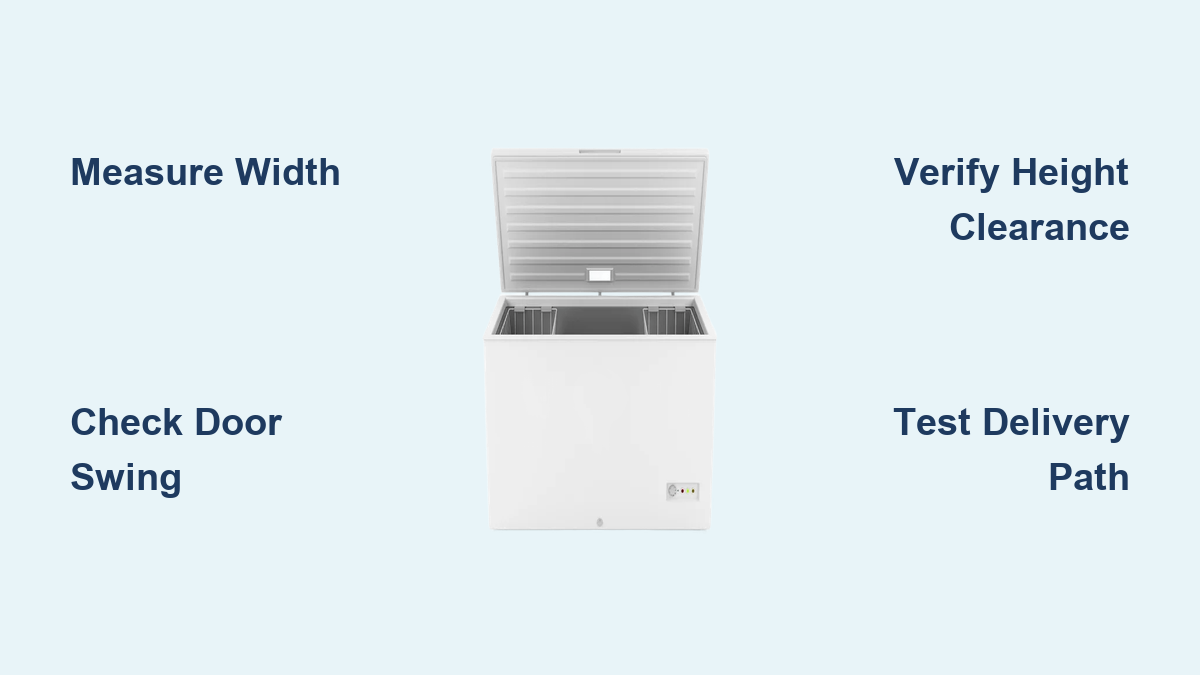
Chest Freezer Lid Operation Space
Chest freezers demand overhead clearance for lid operation rather than front clearance for door swing. Measure from your floor to the lowest overhead obstruction (cabinets, shelves, low ceilings) directly above the intended location. This dimension must exceed the freezer’s height by several inches to accommodate the lid’s full range of motion. Many models create an arc when opening, requiring additional side clearance beyond the freezer’s width. Test this by holding a cardboard box at the intended location and mimicking the lid’s opening motion to verify unobstructed access.
Measure Floor Space at Multiple Critical Points
Walls in homes are rarely perfectly parallel, and floors often slope, making single-point measurements dangerously inaccurate. For width, measure wall-to-wall at three locations: floor level, midway up, and near ceiling height. Record the narrowest measurement as your true available width. For depth, measure from back wall forward at left, center, and right positions, noting the smallest dimension as your maximum allowable depth.
Account for Baseboards and Trim in Measurements
Baseboards and door trim consume measurable space that DIY measurers frequently overlook. When measuring wall-to-wall width, begin from the outermost edge of any trim rather than the wall surface itself. The same principle applies to depth measurements—your freezer’s back may need to sit several inches forward of the wall to clear baseboards. These seemingly minor reductions (¼-2 inches) can prevent door closure or lid sealing when the freezer is positioned correctly against the wall.
Calculate Exact Height Requirements for Your Space
For upright freezers, measure floor-to-ceiling height at multiple points across the intended footprint, as ceilings often slope or dip in older homes. Add ½ inch to this measurement to accommodate leveling feet—most manufacturers design units with adjustable feet extending below the stated height. Without this buffer, your freezer sits uneven, causing doors to misalign and creating excessive vibration that damages internal components over time.
Verify Chest Freezer Lid Clearance in Tight Spaces
Chest freezers present unique overhead challenges in spaces with low ceilings or overhead shelving. Measure from your floor to the lowest obstruction directly above where the lid will open, ensuring this distance exceeds the freezer’s height specification by at least 4-6 inches. Also check for pipes, ductwork, or support beams that might not be visible from floor level—run your hand along the ceiling to detect hidden obstacles. If any obstruction falls within the lid’s arc, you’ll either need to reposition the unit or select a shorter model.
Map Your Complete Delivery Path Before Ordering
The freezer must physically reach its final destination, which requires measuring every doorway, hallway, and passage along the delivery route. Measure your narrowest doorway at its most constrained point (including trim and hinges), recording both width and height. For stairwells, measure tread width and clearance between handrails, as these often create delivery challenges that ground-floor measurements miss.
Test Doorway Clearance with a Cardboard Template
Create a cardboard template matching your chosen freezer’s dimensions to test doorway clearance before delivery day. Walk this template through your entire delivery path, paying special attention to corners and turns where the unit must be tilted. Many freezers can pass through doorways when tilted diagonally, but you need sufficient hallway width to maneuver the unit into this position. If your template gets stuck, you’ll know to either select a smaller model or plan for professional delivery services that include disassembly.
Avoid These 3 Critical Measurement Mistakes
Homeowners consistently make preventable errors that result in delivery-day disasters. Measuring only the current freezer’s dimensions rather than the space itself ranks as the most common mistake—flooring changes, accumulated items, and settled appliances alter available space over time. Always measure the empty space independently before comparing to new freezer specifications.
Forgetting Door Swing and Lid Clearance
Many buyers measure only the physical footprint but neglect to account for operational space. An upright freezer might fit between two walls but cannot open its door fully in that space. A chest freezer may fit beneath overhead shelving but cannot open its lid with the shelving in place. After measuring physical dimensions, always add clearance for door swing or lid operation—leave at least 4-6 inches beyond the unit’s depth for upright models and verify overhead clearance exceeds height specifications by several inches for chest freezers.
Ignoring Manufacturer Ventilation Requirements
Most freezers require 2-6 inches of rear clearance and 1-3 inches of side clearance for proper airflow. These specifications exist because freezers expel heat during operation, and restricted airflow forces the compressor to work harder, reducing efficiency and lifespan. Measure your available space against the specific model’s clearance requirements—don’t assume general guidelines apply universally. Some manufacturers provide airflow diagrams in installation manuals; always prioritize these over generic advice.
Verify Environmental Factors Before Finalizing Purchase
Garage and basement installations require special consideration beyond basic dimensions. Check the manufacturer’s specified operating temperature range—most standard freezers function best between 60-90°F. If your garage regularly drops below freezing or exceeds 100°F, you’ll need a garage-ready model with enhanced insulation and components designed for temperature extremes.
Ensure Floor Stability and Levelness
Use a quality level to verify your installation surface is truly flat across the entire footprint. Even slight inclines prevent proper door sealing and cause the compressor to work harder than necessary. For wooden floors, consider placing ½-inch plywood underlayment to distribute weight evenly and create a stable surface. Concrete floors should be clean and dry before installation—avoid carpeted areas entirely as soft surfaces prevent proper leveling and create fire hazards around heat-producing components.
Document Measurements Before Shopping
Create a reference sheet showing your maximum width, depth, height, and clearance requirements. Include notes about environmental factors, delivery path constraints, and any fixed obstacles. Take this documentation when shopping to quickly eliminate models that won’t fit your space. When you find promising options, verify their specific dimensions and clearance requirements against your measurements before finalizing your selection.
Compare Capacity Versus External Dimensions
Two freezers with identical external dimensions may offer different usable capacities due to interior configuration and insulation thickness. When evaluating models, consider both the stated capacity in cubic feet and the external dimensions. A model with thinner insulation might offer slightly more interior volume but perform less efficiently in extreme temperatures. Balance your storage needs against your space constraints, selecting the largest freezer that fits comfortably within your available dimensions while meeting all clearance requirements.
Measuring for a new freezer requires systematic attention to multiple dimensions and environmental factors, but this investment of time prevents costly delivery complications and ensures years of reliable service. Begin by determining whether an upright or chest freezer best suits your intended use, as this choice shapes all subsequent measurements. Measure width, depth, and height of the available space at multiple points, including baseboards and trim in your calculations. Verify sufficient clearance for door swing or lid operation, ensuring full access without contacting walls or obstacles. Confirm adequate side and back clearance for airflow according to manufacturer specifications. Assess the complete delivery path from entry point to final location, including doorway dimensions and any turns or corners that might present challenges. Evaluate the installation environment for temperature compatibility, floor strength, and levelness. Document all measurements clearly before shopping to ensure you select a freezer that fits perfectly, operates efficiently, and serves your household reliably for years to come. By following these precise measurement steps, you’ll avoid the frustration of a freezer that arrives but won’t fit, transforming what could be a delivery day disaster into a seamless installation experience.