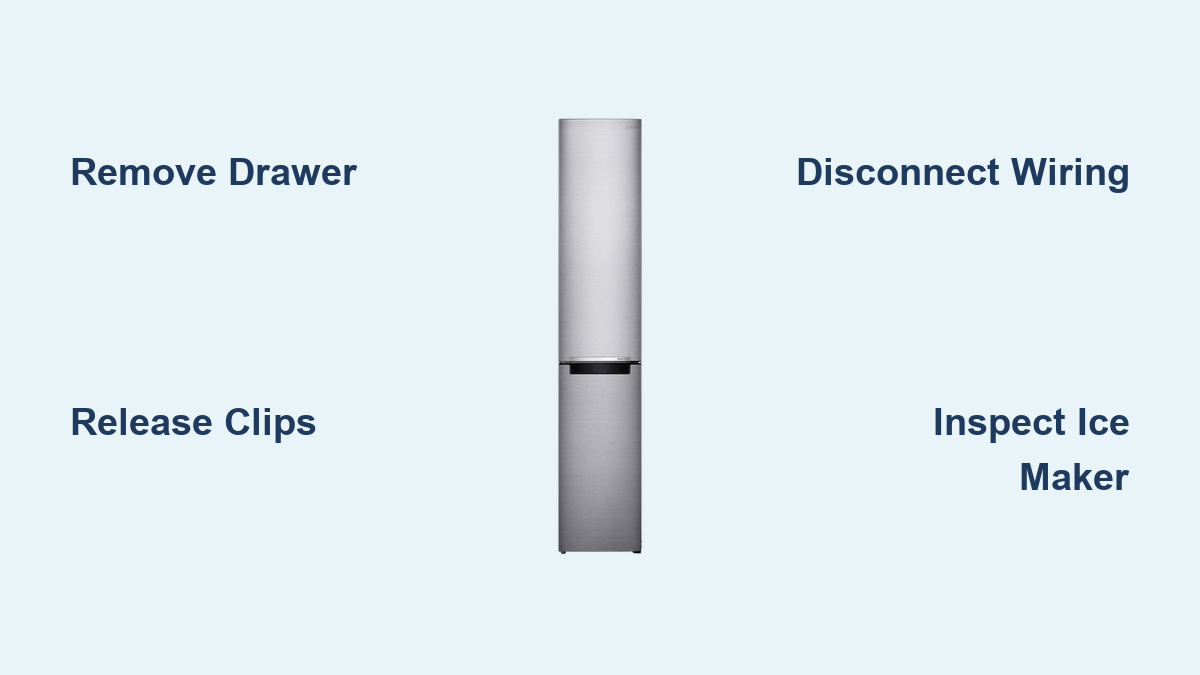
How to Remove Samsung Bottom Freezer Ice Maker
When your Samsung refrigerator stops producing ice, accessing the ice maker for repair or replacement requires removing the bottom freezer drawer first. This essential step takes just 10-15 minutes and can save you hundreds in service fees. The ice maker assembly on Samsung bottom freezer models like the RFG238AARS sits inside the drawer compartment, making drawer removal the critical first move before any ice maker work begins. Knowing exactly how to remove ice maker from Samsung bottom freezer prevents damage to your appliance and ensures your repair process goes smoothly.
Whether you’re replacing a faulty component, performing preventative maintenance, or troubleshooting production issues, understanding this specific removal process gives you confidence to tackle the job yourself. This guide walks you through each precise step with clear instructions tailored specifically to Samsung bottom freezer models. You’ll learn exactly where to find those tricky retainer clips, how to safely disengage them, and avoid common mistakes that could turn a simple repair into a costly service call.
Warning Signs Requiring Ice Maker Access
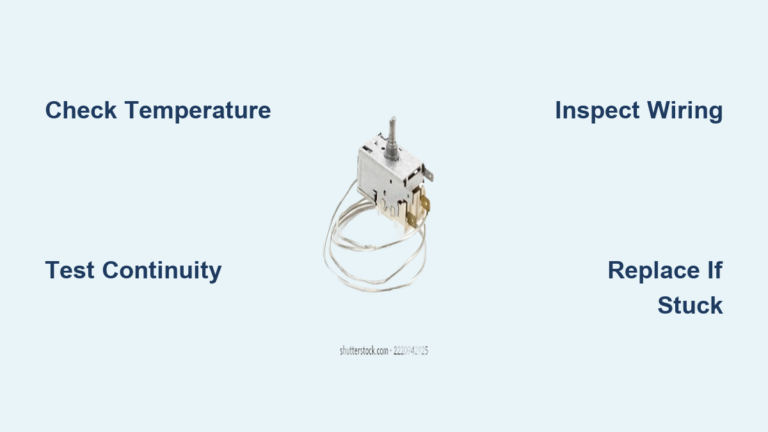
Recognizing specific symptoms helps determine if ice maker removal is necessary for your Samsung refrigerator. Complete ice production failure lasting more than 24 hours despite proper freezer temperature settings is the most obvious indicator. You might also notice consistently small or malformed ice cubes that clump together, unusual clicking or grinding sounds coming from the freezer compartment, or visible water pooling on the freezer floor beneath the ice maker assembly.
Before proceeding with removal, verify the problem isn’t something simpler to fix. Check that your freezer maintains temperatures between 0-5°F, as warmer settings prevent proper ice formation. Ensure the ice maker’s feeler arm moves freely through its full range of motion and isn’t accidentally stuck in the “off” position. If the water supply line appears kinked or disconnected, or if you notice frost buildup around the inlet valve, these issues might resolve your problem without needing full ice maker removal. When these basic checks don’t solve the issue, accessing the ice maker becomes essential.
Essential Tools for Safe Drawer Removal

Gathering the right tools beforehand prevents frustration during the removal process. You’ll need a standard flathead screwdriver (3-5mm width) to properly depress the retainer clips, though some newer Samsung models allow clip release using just your fingers. A bright LED flashlight helps illuminate the slide rack mechanisms and clip locations in the dim freezer compartment. Keep several soft towels handy to protect the drawer edges and absorb any condensation or minor frost that may have formed.
Consider wearing thin work gloves to improve grip when handling the heavy drawer and protect your hands from potential sharp edges on the slide rails. Have a small container ready to store any screws removed during the process. If you’re replacing the ice maker assembly entirely, confirm you have the correct replacement part for your specific Samsung model—typically found on a sticker inside the refrigerator compartment—before beginning. Attempting ice maker removal without the proper replacement part on hand can leave you without freezer functionality for extended periods.
Refrigerator Preparation Protocol
Proper preparation prevents avoidable complications during ice maker access. Start by completely emptying the freezer drawer of all contents—remove ice trays, food items, and storage containers to prevent spills and gain clear access. Take note of your drawer’s organization to make restocking easier after your repair. If your Samsung model connects to a water supply line, turn off the water at the source valve before disconnecting to prevent leaks.
Unplug the refrigerator from the wall outlet to eliminate electrical hazards while working near the ice maker assembly. Allow the freezer compartment to remain open for 3-5 minutes before starting, which softens any frost around the drawer seals for smoother movement. For models with multiple freezer drawers, verify you’re working with the correct drawer housing the ice maker assembly—typically the upper drawer in tiered Samsung bottom freezer configurations. This preparation ensures you can safely remove ice maker from Samsung bottom freezer without damaging components.
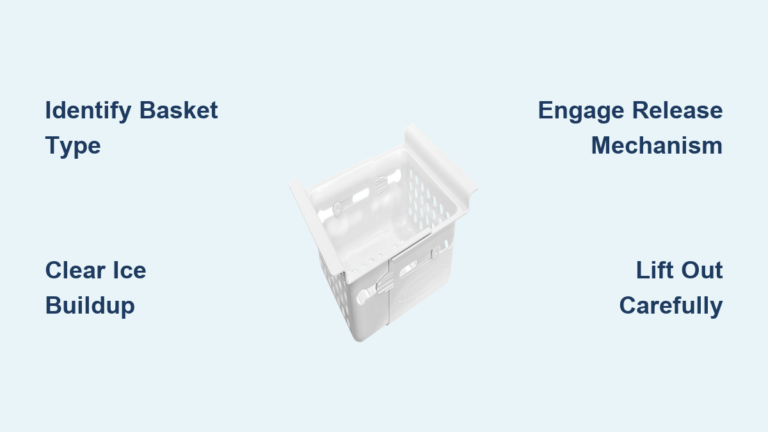
Freezer Drawer Access Technique

With preparation complete, fully extend the bottom freezer drawer to its maximum position. Take a moment to examine the slide rack mechanisms on both sides—these metal rails guide the drawer’s movement in and out of the compartment. The retainer clips you need to release sit along these slide racks, typically positioned near the midpoint or slightly forward of center on each side. On Samsung RFG238AARS models, these clips appear as small plastic tabs protruding from the slide mechanism.
Before attempting clip release, ensure the drawer sits level and isn’t binding on the rails. Listen for unusual sounds during extension that might indicate ice obstruction. Some Samsung models feature a quick-release button near the drawer handle—press this first if present, as it simplifies the removal process. Position yourself at eye level with the slide mechanisms to clearly see the clip position and understand how they engage with the drawer rails. This careful observation prevents accidental damage when you begin the ice maker removal process.
Retainer Clip Release Procedure
The critical step in drawer removal involves properly releasing the retainer clips securing the drawer to the slide racks. On each side of the drawer, locate two retainer clips—small plastic mechanisms that lock the drawer during normal operation. These clips typically sit about halfway along the slide rack, visible when the drawer is fully extended. Using your flathead screwdriver, carefully depress each retainer clip inward toward the center of the drawer with steady, even pressure.
Work methodically: release both clips on the left side completely before moving to the right side. You should feel a slight release sensation or hear a soft click as each clip disengages. Some stubborn clips may require wiggling the drawer slightly while applying pressure to the clip. Never force the clips—excessive pressure can break these plastic components, complicating your ice maker removal process. If clips resist release, double-check that the drawer is fully extended and properly aligned on the rails before trying again.
Safe Drawer Removal Process
With all four retainer clips successfully released, you can now remove the freezer drawer completely. Grip the drawer firmly on both sides near the front edge, maintaining balanced pressure as you begin sliding it outward. Move slowly and watch for any remaining resistance that might indicate a clip hasn’t fully released. The drawer should glide out smoothly once all retention mechanisms are disengaged—some models feature a slight upward motion as the drawer clears the rails.
Continue pulling the drawer toward you until the slide rails separate completely from the freezer cabinet. Place the heavy drawer on a protected surface to prevent damage to the plastic components. Now you have full access to the ice maker assembly mounted inside the freezer compartment. Take this opportunity to inspect for frost buildup around the ice maker housing and water inlet line—excessive frost often indicates a door seal problem that needs attention before reinstalling the drawer.
Post-Removal Ice Maker Inspection

With the drawer removed, you can now thoroughly inspect the ice maker assembly. Take clear photographs of the current configuration before disconnecting any components—this visual reference proves invaluable during reassembly. Identify the mounting screws securing the ice maker to the freezer wall (typically two or three Phillips-head screws) and remove them carefully. Gently disconnect the electrical connector by pressing the release tab and pulling straight apart—never yank wires.
Examine the ice maker for visible damage, including cracks in the housing, mineral deposits on the water inlet, or ice buildup around moving parts. Check the feeler arm mechanism for smooth operation through its full range of motion. If replacing the ice maker, clean the mounting area with a soft cloth to remove frost or debris that might interfere with proper installation. Inspect the water inlet line for kinks or cracks that could affect future ice production after you complete the how to remove ice maker from Samsung bottom freezer process.
Drawer Reinstallation Checklist
Reinstall the freezer drawer by reversing the removal process with careful attention to detail. Align the drawer rails with the cabinet’s slide mechanisms, ensuring proper engagement on both sides. Push the drawer inward slowly while listening for the distinct click of each retainer clip as it secures the drawer in place. Test the drawer’s movement by opening and closing it fully several times to confirm smooth operation—properly engaged clips will prevent the drawer from accidentally sliding out.
Once reinstalled, restore the water supply connection if applicable, plug the refrigerator back in, and allow 4-6 hours for the freezer to reach operating temperature before testing ice production. Monitor the ice maker through its first production cycle, checking for normal cube size, adequate volume, and absence of leaks. If the drawer doesn’t glide smoothly or feels stuck, double-check that all retainer clips have properly engaged—misaligned clips cause binding and premature wear on the slide mechanisms. Your successful ice maker removal and reinstallation should now restore full functionality to your Samsung bottom freezer.