How to Fix Freezer Gasket Seal – Quick Repair Guide
A failing freezer gasket seal does more than leave your ice cream soft—it drives up energy costs, accelerates food spoilage, and strains your appliance’s compressor. The good news? Most seal problems can be diagnosed and fixed without calling a technician. Whether your freezer door won’t stay closed, you notice cold air escaping around the edges, or you’re simply performing preventive maintenance, this guide walks you through every repair option from quick fixes to complete replacement.
Your freezer gasket creates the airtight compression that keeps cold air inside and warm air out. When this rubber seal degrades, cracks, or misaligns, your appliance works harder to maintain temperature, and your electricity bills reflect that extra effort. Understanding how to fix freezer gasket seal issues saves you money and preserves your food’s freshness. In this guide, you’ll learn to diagnose problems, perform temporary repairs, adjust door alignment, and replace worn seals like a pro.
Detecting Freezer Door Seal Failure Early
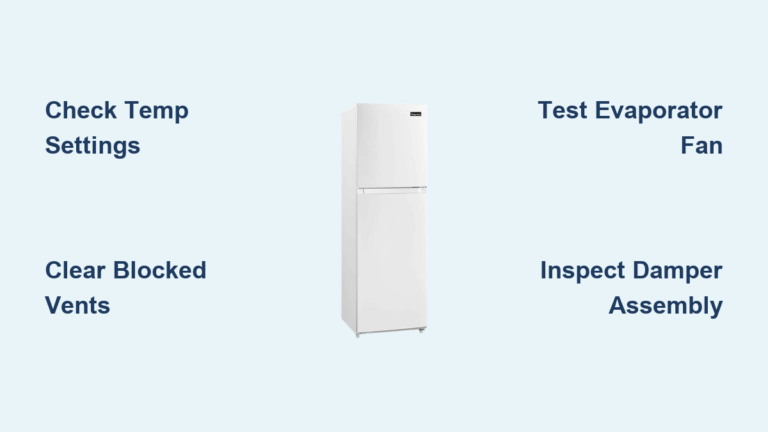
Spotting seal problems before they escalate prevents costly food spoilage and energy waste. Pay attention to these specific warning signs that indicate you need to fix freezer gasket seal issues immediately.
Notice if your food is thawing faster than normal or if frost builds up on stored items more quickly than usual. This is your first clue that warm, humid air is penetrating your freezer through compromised seal areas. Condensation forming on items inside your freezer—particularly on packaging surfaces—also signals that your seal isn’t maintaining proper temperature control.
Run your hand along the closed door’s edges to detect escaping cold air. Use a slightly damp hand for better sensitivity, as you’ll feel the moving air as a distinct cool draft against your skin. Pay special attention to corners and the area near the handle—these are common failure points where seals typically wear out first.
Perform the dollar bill test by closing the door on a bill at multiple points around the perimeter. If it slides out easily at any location, you’ve identified a gap requiring attention. This simple test takes less than two minutes but provides definitive evidence of seal failure. Mark problematic areas with tape for targeted repair.
Why Your Freezer Seal Keeps Failing
Understanding the root causes of seal failure helps you choose the right repair approach and prevent recurrence.
Age-related deterioration causes most seal failures. As your freezer ages, the rubber loses elasticity through years of temperature cycling, drying out and becoming brittle. Once flexibility is compromised, no amount of maintenance can restore completely degraded rubber. Seals typically last 8-10 years before natural wear requires replacement.
Physical damage accumulates through regular use. Each door opening and closing compresses the gasket, and over thousands of cycles, the material loses its ability to rebound properly. Slamming the door puts sudden stress on the seal that can cause immediate tears or dislodge it from its groove. Pulling on the seal itself rather than the handle stretches the material gradually but persistently.
Dirt and grime create both physical barriers and material damage. When seals aren’t cleaned regularly, accumulated debris prevents complete contact with the freezer frame. More significantly, the grime causes the rubber to stiffen, reducing flexibility even when the seal itself hasn’t degraded substantially. Sugar residues from spilled beverages are particularly damaging as they harden on the rubber surface.
Moisture damage poses specific risks to seal integrity. Water getting into or behind the seal causes warping as the rubber absorbs moisture and changes shape. Mold and mildew can develop in damp conditions, creating hygiene concerns while also accelerating material degradation.
Perform the Paper Test for Accurate Diagnosis

Before attempting any repairs, confirm your seal is the problem with these specific diagnostic steps.
Close the door on a dollar bill at multiple points around the entire perimeter. Attempt to pull the bill out while the door remains closed. If you feel significant resistance at every point, your seal is performing adequately. If the bill slides out easily anywhere, you’ve identified a gap requiring attention. Test each corner separately, as seals can fail in specific areas while remaining functional elsewhere.
Conduct this test at room temperature with the door closed for at least an hour, as seals seal better when the rubber has contracted slightly from cold. Mark any failing sections with colored tape—red for major gaps, yellow for minor issues—to prioritize your repair efforts.
Supplement the paper test with visual inspection. Examine the entire gasket length for visible damage—cracks, tears, hard inflexible sections, or areas pulled away from the groove. Run your fingers along the seal’s inner surface to feel for damage your eyes might miss. Check the groove itself for debris that might prevent the seal from seating properly.
Clean Your Freezer Gasket for Immediate Improvement
Most minor seal issues resolve with proper cleaning—a task that takes less than 10 minutes but yields significant results.
Mix warm water with a small amount of mild dishwashing soap in a bowl. Using a soft toothbrush or cloth dipped in the solution, scrub the entire gasket focusing on the crevices where the seal folds against the door frame. Remove all accumulated grime, food residue, and any buildup that might prevent proper sealing. Pay extra attention to the areas near the handle, which accumulate the most contamination from frequent use.
After scrubbing, wipe the area with a clean damp cloth to remove soap residue completely. Allow the seal to air dry fully before closing the door—moisture left on the seal causes warping over time and creates conditions for mold growth. A clean, dry cloth speeds this process, and taking an extra moment to verify dryness prevents future problems.
Clean the gasket at least once weekly in households with children or frequent freezer access. Monthly cleaning suffices for less-used units, but more frequent attention never hurts. Avoid harsh chemicals like bleach or abrasive tools that can degrade rubber. This simple maintenance task catches developing problems early and maintains optimal sealing performance.
Repair Small Seal Gaps Without Replacement
When damage is minimal, these targeted repairs can restore function without complete replacement.
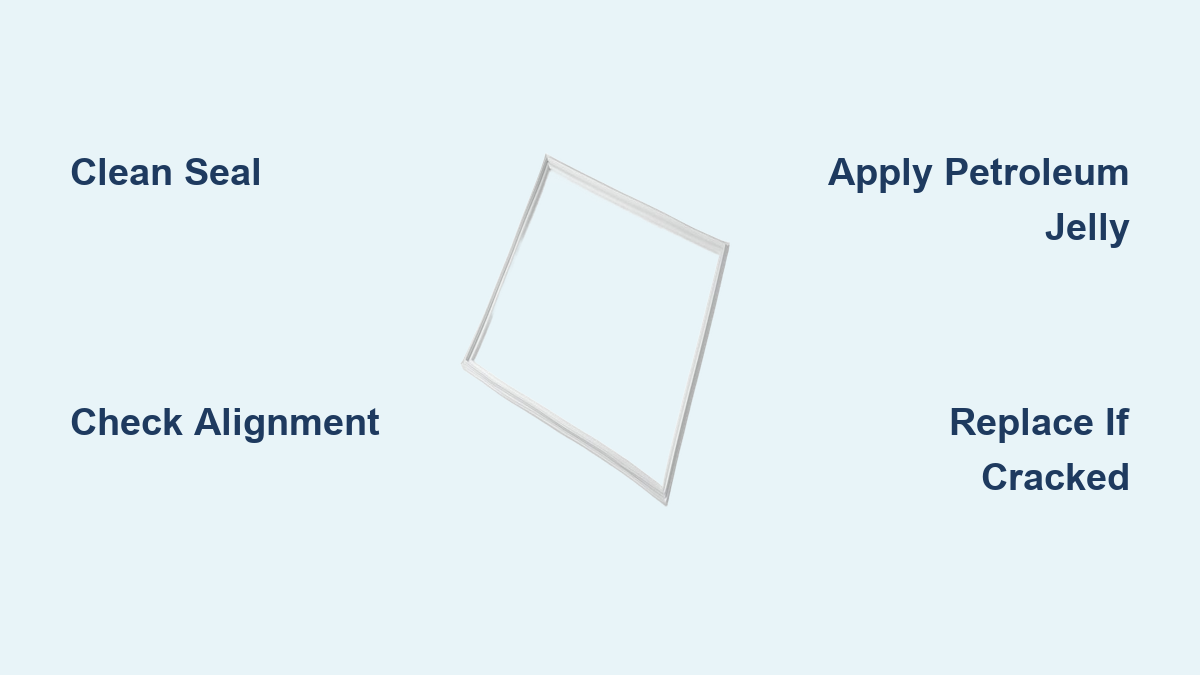
If your seal has come loose from its groove in sections, reattachment is often possible. Identify the detached areas by feeling for escaping cold air. Apply a small amount of petroleum jelly into the groove below the loose rubber section using a cotton swab. The petroleum jelly lubricates the area for easier repositioning and helps seal remaining air leaks. Press the rubber seal firmly back into its groove, working along the entire loose section to ensure complete reattachment.
Stiff seals respond well to gentle heat application. Set a hair dryer to medium heat and hold it several inches from the seal, moving along the length of the gasket until the material becomes more pliable. This temporary flexibility allows you to manipulate the seal back into proper position. Avoid overheating, as excessive heat permanently damages rubber. The goal is warmth sufficient for manipulation, not deformation.
For persistent small gaps, a thin layer of flexible household caulk provides a bridge solution. Apply caulk carefully around the gap area, selecting a product that remains flexible after curing. Monitor the repaired area closely, as caulk deteriorates faster than the seal itself and requires eventual replacement with a more permanent solution.
Correct Door Alignment Issues in 15 Minutes
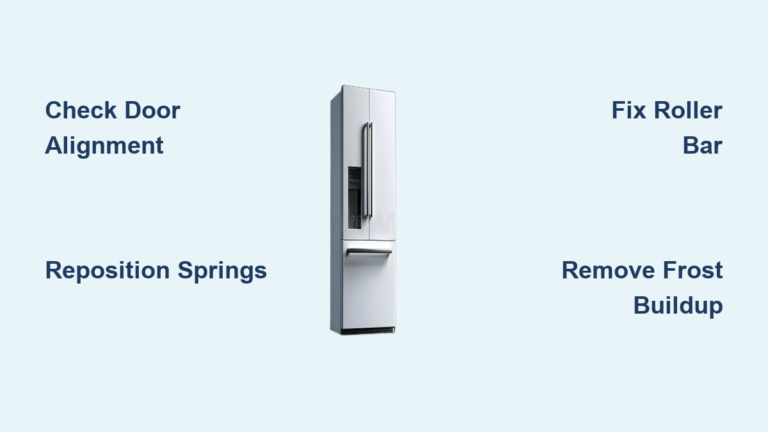
Misaligned doors prevent seals from making proper contact even when the gasket itself is in good condition.
Measure the space between the door and refrigerator frame at multiple points around the perimeter. Variations in these measurements indicate the door isn’t sitting square. Check corners carefully, as alignment issues concentrate at these stress points. If the door sits lower on one side or angles away from the frame, adjustment is needed.
Loosen the screws holding the gasket in place—typically found around the door’s perimeter where the seal attaches. Don’t remove them entirely; loosen enough to allow door movement. Push or pull the top and bottom corners as needed to achieve proper alignment with the frame. Test the seal with the paper test after each adjustment. Once proper alignment is achieved, tighten the screws while maintaining position.
Leveling the refrigerator itself often resolves chronic sealing problems. Use a level on top of the unit and adjust the leveling feet at the base as needed. Many refrigerators perform better with a slight backward tilt—gravity helps pull the door down into the seal. If your unit has rollers rather than adjustable feet, place shims under the rear rollers to achieve the desired tilt.
Know When to Replace Your Freezer Seal

Some situations require complete seal replacement rather than temporary repairs.
Seals that are cracked, torn, significantly bent, or have become hard and inflexible rather than pliable need replacement. The paper test provides a clear indicator—if a properly cleaned and adjusted seal still fails to hold paper firmly, the material itself has failed and temporary fixes won’t restore function.
Multiple failure points across the seal indicate systemic degradation rather than localized damage. When cracks or gaps appear in several areas, replacing the entire gasket costs less in time and frustration than attempting multiple repairs. Similarly, seals that have been repaired multiple times without lasting success have likely reached the end of their serviceable life.
Age matters significantly. Most freezer seals last eight to ten years with proper maintenance. If your seal is approaching or past this age and showing any signs of failure, replacement is the smarter long-term investment. New seals perform better, consume less energy, and provide reliable service for years.
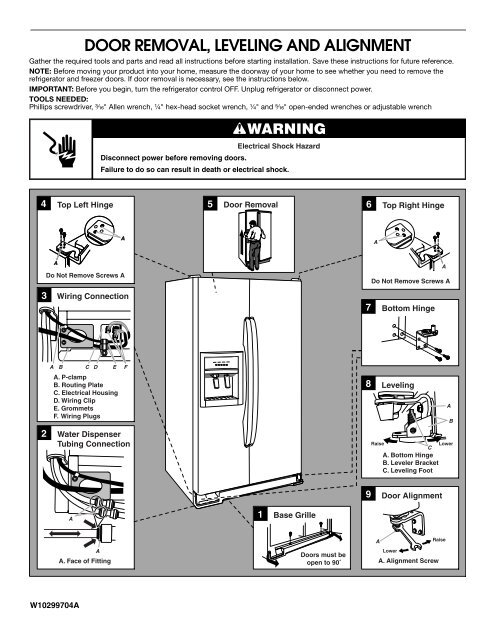
Install a New Freezer Gasket Step-by-Step
Replacing a worn seal requires patience but no specialized skills—follow these specific installation steps.
Source the correct replacement part for your refrigerator model by checking the model number in your appliance’s documentation. Remove the new seal from its packaging and soak it in warm water for approximately ten minutes. This warming makes the seal more pliable, simplifying installation and allowing any bends from packaging to relax.
Remove the old seal by extracting any screws around the door’s perimeter—these often have covers that need prying off first. For adhesive-mounted seals, carefully pry the old material away, working slowly to avoid surface damage. Pliers help grip and pull stubborn sections. Remove all adhesive residue from the mounting surface using appropriate cleaners.
Install the new seal starting at one corner and working around the door, pressing the seal firmly into place. If screws are used, insert them loosely first, then tighten gradually in a pattern that distributes pressure evenly around the door. This prevents bunching or pulling away at any single point. Ensure the seal lies completely flat with no twists or folds.
Allow the seal to set according to manufacturer recommendations—typically several hours—before heavy use. Then perform the paper test at multiple points to verify proper sealing. Check that the door closes easily and evenly, without requiring excessive force or catching on any sections.
Prevent Future Freezer Seal Problems
Regular maintenance significantly extends gasket lifespan and prevents unexpected failures.
Perform monthly visual inspections, looking for early signs of cracking, wear, or detachment. Clean the seal monthly with mild detergent and warm water, paying attention to areas that contact the door frame most heavily. Avoid harsh chemicals or abrasive cleaning tools that degrade rubber material.
Keep the seal dry and free of food residue, which attracts pests and promotes mold growth. When rearranging freezer items, avoid placing heavy objects where they might crush or deform the seal. Teach all household members to open the door by the handle rather than pulling on the seal itself, preventing the gradual stretching that leads to misalignment.
Monitor your energy bills for unexplained increases, which often indicate developing seal problems. Similarly, if you notice frost building up more quickly or food spoiling faster, inspect the seal before assuming other refrigerator problems. Catching issues early means simpler, less expensive repairs.
Quick Reference Repair Guide
For loose seals: Apply petroleum jelly with a cotton swab, then press firmly back into groove
For dirty seals: Clean with warm water and mild dish soap using a soft toothbrush, then wipe dry
For stiff seals: Use hair dryer on medium heat to increase pliability before adjusting
For misaligned doors: Loosen gasket screws, adjust door position, then re-tighten evenly
For worn seals: Replace using paper test as indicator; soak new seals in warm water first
For small gaps: Try realigning refrigerator to lean slightly backward and reduce door weight
A properly functioning freezer gasket seal is essential for food safety, energy efficiency, and appliance longevity. By understanding how to fix freezer gasket seal problems and applying appropriate repair techniques for each situation, you maintain your refrigerator’s performance while avoiding unnecessary expenses. Regular maintenance and prompt attention to developing problems keep your freezer operating at its best for years to come.