How to Fix KitchenAid Freezer Light Not Working
Opening your KitchenAid freezer only to find complete darkness inside can be frustrating and inconvenient. Beyond making it difficult to locate items, a non-functioning light prevents you from quickly checking food inventory or identifying potential spoilage. The good news is that most freezer light failures stem from a handful of common causes that you can diagnose and repair yourself without scheduling expensive service calls. This guide walks you through every troubleshooting step, from simple resets to component replacements, helping you restore illumination to your freezer compartment quickly.
Modern KitchenAid freezers rely on a coordinated system involving door switches, control electronics, and lighting components to provide illumination when you open the door. When any single element in this chain fails or malfunctions, the result is a dark interior that makes daily use considerably more inconvenient. Understanding how these components work together—and knowing exactly what to check and in what order—can save you both time and money. Most light issues require only basic tools and minimal technical knowledge, making them perfect candidates for DIY diagnosis before considering professional service.
Fix Your KitchenAid Freezer Light After Extended Door Open
How Automatic Shutoff Causes KitchenAid Freezer Light Failure
Your KitchenAid freezer includes an intelligent energy-saving feature designed to automatically deactivate interior lights when the door has remained open for extended periods. This protective mechanism activates after approximately ten minutes of continuous door exposure, shutting off lights to prevent unnecessary energy consumption and protect lighting components from heat buildup during prolonged operation. While this feature serves an important purpose in overall appliance efficiency, it can catch users off guard when they discover their freezer light refuses to illuminate even after closing and reopening the door.
The automatic shutoff system operates independently of the door switch, relying instead on a timer that begins counting whenever the door-open signal is detected. Once this timer reaches the ten-minute threshold, the control system disables lighting output regardless of subsequent door position changes. This means that simply closing and immediately reopening the door will not restore illumination—the system requires a complete reset cycle to recognize that normal operating conditions have been restored.
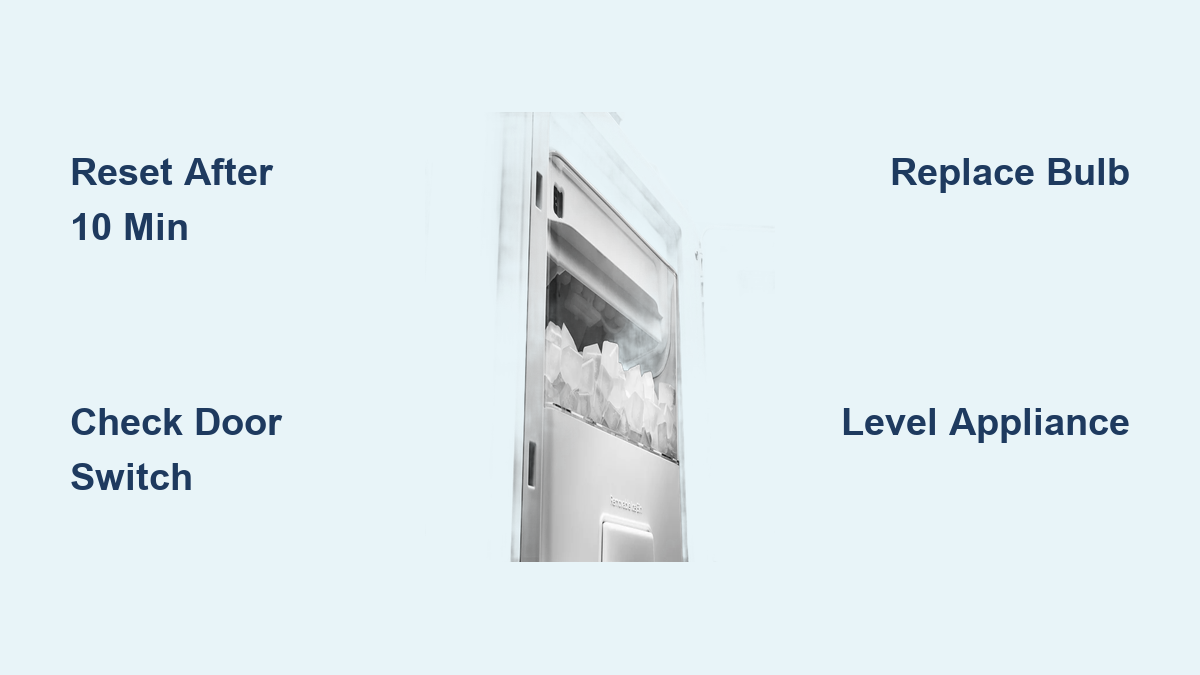
One-Minute Reset Procedure for KitchenAid Freezer Lights
To restore normal light operation after the automatic shutoff feature has activated, you must perform a deliberate reset procedure that allows the control system to clear its timer and door-ajar monitoring circuits. Begin by ensuring all refrigerator and freezer doors are fully closed and remain undisturbed for a minimum of sixty seconds. During this waiting period, avoid opening doors, bumping the appliance, or disturbing items inside that might create vibration or movement signals interpreted as door activity by the control system.
After the sixty-second reset period has elapsed, open the freezer door and observe whether the interior light illuminates normally. If illumination is restored, you have successfully resolved the issue through the reset procedure. However, if the light remains dark after this reset, the underlying cause extends beyond the automatic shutoff feature and requires additional diagnostic steps to identify and address the specific component malfunction responsible for the lighting failure.
Pro Tip: If you frequently leave your freezer door open while organizing or restocking, consider setting a phone timer to avoid triggering this automatic shutoff feature. Most users don’t realize how quickly ten minutes passes when working with freezer contents.
Diagnose and Repair Your KitchenAid Freezer Door Switch

Why Your KitchenAid Freezer Door Switch Fails
The door switch serves as the primary activation mechanism for your freezer’s interior lighting system, functioning as the electrical gatekeeper that signals lights to turn on when the door opens and off when the door closes. Every time you access your freezer, this small but critical component completes the circuit that allows electricity to flow to the light bulb or LED assembly. When the door switch fails or malfunctions, it disrupts this entire signaling process, leaving your freezer dark regardless of whether the door is properly opened or closed.
Door switch problems manifest in several distinct patterns that can help you identify this component as the source of your lighting failure. In some cases, the switch contacts wear out over years of use, losing their ability to reliably complete the electrical circuit. In other situations, debris accumulation around the switch mechanism prevents proper physical actuation when the door closes. The switch mounting can also shift out of alignment due to door hinge settling, appliance leveling changes, or accidental impact. Perhaps most confusingly, a switch that becomes partially depressed and stuck in the “door closed” position will continuously send a closed-door signal even while you stand with the door open.
Step-by-Step Door Switch Troubleshooting
Begin your door switch diagnosis by conducting a thorough visual inspection of the switch mechanism and surrounding area. Remove any food items, ice accumulation, or debris that might be blocking the switch or preventing the door from closing fully against it. Even items positioned loosely near the switch can interfere with its operation, so ensure the switch area remains clear of obstructions. Check for visible damage such as cracks, burns, or signs of electrical arcing that might indicate a failing component.
To test whether the door switch is receiving power and sending signals correctly, you can perform a simple verification using the door operation itself. With the interior light initially off, close the freezer door completely and wait approximately thirty seconds. Open the door while observing the light—normal operation should cause immediate illumination. If no light appears, try manually pressing and releasing the door switch with the door open. A working switch will produce a distinct audible click when actuated, and the light should respond accordingly. No click often indicates a failed switch mechanism requiring replacement.
Replace Your KitchenAid Freezer Light Bulb Correctly
Identify Your KitchenAid Lighting System Type
Understanding what type of lighting your KitchenAid freezer uses is essential for proper diagnosis and any necessary replacement procedures. Contemporary KitchenAid refrigerator and freezer models predominantly utilize LED light assemblies designed to function for the entire operational lifespan of the appliance. These LED systems integrate directly into the appliance’s electrical architecture and typically cannot be replaced by users—failure requires professional service intervention to address the integrated module or underlying electrical issue.
Older KitchenAid freezer models may still employ traditional incandescent appliance bulbs that function similarly to standard household bulbs. These bulbs use a screw-base configuration and can be purchased and replaced by owners without specialized tools or technical expertise. If your freezer uses incandescent bulbs, these will eventually fail through normal burnout and require periodic replacement to maintain interior illumination.
Safe Bulb Replacement Process for KitchenAid Freezers
Before replacing any light bulb in your freezer, always disconnect power to the appliance by unplugging it or turning off the circuit breaker supplying electricity. This precaution protects you from electrical shock and prevents potential damage to the appliance’s electrical system. Allow the bulb to cool completely if the freezer has been recently operated, as the bulb may have generated significant heat during extended illumination periods.
To replace the bulb, grasp it firmly and rotate it clockwise to loosen it from the socket. Compare the removed bulb with potential replacements to ensure correct size, shape, and base configuration. When selecting a replacement bulb, verify that the wattage does not exceed 40 watts—higher wattage bulbs generate excessive heat that can damage surrounding components or create fire hazards within the enclosed freezer compartment. Install the new bulb by inserting it into the socket and rotating counterclockwise until snug, then restore power and test operation by opening and closing the door.
Handling LED Lighting System Failures
If your KitchenAid freezer uses LED lighting rather than replaceable bulbs, your troubleshooting options are more limited. Individual LED failure in these integrated systems typically indicates a broader electrical issue requiring professional diagnosis. While the LED components themselves rarely fail, the driver circuits, control boards, or wiring connections that supply power to the LED assembly can malfunction in ways that prevent illumination. Attempting to access or repair these internal components yourself voids warranty protection and risks additional damage to the appliance.
The most effective troubleshooting step for LED-equipped units remains the one-minute reset procedure described earlier, as control board glitches can sometimes cause apparent LED failures that resolve with a system reset. Additionally, verify that no circuit breakers have tripped and that the appliance is receiving consistent electrical power. If these steps prove ineffective, scheduling service through authorized KitchenAid personnel provides the most reliable path to restoring LED illumination without risking further damage.
Correct KitchenAid Freezer Door Alignment Issues

How Misalignment Causes Light Problems
Proper door alignment and appliance leveling create the foundation for reliable door switch operation in any KitchenAid refrigerator-freezer combination. When the appliance is not level or when door alignment has shifted over time, the mechanical relationship between the closing door and the door switch becomes compromised. This misalignment can prevent the switch from actuating fully when the door closes, or conversely, leave it partially depressed and stuck in an incorrect position.
Even slight deviations in levelness—as little as a quarter turn of the leveling feet—can significantly impact door closure characteristics and switch activation. Temperature cycling and the weight of stored contents gradually settle the appliance, potentially throwing off the carefully calibrated alignment established during initial installation. Door hinges can also shift slightly due to the repeated stress of opening and closing, changing the point at which the door makes contact with the switch assembly.
Leveling Your KitchenAid Freezer for Proper Light Operation
Begin your alignment verification by obtaining a bubble level and placing it on the top shelf or interior floor of the freezer compartment. Check the level in both front-to-back and side-to-side orientations, adjusting the appliance’s leveling feet as needed until a true level reading appears. Most KitchenAid freezers include adjustable front feet that can be turned clockwise or counterclockwise to raise or lower each corner independently. Make incremental adjustments, checking the level after each change, until the appliance sits perfectly level in all directions.
After establishing proper levelness, assess door closure characteristics by closing each door slowly and observing the final position. The door should close with consistent pressure along its entire length, with the latch mechanism engaging smoothly and completely. Both doors on side-by-side models should meet evenly at the center gap when closed. If you notice doors hanging crooked, closing unevenly, or requiring extra force to latch, the alignment requires adjustment. In some cases, hinge replacement may be necessary if the mounting hardware has become damaged or worn over extended use.
Prevent Future KitchenAid Freezer Light Problems
Simple Maintenance Habits for Reliable Lighting
Regular maintenance practices can significantly extend the reliable operation of your KitchenAid freezer’s lighting system and prevent many common failure modes. Periodically inspect the door switch area for debris accumulation, ice buildup, or food items that might interfere with proper switch actuation. Clean the switch mechanism gently with a dry cloth or soft brush, avoiding moisture that could damage electrical contacts.
Avoid forcing doors closed when resistance occurs, as this can gradually misalign hinges and switches over time. Ensure items stored inside the freezer do not protrude far enough to interfere with door closure or door switch operation. When moving or rearranging contents, take care not to bump or shift the appliance in ways that might disrupt its levelness. These simple habits reduce mechanical stress on lighting components and help maintain proper alignment between doors and switches.
Monitoring the behavior of your freezer light provides early warning of developing problems before they result in complete failure. Note any changes in illumination brightness, delayed activation when opening the door, or flickering that might indicate impending component failure. Addressing these early warning signs through prompt diagnosis and repair often prevents more serious failures and extends the overall service life of your appliance’s lighting system. By following these preventative measures, you’ll avoid the common frustration of a KitchenAid freezer light not working when you need it most.