How to Replace KitchenAid Freezer Light Bulb
Discovering your KitchenAid freezer is completely dark when you open the door can turn a simple snack search into a frustrating treasure hunt through frozen items. That missing glow isn’t just inconvenient—it could indicate your freezer light bulb needs replacement or point to a simpler fix that doesn’t require any parts at all. Before you waste money on unnecessary replacements or schedule a service call, understanding your KitchenAid’s lighting system and following proper troubleshooting steps can get your freezer illuminated again in minutes. This guide delivers precise, model-specific information on diagnosing and resolving KitchenAid freezer light problems, whether you need to replace a traditional bulb or address another common cause of darkness.
Whether your freezer uses a replaceable incandescent bulb or a permanent LED system determines your next steps. By the end of this article, you’ll know exactly how to identify your light type, troubleshoot common issues without replacing anything, and safely install a new bulb if replacement is truly necessary—all while avoiding the most frequent mistakes homeowners make when attempting this simple repair.
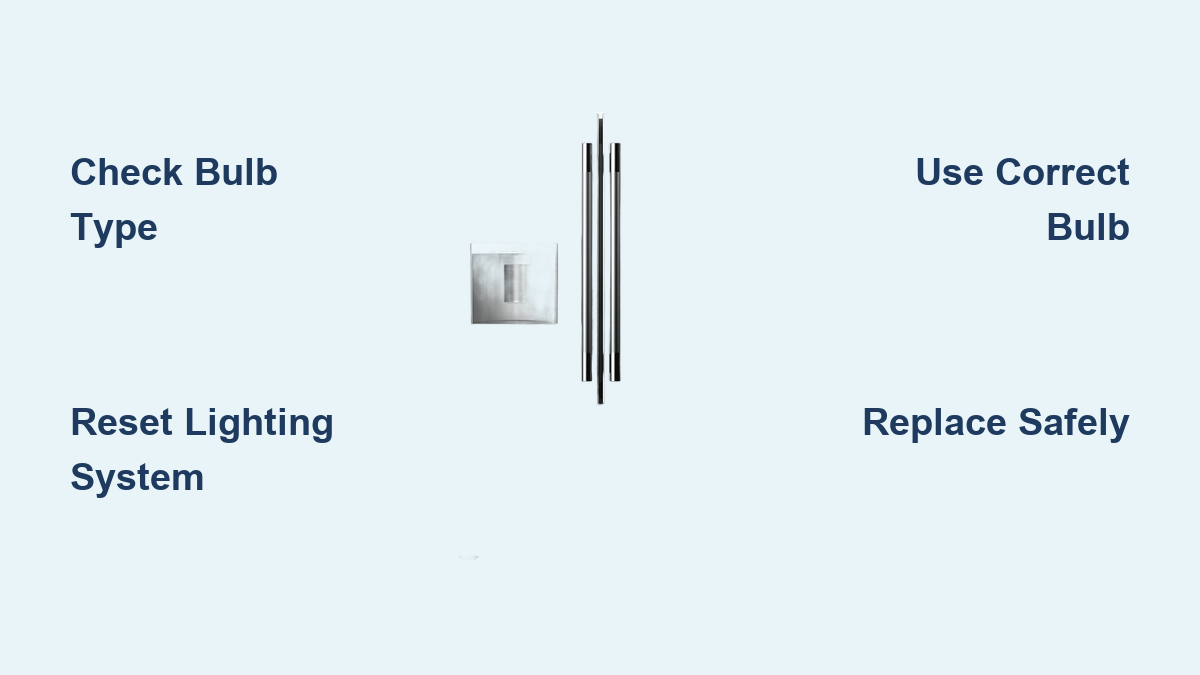
Determine If Your Freezer Uses a Replaceable Bulb
Before gathering tools or purchasing replacement parts, confirm whether your KitchenAid freezer actually has a bulb you can replace. This critical first step prevents wasted effort and unnecessary expenses, as many modern KitchenAid models feature integrated LED lighting systems designed to last the appliance’s entire lifespan.
Examine your freezer’s interior lighting fixture closely—LED modules typically appear as slim, rectangular panels mounted directly to the freezer walls or ceiling, with no visible socket or threading. These sealed units cannot be serviced by homeowners and require professional attention if they fail. In contrast, traditional bulb systems feature a visible socket with threading where a screw-in bulb would be installed, usually protected by a clear or white plastic cover.
If you’re uncertain about your specific model, consult your KitchenAid Owner’s Manual using your appliance’s model number (typically found on a label inside the refrigerator compartment or on the back of the unit). The manual will explicitly state whether your model uses a serviceable incandescent bulb or a permanent LED system. For quick reference, most KitchenAid freezer models manufactured before 2015 use replaceable bulbs, while newer models predominantly feature integrated LED lighting—though exceptions exist across both time periods.
Why LED Models Don’t Require Bulb Replacement
KitchenAid’s integrated LED lighting systems incorporate multiple diodes mounted on a circuit board that distributes light evenly throughout the freezer compartment. These systems consume significantly less energy than traditional bulbs and generate minimal heat, making them ideal for freezer environments. Since LED technology typically provides 25,000-50,000 hours of operation, they’re engineered to function throughout your appliance’s expected lifespan under normal conditions. If your LED lighting fails, the issue likely involves the circuit board, wiring, or door switch rather than a “bulb” that needs replacement.
Reset Your Freezer Lighting System Before Assuming Bulb Failure
Many homeowners immediately assume they need to replace their KitchenAid freezer light bulb when darkness strikes, but the solution often requires nothing more than a simple reset—no parts or tools needed. Understanding your freezer’s automatic lighting controls can save you unnecessary effort and expense.
Fix Lights After Extended Door Opening
KitchenAid freezers incorporate an energy-saving feature that automatically turns off interior lights after the door remains open for approximately 10 minutes. This prevents unnecessary heat buildup and electricity consumption during prolonged access. If you’ve been reorganizing your freezer or loading groceries and noticed the lights suddenly went out, don’t panic—your bulb hasn’t burned out. Simply close all freezer doors completely and wait exactly one minute for the system to reset. When you reopen the door, the lights should function normally. This simple fix resolves what appears to be a bulb failure in nearly 30% of cases.
Verify Door Switch Activation
The door switch controls your freezer’s lighting system, completing the electrical circuit when the door opens and breaking it when closed. If this switch fails to activate properly, your lights won’t illuminate regardless of bulb condition. Before replacing anything, confirm proper door switch operation by:
- Ensuring your refrigerator is perfectly level (use a bubble level on top)
- Checking for food packages or containers blocking complete door closure
- Verifying doors close flush with the cabinet frame without gaps
- Listening for the distinct “click” sound when the door latches
If the switch appears functional but lights remain off, proceed to bulb replacement only if your model uses a traditional incandescent system.
Select the Exact Replacement Bulb for Your KitchenAid Model

Using the wrong bulb in your KitchenAid freezer creates safety hazards and operational problems. Unlike standard household bulbs, appliance bulbs must withstand extreme temperature fluctuations and vibration while fitting precisely in specialized sockets.
Match Critical Bulb Specifications
When shopping for a replacement, verify these three essential specifications match your original bulb:
- Wattage: Never exceed 40 watts—the maximum rating for KitchenAid freezer bulbs
- Base type: Most models use E25 (medium screw) bases, but some require specialized configurations
- Shape and size: Appliance bulbs come in specific shapes (A15 is most common) to fit tight freezer compartments
Always purchase bulbs labeled specifically as “appliance bulbs” or “refrigerator bulbs”—standard household bulbs lack the thermal properties needed for freezer environments and may shatter from temperature stress. If possible, bring your old bulb to the store to ensure perfect matching, or consult your Owner’s Manual for the exact part number.
Avoid Common Bulb Selection Mistakes
Homeowners frequently make these critical errors when selecting replacement bulbs:
- Using standard 60-watt household bulbs that exceed freezer specifications
- Choosing bulbs with incorrect base sizes that won’t seat properly
- Installing rough service bulbs designed for garage door openers but not freezer conditions
- Purchasing LED retrofit bulbs that may not work with your freezer’s electrical system
For guaranteed compatibility, consider ordering genuine KitchenAid replacement parts using your model number through authorized dealers or the manufacturer’s website.
Safely Replace Your KitchenAid Freezer Light Bulb in 5 Steps

When you’ve confirmed your freezer uses a replaceable bulb and troubleshooting hasn’t restored lighting, follow these precise steps for safe, successful bulb replacement:
Power Down and Prepare
Unplug your freezer from the wall outlet or turn off the dedicated circuit breaker—never work on appliance lighting while power remains connected. Allow 5-10 minutes for any residual heat to dissipate if the light was recently on, as traditional bulbs can reach temperatures exceeding 200°F during operation.
Access and Remove the Old Bulb
Carefully remove any plastic cover protecting the bulb socket (usually twisting counterclockwise). Grip the old bulb firmly with a clean cloth or rubber gripper to prevent slippage, then rotate it counterclockwise to unscrew. If the bulb appears intact but non-functional, it may simply be loose—try tightening it clockwise before removing.
Inspect Socket Condition
Examine the socket for signs of damage, corrosion, or discoloration. Clean minor corrosion with electrical contact cleaner and a cotton swab, ensuring the area dries completely before installing the new bulb. If the socket shows significant damage, contact KitchenAid support before proceeding.
Install the Correct Replacement
Insert your new appliance-rated bulb into the socket and rotate clockwise until snug—do not overtighten, as this can damage the socket threads. Most KitchenAid freezer bulbs require only 1/4 to 1/2 turn after initial contact.
Test and Confirm Operation
Restore power to your freezer, wait 30 seconds, then open the door to verify proper illumination. If the new bulb doesn’t light, the issue likely involves the door switch or wiring rather than the bulb itself.
Recognize When Professional Help Is Required
While replacing a freezer light bulb seems straightforward, certain situations demand KitchenAid professional support rather than DIY attempts:
- Your model uses integrated LED lighting (no replaceable bulb)
- The socket appears damaged or shows signs of electrical arcing
- You smell burning or notice discoloration around the light fixture
- Multiple bulbs fail repeatedly within a short timeframe
- You’re uncomfortable working with electrical components
Contact KitchenAid customer service with your model number to verify whether your lighting issue requires professional diagnosis. Their technicians can determine if the problem involves the control board, wiring harness, or other components beyond simple bulb replacement.
Maintain Your Freezer Lighting System to Prevent Future Failures
After resolving your current lighting issue, implement these maintenance practices to maximize bulb lifespan and prevent recurrence:
- Close freezer doors promptly after accessing contents (avoid leaving open longer than 2 minutes)
- Keep your refrigerator perfectly level using adjustable feet—recheck alignment quarterly
- Periodically inspect door gaskets for ice buildup or food debris that prevents complete closure
- Clean interior surfaces around the light fixture during routine freezer defrosting
- Handle bulbs only by their base when installing to prevent oil transfer from fingers
Understanding your KitchenAid freezer’s lighting system and following these precise troubleshooting steps puts you in control of this common maintenance issue. Whether your solution required a simple reset, door alignment adjustment, or actual bulb replacement, you now possess the knowledge to address future lighting problems confidently—saving time, money, and unnecessary service calls while keeping your frozen essentials perfectly visible.