How to Remove Ice Buildup in Freezer: Quick Steps
Ice accumulation in your freezer is more than just an inconvenience—it reduces cooling efficiency, increases energy consumption, and can ultimately damage your appliance if left unaddressed. Whether you’re dealing with a thin layer of frost or a thick block of ice that has essentially frozen your food to the walls of your unit, this comprehensive guide will walk you through safe and effective methods to restore your freezer to optimal condition. We’ll cover quick fixes for minor frost, complete defrosting procedures for heavy ice buildup, and essential maintenance strategies to prevent future problems.
Understanding why ice forms in the first place is the first step toward effective removal and prevention. Most ice buildup occurs when warm, humid air enters the freezer compartment—typically through a worn door seal, frequent door openings, or items that were still warm when placed inside. This moisture condenses and freezes on the cold surfaces, gradually building up over time. The good news is that with the right approach, you can remove even stubborn ice buildup safely and take steps to minimize its return.
Recognizing Critical Ice Accumulation Warning Signs

Visible frost exceeding a quarter-inch thickness on freezer walls, shelves, or door frames signals it’s time for immediate action. When ice chunks begin forming or food items become partially frozen to the interior surfaces, your appliance is working significantly harder than necessary. You’ll notice your freezer running continuously without cycling off, which dramatically increases energy consumption and puts unnecessary strain on the compressor.
Difficulty closing the freezer door properly often indicates ice buildup interfering with the door seal’s function. If you see frost forming on food packaging or notice ice crystals developing around items, temperature consistency has been compromised. These signs create a dangerous cycle—ice prevents proper sealing, allowing more warm air to enter, which creates additional moisture that freezes into more ice. Addressing this problem promptly prevents further damage to both your appliance and frozen contents.
Gathering Essential Supplies Before Starting Defrost

Before unplugging your freezer, assemble all necessary materials to streamline the defrosting process. Collect several old towels or newspapers to absorb melting water, a large shallow pan to catch drips, and a plastic spatula or wooden spoon for safely dislodging ice without damaging interior surfaces. Prepare a bucket with warm water and mild dish soap for post-defrost cleaning, and have coolers with ice packs ready for food storage during the process.
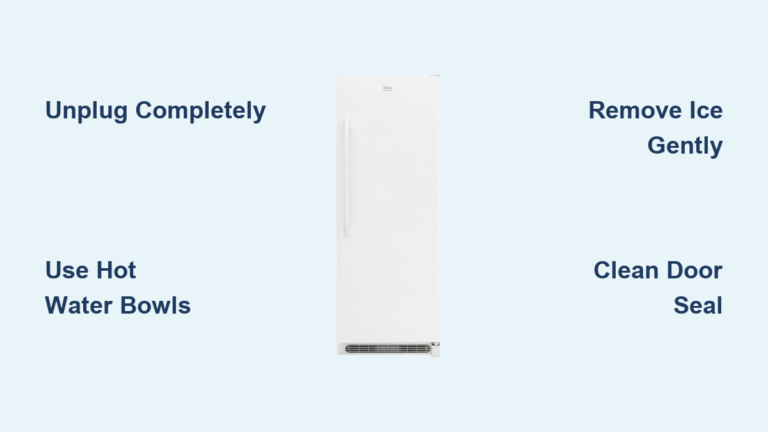
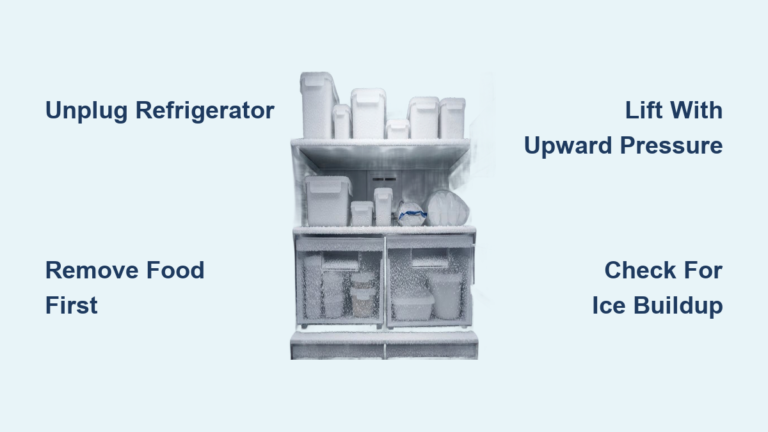
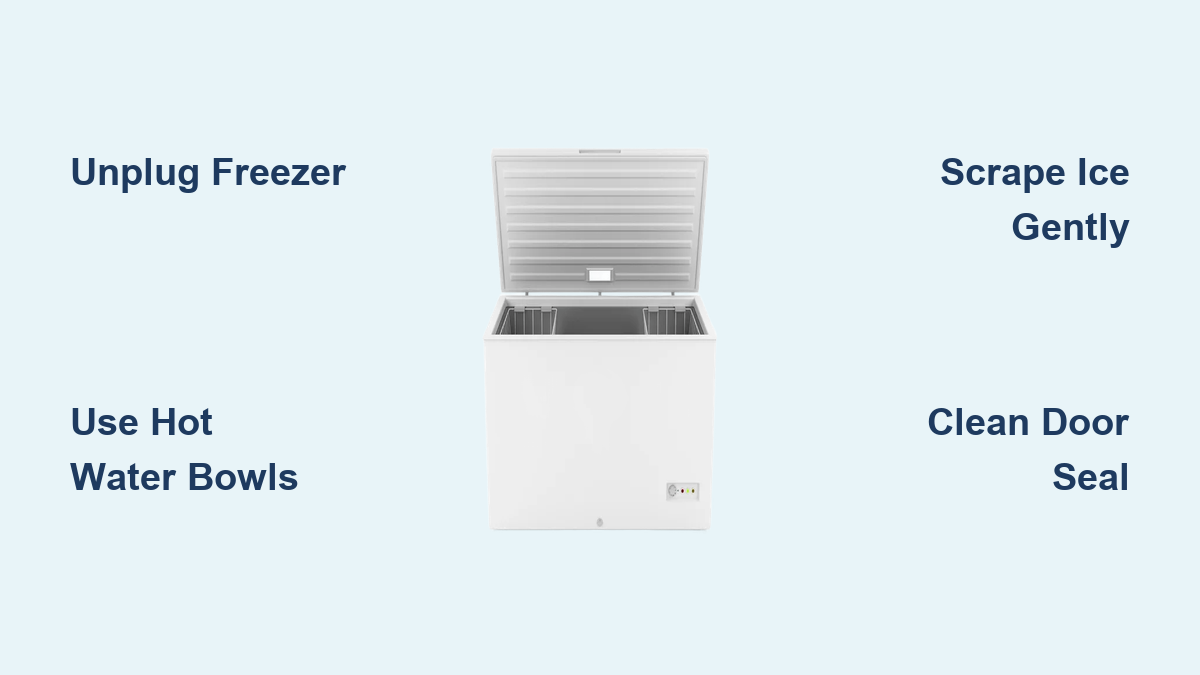
Unplug the freezer completely from the power source—this safety step is non-negotiable. Transfer all food items to your prepared coolers, grouping them together to maintain colder temperatures longer. Check expiration dates during this transfer to discard anything questionable. Place multiple layers of towels around the freezer base to protect flooring, positioning your drip pan directly beneath the most affected areas. If your model has a drain plug, place a shallow container beneath it or run a tube to a floor drain to manage water runoff efficiently.
Fast Defrost Solutions for Light Frost Accumulation
When ice buildup measures less than a quarter inch, use the hot water bowl method to accelerate melting without a complete shutdown. Boil several cups of water, pour into heat-safe bowls, and place them inside the freezer compartment with the door closed. The steam and radiant heat will loosen frost from surrounding surfaces within 5-10 minutes. Check progress periodically and replace with fresh hot water as needed—this approach safely targets multiple surfaces simultaneously without risking appliance damage.
For minimal frost, simply opening the freezer door and allowing room-temperature air to circulate can gradually melt accumulation. Speed this natural process by positioning a fan near the open door to increase air movement across frozen surfaces. Never use metal tools to chip away frost, as this risks puncturing refrigerant lines or damaging the interior lining. Instead, once ice begins loosening from the surface, gently remove it with your plastic spatula—applying force to firmly attached ice can cause costly damage to your appliance.
Step-by-Step Manual Defrosting for Heavy Ice Buildup
When ice exceeds a quarter inch or covers significant interior surfaces, follow this systematic manual defrosting procedure. Begin by ensuring the freezer is completely unplugged and all contents removed. Prop the door fully open to maximize warm air circulation throughout the compartment. Position your drip pan strategically where melting will be most concentrated and check it regularly to prevent overflow.
As ice begins softening, gently work a plastic spatula between the ice and freezer walls, starting at natural separation points like edges and seams. For stubborn sections, apply warm—not boiling—water with a sponge to accelerate melting without thermal shock. If using a hairdryer on low setting, maintain constant motion and keep it at least six inches from surfaces to prevent heat damage. Work top to bottom, as melting upper sections will naturally help soften lower accumulations through dripping water.
Once all ice has been removed, thoroughly clean all interior surfaces with a warm water and mild dish soap solution. Pay special attention to corners and crevices where debris accumulates. Rinse with clean water and dry completely with fresh towels before replacing components. This critical cleaning step prevents residue from accelerating future ice reformation and provides an opportunity to inspect the door seal for damage.
Proven Techniques to Accelerate Ice Removal Safely
Combine hot water bowls with a strategically positioned fan for dramatically faster defrosting. The moving air carries heat more efficiently than still air, potentially reducing a 12-hour natural defrost to just 2-3 hours. Position the fan to blow across the open freezer interior while hot water bowls emit steam inside the compartment—this one-two approach works especially well for chest freezers with limited airflow.
Create targeted warm compresses by soaking small towels in hot water, wringing them out thoroughly, and draping them directly onto particularly stubborn ice sections. The towels transfer heat efficiently while absorbing meltwater. Replace cooled towels every few minutes with fresh hot ones, working systematically across problem areas. This hands-on method requires more attention but delivers precise results where you need them most.
Once ice begins separating from walls, use your plastic scraper to carefully lift and remove sheets of ice from the edges inward. Never force ice that remains firmly attached—additional heat application will eventually loosen it naturally. This technique works best after initial softening with other methods and can significantly reduce hands-on time when applied correctly to partially loosened ice sections.
Post-Defrost Cleaning and Preventative Maintenance

After ice removal, wash all interior surfaces with a solution of two tablespoons baking soda dissolved in one quart warm water. This food-safe mixture effectively eliminates odors and residue without chemical traces that could affect food quality. Scrub shelves, drawers, walls, and ceiling with a soft sponge, then rinse with clean water and dry completely before replacing components.
Carefully inspect the door seal for cracks, tears, or loss of flexibility—run your fingers along its entire length to identify weak spots. Clean the seal with baking soda solution to remove debris that prevents proper contact. Test seal effectiveness by closing the door on a sheet of paper; if you can easily pull it out, replacement is needed. Worn seals are the primary cause of recurring ice problems, so address any issues immediately.
Check your freezer’s drain hole and tube for obstructions, using a thin flexible tool to clear debris if necessary. Flush with warm water to ensure proper drainage, as clogged drains cause water pooling inside the compartment after defrosting. This maintenance step prevents future water-related issues and keeps your appliance functioning optimally between defrosting cycles.
Preventing Recurring Ice Buildup Through Smart Habits
Establish a routine of inspecting and maintaining door seals monthly—clean them with warm soapy water and check for damage every few months. Ensure nothing inside the freezer prevents proper door closure, and avoid overpacking which blocks air circulation. Allow hot foods to cool to room temperature before freezing them, and minimize door open time to reduce warm air introduction.
Implement regular maintenance defrosting when frost reaches one-eighth inch thickness—this proactive approach takes minutes rather than hours and prevents minor frost from becoming major ice problems. Keep your freezer away from heat sources like ovens or direct sunlight, as external warmth accelerates internal ice formation. Consider installing a door alarm in households with frequent freezer users to prevent accidental prolonged door openings.
If ice reappears rapidly after proper defrosting and preventive measures, mechanical issues may be present. Modern freezers contain automatic defrost components that can fail, requiring professional diagnosis. Don’t hesitate to consult an appliance repair technician if problems persist despite your best efforts—they can identify and replace faulty defrost heaters, thermostats, or control boards before more serious damage occurs.