How to Clean Freezer Vents: Quick Steps
Your freezer suddenly stops maintaining consistent temperatures, causing food to develop excessive frost while other areas feel warmer than they should. The culprit? Blocked freezer vents restricting essential airflow. These small openings circulate cold air throughout your appliance, ensuring every shelf stays at the proper temperature for food preservation. When dust, food particles, ice, or debris clog these vents, your freezer works harder, energy bills climb, and food quality suffers. Learning how to clean freezer vents properly takes less than an hour but delivers significant benefits for your appliance’s performance. This guide walks you through every step of the process, from recognizing warning signs to completing a thorough cleaning that restores optimal airflow and prevents costly repairs down the line.
Why Blocked Freezer Vents Cause Temperature Chaos
Your freezer’s vents create a carefully designed airflow system where cold air enters through certain openings, circulates throughout the compartment, and exits through others. When vents become obstructed, this cycle breaks down in critical ways. The compressor must run longer and more frequently to compensate for warm spots, increasing electricity consumption by up to 30 percent in severe cases. Temperature inconsistencies create dangerous pockets where bacteria can multiply, potentially compromising food safety even when items appear frozen solid. The additional strain accelerates wear on mechanical components, shortening your appliance’s lifespan. Regular vent cleaning prevents these problems before they develop, ensuring your freezer operates efficiently and maintains consistent temperatures throughout.
Spot These 7 Warning Signs of Clogged Freezer Vents

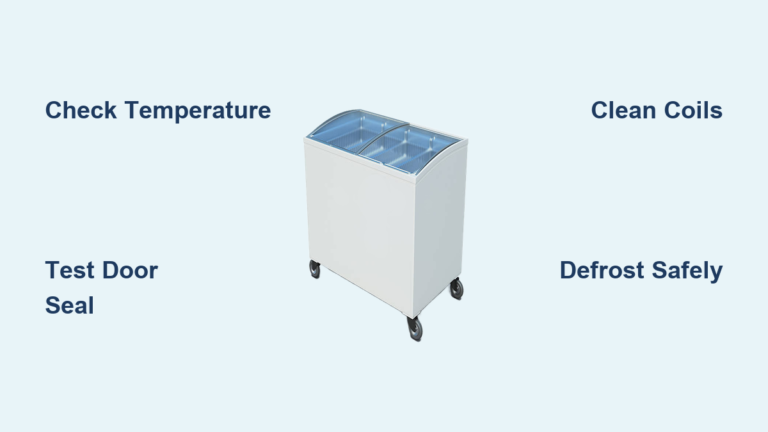
Don’t wait until your freezer fails completely—recognize these specific indicators that signal immediate vent cleaning is needed. Inconsistent temperatures where some sections freeze solid while others feel warmer than normal indicate disrupted airflow patterns. Excessive frost accumulation on interior walls or shelves beyond normal levels shows air can’t circulate properly. Your freezer struggling to reach and maintain the set temperature despite proper thermostat settings reveals vent blockage. Ice forming rapidly on food items more quickly than usual points to airflow issues. Noticeably higher energy bills without changes in household usage patterns suggest your compressor is working overtime. The motor running more frequently than normal or producing unusual sounds indicates it’s straining against restricted airflow. Water pooling around or beneath your freezer signals temperature fluctuations causing periodic melting of frost that should remain solid.
Gather These 9 Essential Tools Before Starting

Having the right equipment ready ensures efficient cleaning without damaging your appliance. A soft-bristled brush or clean old toothbrush serves as your primary tool for dislodging debris from vent slots without scratching surfaces. A vacuum cleaner with a crevice attachment removes loosened particles without pushing them deeper into channels. For ice removal, use only a plastic or wooden scraper—never metal tools that could puncture refrigerant lines. Mild dish soap or baking soda creates effective cleaning solutions for stubborn residue, while a spray bottle allows controlled application. Keep several clean microfiber cloths available for wiping surfaces without leaving lint behind. Rubber gloves protect your hands during the process, while a cooler packed with ice bags maintains food temperature during cleaning. Old towels or newspapers placed around the base absorb inevitable water runoff, and protective eyewear shields your eyes from dislodged dust and debris.
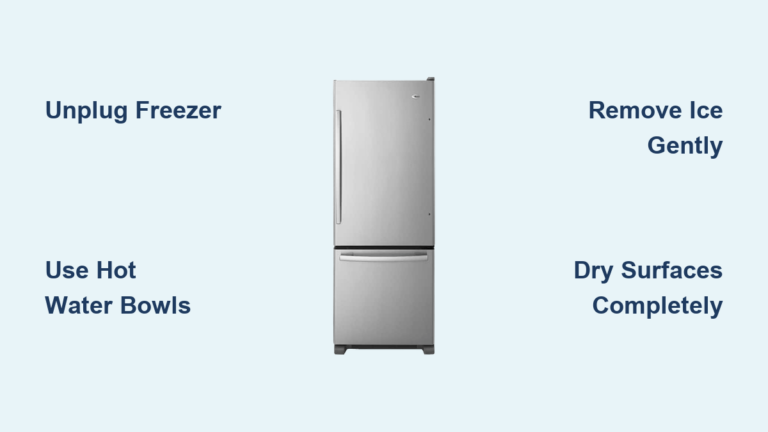
Empty and Prepare Your Freezer in 5 Critical Steps
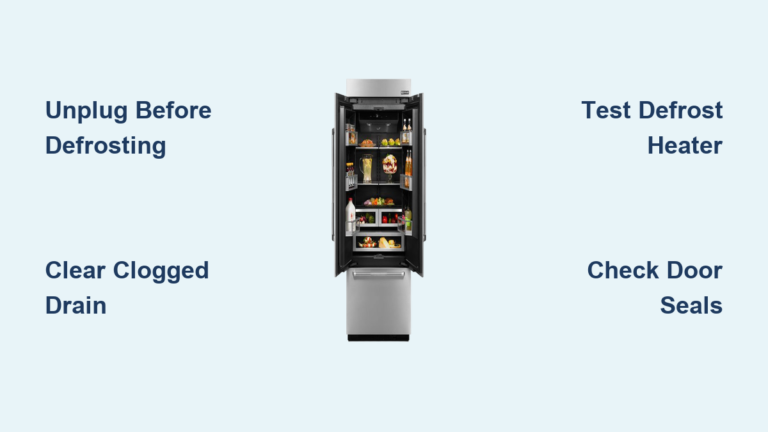
Proper preparation protects both your food and appliance during the cleaning process. Begin by transferring all food items to your cooler, packing them tightly with ice packs to maintain safe temperatures below 40 degrees Fahrenheit—never leave food out longer than necessary. Unplug the appliance from the power source to ensure electrical safety and allow the interior to begin warming slightly, which softens ice buildup for easier removal. If significant ice has accumulated, leave the door open for 15-30 minutes to accelerate the softening process before scraping. Remove all shelves, drawers, and other removable components so you can clean them separately and access the full interior surface area. Finally, lay protective covering around the base to absorb water that will drip during defrosting—this preparation makes the actual cleaning faster and more effective.
Clear Interior Vent Channels Without Causing Damage

Locate all interior vent openings, which vary by freezer model—most have vents along interior walls near the top or middle sections, while others feature rear vent panels or ceiling vents. Use your soft-bristled brush to gently sweep around vent openings, working from the outer edges toward the center to push debris toward the vacuum. Insert the brush carefully into vent channels, moving it back and forth to loosen accumulated debris without forcing it deeper. Vacuum the area with a crevice attachment to remove dislodged particles, repeating the process until no more debris emerges. For stubborn debris in curved sections, use short bursts of compressed air to dislodge particles, directing the airflow carefully to avoid pushing debris deeper. Wipe the interior surfaces surrounding vents with a slightly damp cloth to remove dust that might resettle on cleaned areas—take your time with this step for thorough results.
Remove Ice Buildup Safely: 3 Methods That Won’t Damage Your Freezer
Ice accumulation restricts airflow more severely than dust and requires specific techniques to remove safely. The safest method is natural thawing—leave the freezer door open and allow ice to soften at its own pace, which may take several hours depending on thickness. Place towels around the base to absorb melting water, changing them as they become saturated. For faster results, apply warm, damp cloths to ice buildup, replacing them as they cool until all ice has softened sufficiently for removal. A hair dryer on low heat also speeds the process, but keep it moving constantly and maintain several inches distance from the ice surface—never leave it unattended. Once ice has softened, use your plastic scraper to gently pry away loosened pieces, working carefully to avoid scratching surfaces. Never chip away at ice still firmly attached, as this could damage internal components or puncture hidden refrigerant lines.
Dry and Reassemble to Prevent Immediate Ice Reformation
Thorough drying prevents immediate ice reformation and ensures proper operation after cleaning. Use clean, dry microfiber cloths to wipe all interior surfaces, paying particular attention to vent channels and surrounding areas. Allow the freezer to air dry with the door open for 15-30 minutes, giving hidden moisture time to evaporate completely. While waiting, clean your removed shelves and drawers separately using warm water with mild dish soap, rinse thoroughly, and dry completely. Reassemble the freezer by returning shelves and drawers to their original positions, taking care not to force components. Replace vent covers securely, ensuring proper alignment and that any clips or screws are fully engaged. Close the freezer door, plug in the appliance, and allow it to run for 30-60 minutes before restocking with food—this stabilization period lets the compressor cycle properly before you reintroduce perishable items.
Prevent Future Blockages With This Monthly Maintenance Routine
Establishing a regular maintenance schedule keeps your freezer vents clean without requiring intensive cleaning sessions. For typical household use with one to two people, inspect and clean vents every six to twelve months. Moderate use with three to four family members benefits from cleaning every four to six months, while households with five or more members should clean every two to three months. Implement these preventive habits to reduce debris accumulation: keep the freezer door closed as much as possible, ensure door gaskets are clean and pliable to maintain proper seals, never place warm food directly in the freezer, and leave space between items when restocking to maintain proper internal airflow. During normal use, take a moment to glance at vent areas, noting any frost accumulation or visible debris—addressing small problems early prevents major blockage issues.
Troubleshoot These 3 Common Post-Cleaning Problems
Sometimes issues persist after thorough vent cleaning, indicating problems beyond simple blockage. If your freezer fails to cool properly, first verify it’s plugged in and the power outlet functions correctly—allow 30-60 minutes after plugging in for the system to stabilize before judging performance. Ice recurring quickly suggests moisture is entering faster than normal—examine door gaskets for cracks or debris preventing proper seals, and consider whether you’ve been leaving the door open longer than usual. Unusual odors after cleaning typically indicate cleaning solution residue remains or debris exists in hidden areas—ensure all soap has been rinsed away completely and the interior is fully dry before closing the door. A thin layer of baking soda placed on the interior floor helps absorb lingering odors while the freezer continues to operate.
Learning how to clean freezer vents properly gives you a valuable maintenance skill that protects both your appliance and your food. Regular attention to these small but critical components ensures consistent temperatures, optimal energy efficiency, and reliable food preservation for years to come. By following this guide, you’ve taken the first step toward extending your freezer’s lifespan and maintaining food quality—mark your calendar for the next cleaning session and enjoy the peace of mind that comes from knowing your freezer operates at peak performance.