How Often to Clean Freezer: Quick Guide
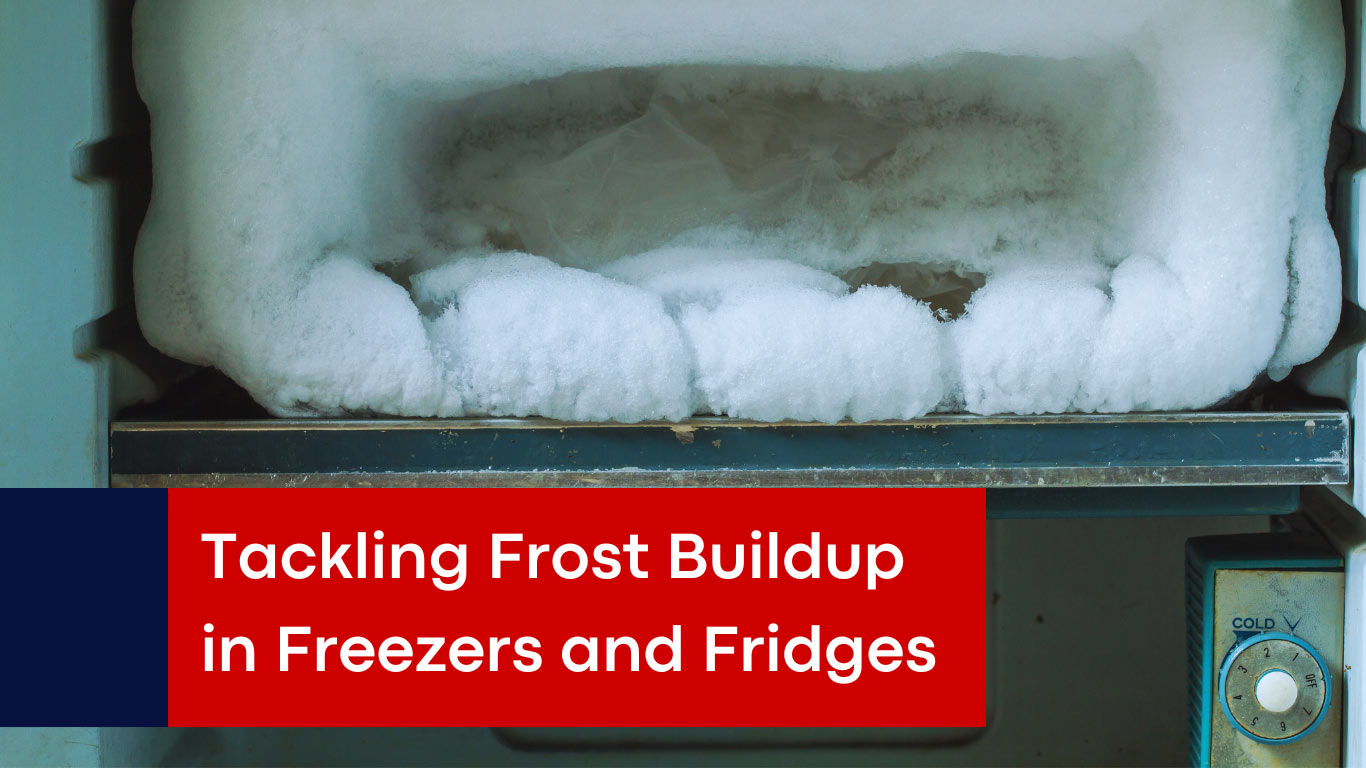
You’ve probably noticed the frost building up in your freezer or caught a faint odor when opening the door, but how often do you actually clean it? Most homeowners ignore this essential appliance maintenance task until problems arise—unpleasant smells, excessive frost, or even food spoilage. Establishing a proper cleaning schedule keeps your freezer hygienic, extends its lifespan, and prevents those annoying “why does my freezer smell?” moments. The answer to how often to clean freezer depends on your usage patterns, but most households benefit from a tiered approach combining quick monthly checks with thorough quarterly and semi-annual deep cleaning sessions.
Neglecting freezer maintenance doesn’t just create unpleasant conditions—it compromises food safety, increases energy consumption, and can lead to costly repairs down the line. When frost buildup exceeds a quarter-inch thickness or odors develop, your appliance must work harder to maintain the crucial 0°F (-18°C) temperature needed for safe food storage. This comprehensive guide reveals exactly how often to clean your freezer based on your specific situation, what each cleaning level involves, and how to recognize warning signs before they become major problems.
Monthly Freezer Maintenance: 10-Minute Checkup Routine
Monthly maintenance takes only minutes but prevents small issues from becoming major headaches. This quick session focuses on visual inspections and spot-cleaning obvious problem areas before they escalate. During your monthly check, wipe down shelves where moisture has accumulated, pay special attention to door seals where crumbs collect, and verify your freezer maintains the proper 0°F temperature using a separate appliance thermometer—not just the built-in display which can drift over time.
How to Perform Your Monthly Frost Check
Stand back and visually inspect your freezer’s interior walls for frost accumulation. Healthy frost buildup should be minimal—less than 1/8 inch thick. If you notice uneven patches or thicker areas, this indicates either a door seal problem or excessive door opening. Check door seals by closing them on a dollar bill—if you can pull it out easily without resistance, the seal needs attention. While you’re at it, wipe down any visible moisture around the door gasket with a dry cloth to prevent ice formation that compromises the seal.
Quick Inventory Management During Monthly Checks
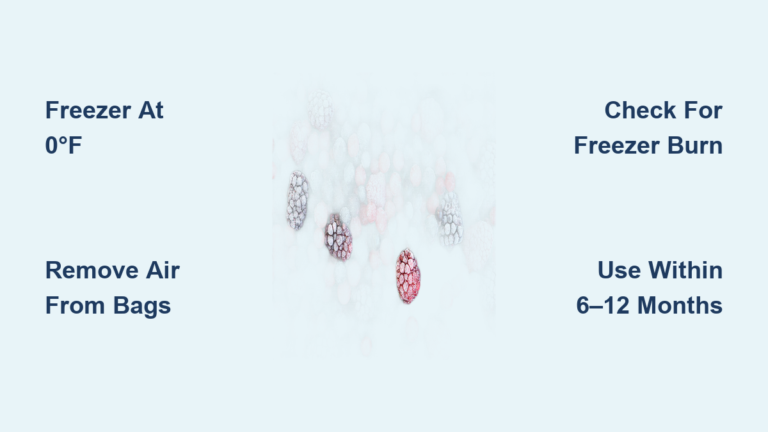
As you inspect your freezer, quickly assess your inventory by checking for expired items or packages showing signs of freezer burn. Items with heavy ice crystals throughout have likely been stored too long or experienced temperature fluctuations. Mark packages with freeze dates if you haven’t already—this simple habit prevents forgotten food and reduces waste significantly. Many households find that spending just five minutes organizing items during monthly checks keeps their freezer running efficiently between deep cleaning sessions.
Quarterly Deep Cleaning: Step-by-Step Guide for Frost-Free Models

Quarterly cleaning sessions involve emptying your freezer completely and wiping down all interior surfaces, taking about 1-2 hours depending on your model and organization needs. This frequency strikes the perfect balance for most households—preventing excessive odor buildup while maintaining optimal hygiene without requiring the intensive defrosting needed for manual-defrost models. If you notice frost accumulating faster than normal or detect faint odors between monthly checks, move your quarterly session up to every two months.
Preparing for Your Quarterly Cleaning Session
Before starting, gather these essential supplies: mild cleaning solution (1/4 cup baking soda per quart of warm water works perfectly), soft microfiber cloths, cooler with ice packs for temporary food storage, and trash bags for expired items. Choose a time when your freezer contents are at their lowest—ideally just after using bulk items but before major shopping trips. This minimizes the number of items you need to keep frozen during cleaning and makes organization more efficient when returning items.
Emptying and Assessing Your Freezer Contents
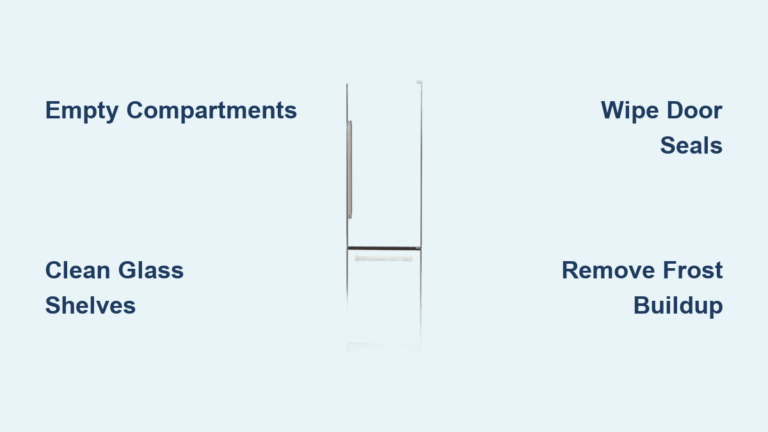
Systematically remove all items, checking each package for damage, freezer burn, or excessive ice crystals. Discard anything with large ice crystals throughout (indicating temperature fluctuations) or items stored beyond recommended timeframes. Group similar items together as you remove them—proteins in one section, prepared meals in another—to simplify organization when returning contents. Consider using this opportunity to label all items with freeze dates if you haven’t already—this simple step dramatically reduces food waste through better inventory management.
When Frost Buildup Reaches 1/4 Inch: Immediate Action Required
Frost accumulation exceeding one-quarter inch thickness signals that your freezer needs immediate attention regardless of your regular cleaning schedule. This level of frost acts as insulation between your food and the cooling system, forcing the compressor to work harder and longer to maintain proper temperatures. In manual-defrost models, this is your cue to schedule a complete defrosting session immediately—delaying further reduces efficiency and increases energy consumption significantly.
Identifying the Source of Excessive Frost
Uneven frost patterns often pinpoint specific problems. Frost concentrated around the door indicates a seal issue, while buildup primarily on the back wall suggests blocked air vents. If frost forms rapidly after cleaning, investigate these common culprits: damaged door seals allowing warm air infiltration, frequent or prolonged door openings, or storing warm foods that introduce excess moisture. For upright freezers, check that items aren’t blocking the air vents typically located at the back of the freezer compartment—this simple oversight causes disproportionate frost buildup in many households.
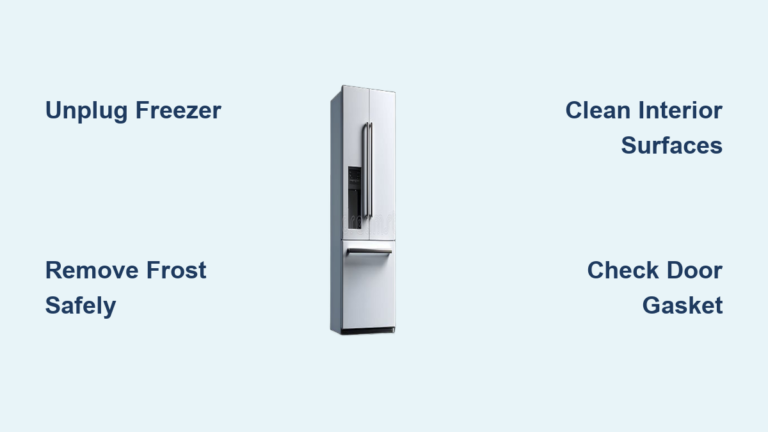
Emergency Frost Removal Without Full Defrosting
When you need to reduce frost buildup quickly without emptying the entire freezer, follow these steps: unplug the unit, place towels on the floor to catch meltwater, and position a fan blowing warm (not hot) air into the freezer compartment. Never use sharp objects to chip away ice—this risks damaging interior surfaces and refrigerant lines. Monitor the process closely and wipe away water as it forms to prevent refreezing. This temporary solution buys you time until you can schedule a proper deep cleaning session, but remember that addressing the root cause prevents recurrence.
Family of 4 vs. Single Person: Adjusting Your Cleaning Schedule
Your household size significantly impacts how often to clean freezer. Families with children who frequently open the door experience more temperature fluctuations, accelerating frost buildup and increasing contamination risks from dropped food items. If multiple people access your freezer daily, implement monthly deep cleaning instead of quarterly sessions and perform weekly visual checks for spills. Households with frequent door openings often need to clean condenser coils every three months rather than twice yearly to maintain efficiency.
High-Usage Household Cleaning Protocol
For families of four or more, follow this adjusted schedule: weekly visual inspections for spills and frost buildup, monthly deep cleaning sessions, and condenser coil cleaning every three months. Keep a small step stool near the freezer so children can reach items without fully opening the door, reducing warm air infiltration. Store frequently used items at eye level to minimize door open time, and implement a “one in, one out” rule for freezer organization to prevent overloading that blocks airflow. These small adjustments significantly extend the time between required deep cleaning sessions while maintaining food safety.
Low-Usage Household Optimization
Single individuals or couples with minimal freezer usage can often extend cleaning intervals while maintaining optimal conditions. If you open your freezer fewer than five times weekly and primarily store commercially packaged items, you might safely move quarterly sessions to every four months. However, never skip monthly temperature checks—older units in low-usage scenarios often develop thermostat drift that goes unnoticed until food spoilage occurs. Place a thermometer in the back corner (the warmest spot) to verify consistent temperatures throughout the compartment, not just near the door where readings are typically taken.
Upright vs. Chest Freezer: Different Cleaning Frequencies Explained
Upright freezers require more frequent organization-focused cleaning due to their compartmentalized design, while chest freezers need deeper attention to bottom storage areas where debris accumulates. Upright models typically need quarterly deep cleaning to prevent spills from migrating between shelves, whereas chest freezers can often extend to semi-annual sessions if properly maintained. The vertical design of upright freezers creates more opportunities for food drips and spills to spread, while the horizontal layout of chest units contains messes more effectively but makes organization more challenging.
Upright Freezer Cleaning Specifics
When cleaning upright freezers, address each shelf systematically from top to bottom to prevent drips contaminating cleaned areas below. Pay special attention to door bins where bottles and containers frequently leak, causing persistent odors that spread throughout the unit. Remove all shelves and drawers for thorough cleaning—most are dishwasher-safe but check your manual first. For models with ice makers, clean the ice bin monthly with a vinegar solution to prevent bacterial growth that affects ice quality. Consider using clear, stackable containers for all items to simplify organization and reduce spill risks during access.
Chest Freezer Maintenance Protocol
Chest freezers require special attention to their lower storage areas where debris naturally accumulates. When performing deep cleaning, remove items from the bottom up to prevent drips from upper layers contaminating cleaned surfaces. Use shallow bins with handles for organization—this makes accessing bottom items easier without disturbing the entire contents. Check the drain hole (if present) for blockages during each deep cleaning session, as clogs cause water accumulation that freezes into problematic ice sheets. Place a moisture-absorbing product like silica gel at the bottom of your chest freezer between cleanings to reduce humidity-related frost buildup.
Why Strong Odors Mean Your Freezer Needs Cleaning NOW
Persistent odors signal immediate cleaning needs regardless of your scheduled maintenance. Sour or rancid smells indicate bacterial growth from spilled food or compromised packaging, while musty odors suggest moisture buildup in hidden areas. These odors transfer to properly stored foods, affecting taste and quality even when items remain technically safe. Unlike refrigerators where odors develop quickly, freezer odors indicate significant neglect—typically at least one missed deep cleaning session plus several ignored monthly checks.
Locating and Eliminating Odor Sources
Begin by removing all items and inspecting each package for leaks or damage—you’ll often find the culprit hiding behind other items. Check corners, under shelves, and along door seals with a flashlight for hidden spills. Clean all surfaces with a 1:3 vinegar-water solution which neutralizes odors more effectively than baking soda solutions. For stubborn smells, place open containers of activated charcoal inside the clean, empty freezer for 24-48 hours before reloading. Never use commercial deodorizers inside freezers—these can contaminate food and create additional chemical odors.
Preventing Future Odor Development
Store all items in airtight containers, even commercially packaged goods which can develop microscopic punctures during handling. Wrap strong-smelling foods like fish or cheese in multiple layers of protection—first in freezer paper, then in a sealed container. Place an open box of baking soda in the back corner of your freezer (replacing it quarterly) to absorb moisture and odors continuously. Most importantly, address spills immediately during monthly checks—waiting allows odors to penetrate plastic surfaces and become much harder to eliminate later.
Post-Power Outage Cleaning: When to Discard Food and Sanitize

After a power outage, your cleaning protocol depends on outage duration and temperature fluctuations. Food remaining at or below 40°F for less than two hours typically remains safe, but requires immediate inspection for spoilage signs. When power returns after extended outages, discard all perishable items that reached temperatures above 40°F for more than two hours—refreezing compromised food creates significant health risks and introduces contaminants requiring thorough sanitization.
Step-by-Step Post-Outage Cleaning Process
First, remove all items and sort them into three categories: safe to refreeze, cook immediately, and discard. Discard any items with ice crystals throughout (indicating thawing and refreezing) or unusual odors. Wipe down all interior surfaces with a sanitizing solution (1 tablespoon bleach per gallon of water), paying special attention to areas where melted ice pooled. Allow all surfaces to air dry completely before reloading—introducing moisture during this phase accelerates future frost buildup. Reset your freezer to 0°F and monitor temperatures closely for 24 hours before adding new items.
Preventing Future Outage Damage
Keep a maximum freezer fill level of 70% to allow for air circulation during outages—overfilled units lose cold faster. Place a cup of water with a coin on top in your freezer; if the coin sinks after an outage, you know items thawed sufficiently to require discarding. During outage threats, group items together to maintain cold temperatures longer and consider investing in a generator for critical appliances if you experience frequent power disruptions. These preparations minimize food loss and reduce the intensity of required cleaning after electrical interruptions.
Door Seal Damage: How It Affects Your Cleaning Frequency
Damaged door seals force you to clean your freezer more frequently by allowing warm, moist air to enter the cold environment. Each infiltration event causes immediate frost formation and introduces contaminants that accelerate odor development. Check seals monthly by performing the “dollar bill test”—close the door on the bill and try to pull it out. If it slides out easily anywhere along the seal, you need immediate attention to prevent excessive cleaning requirements.
Repairing vs. Replacing Damaged Seals
Minor seal damage can often be repaired with food-safe silicone sealant applied to small cracks or tears. For significant damage or complete separation from the door frame, replacement becomes necessary. Most manufacturers offer replacement seals specific to your model—search using your freezer’s model number rather than attempting universal solutions. The process typically involves removing the old seal, cleaning the channel thoroughly, and inserting the new seal starting at the top center point. Allow 24 hours for the new seal to settle before expecting optimal performance.
Seal Maintenance to Extend Cleaning Intervals
Clean door seals monthly with a soft cloth and mild soap to remove debris that prevents proper closure. Apply food-grade silicone grease sparingly to maintain flexibility—avoid petroleum-based products that degrade rubber over time. Never force a freezer door closed when items block proper alignment, as this damages seals prematurely. During deep cleaning sessions, inspect seals for embedded food particles in the folds and crevices—these tiny obstructions create significant gaps that accelerate frost buildup between scheduled cleanings.
How Often to Clean Freezer Condenser Coils: Twice-Yearly Checklist

Dirty condenser coils force your freezer to work 30% harder, increasing energy consumption and accelerating frost buildup inside the unit. Most manufacturers recommend cleaning coils every six months, but households in dusty environments or with pets should do this quarterly. Locate your coils (typically on the back or bottom front of the unit), unplug the freezer, and use a coil brush or vacuum with a soft brush attachment to remove accumulated dust. This simple task extends the time between interior cleanings while reducing your electricity bill significantly.
Step-by-Step Coil Cleaning Procedure
First, unplug your freezer and pull it away from the wall to access the coils. For rear-mounted coils, use a coil cleaning brush to gently remove dust from between the fins—never bend the delicate fins. For bottom-front coils behind the kickplate, vacuum first to remove loose debris, then brush remaining buildup. Wipe down the surrounding area to prevent dust from blowing back onto clean coils. Plug the unit back in and push it against the wall, ensuring at least two inches of clearance remains for proper airflow. This process takes 15-20 minutes but improves efficiency immediately—you’ll notice the compressor running less frequently within hours.
Signs Coils Need Immediate Cleaning
Listen for unusual humming or buzzing sounds from the compressor area—this often indicates overheating from dirty coils. Check if the freezer feels excessively warm on the exterior surfaces, particularly near the compressor compartment. Monitor your electricity bill for unexplained increases during stable usage periods. Most tellingly, if your freezer runs constantly without maintaining proper temperatures despite clean interior surfaces and intact door seals, dirty coils have likely become the performance bottleneck requiring immediate attention.
When to Call a Professional Instead of Cleaning
Certain issues require professional service rather than DIY cleaning attempts. If your freezer makes grinding or screeching noises, shows visible refrigerant leaks (oily residue around pipes), or runs continuously without cooling, stop using it immediately and contact a certified technician. Attempting repairs on sealed refrigerant systems is illegal in many areas and creates significant safety hazards. These problems indicate component failures that cleaning won’t resolve and could worsen with improper handling.
Recognizing Repair vs. Replacement Scenarios
When repair costs exceed 50% of a new unit’s price, particularly for models over 10 years old, replacement becomes more economical. Modern Energy Star freezers use up to 40% less electricity than decade-old models, potentially offsetting replacement costs through energy savings. If your unit requires frequent professional service (more than once yearly), shows rust or corrosion on exterior surfaces, or struggles to maintain temperatures even after thorough cleaning, evaluate replacement options carefully. Document all repairs and compare against expected remaining lifespan—most quality freezers last 15-20 years with proper maintenance.
How Often to Clean Freezer: Final Maintenance Recommendations
For most households, follow this tiered cleaning approach: monthly 10-minute inspections, quarterly deep cleaning sessions, and semi-annual condenser coil maintenance. Families with heavy usage should move quarterly sessions to every two months and check door seals weekly. Always adjust based on observed conditions—frost buildup, odors, or performance changes override calendar-based schedules. Remember that consistent, moderate cleaning prevents the need for intensive remediation sessions that disrupt your routine and food supply.
Your freezer works hard preserving food—return the favor with appropriate maintenance that keeps it operating efficiently for 15+ years. By following these specific cleaning guidelines based on your usage patterns and freezer type, you’ll maintain optimal food safety, reduce energy consumption, and avoid costly repairs. The question isn’t really how often to clean freezer—it’s how consistently you implement the right cleaning schedule for your specific situation. Start with these recommendations today and adjust as you learn your appliance’s unique needs through regular observation and maintenance.