How to Clean Maytag Bottom Freezer
Your Maytag bottom freezer quietly works to preserve food, but ice buildup, spills, and lingering odors can compromise its performance and food safety. Knowing how to clean Maytag bottom freezer properly not only eliminates stubborn smells and protects your frozen goods but also improves energy efficiency and extends your appliance’s lifespan. Whether you’re dealing with frost-covered walls, sticky shelves, or mysterious odors, this guide delivers the exact cleaning methods Maytag recommends to safely restore your freezer to peak condition without damaging sensitive components. Set aside 60-90 minutes for a thorough cleaning session—you’ll be rewarded with a fresher, more efficient freezer that keeps food safe longer.
Gather Your Maytag-Approved Cleaning Supplies
Having the right tools before starting prevents damage to your freezer’s interior surfaces and ensures a thorough cleaning without chemical residues that could affect food quality. Never improvise with harsh cleaners that could degrade plastic components or rubber seals over time.
Keep these essential items ready before unplugging your appliance:
– Warm water mixed with mild dish soap for everyday cleaning of shelves and bins
– Baking soda solution (1/4 cup baking soda per quart of warm water) for stubborn stains and odor neutralization
– Diluted white vinegar (1 part vinegar to 1 part water) for natural odor elimination
– Maytag-approved appliance cleaner (bleach-free and ammonia-free formula)
– Multiple microfiber cloths for washing, rinsing, and drying surfaces
– Soft-bristle brush or old toothbrush for cleaning gasket folds and tight corners
– Lint-free towel for complete drying to prevent immediate ice reformation
– Cooler with ice packs to safely store frozen food during cleaning
Why These Specific Supplies Matter
Using improper cleaners causes long-term damage you might not notice immediately. Ammonia-based products yellow plastic surfaces over time, while bleach degrades rubber seals that maintain your freezer’s airtight environment. Metal scrapers scratch interior walls, creating grooves where bacteria can hide. Always test any cleaner on a small, inconspicuous area first if you’re uncertain about compatibility with your specific Maytag model.
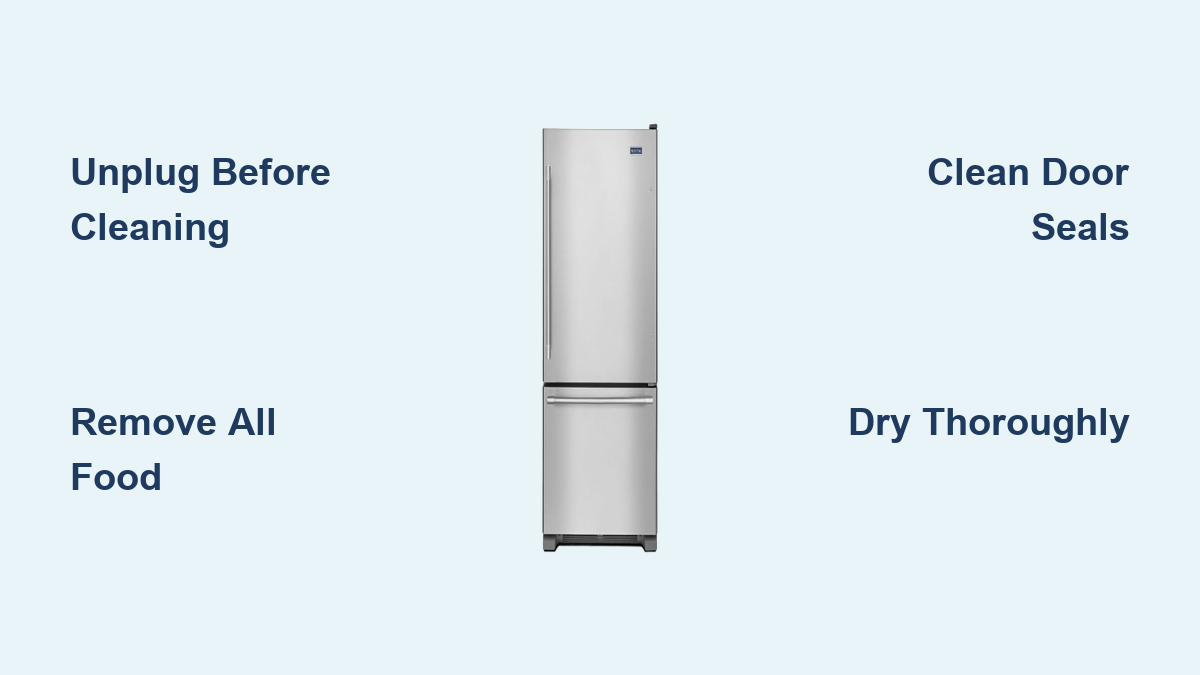
Unplug and Remove Food Before Cleaning
Skipping proper preparation risks electrical hazards and food spoilage—never attempt to clean your Maytag bottom freezer while it remains plugged in or with food still inside.
Complete Power Disconnection Procedure
First, unplug the refrigerator entirely from the wall outlet. If your model has a dedicated circuit breaker, switch that off too for complete safety. Never just turn off temperature controls—this leaves electrical components active while you work with water near sensitive parts. Wait 5-10 minutes after disconnecting power before opening the freezer door to allow any residual electrical charge to dissipate.
Food Removal and Protection Strategy
Transfer all frozen items to your prepared cooler with ice packs, working quickly to minimize thawing. Discard expired or freezer-burned food now rather than returning it to a clean environment. Wipe any sticky residue from food containers before placing them in the cooler—this prevents transferring grime to your freshly cleaned freezer later. Check your owner’s manual for model-specific instructions on removing ice storage bins or special compartments before proceeding.
Remove and Hand-Wash Shelves Properly

Glass shelves in your Maytag bottom freezer require careful handling during cleaning to prevent thermal shock cracks that could ruin expensive components.
Safe Shelf Removal Technique
Support glass shelves from underneath as you slide them out—never grab just the front edge. Consult your manual for model-specific removal instructions, as some shelves have locking mechanisms. Allow cold glass components to reach room temperature for 30-60 minutes before washing—placing them directly in warm water causes cracking from thermal stress.
Handwashing Process That Prevents Damage
Clean shelves with warm (not hot) water and mild dish soap using a soft cloth. For stubborn ice buildup, apply baking soda paste and let it sit for 5 minutes before gently scrubbing with a soft-bristle brush. Rinse thoroughly to eliminate soap residue that attracts dust, then dry completely with a lint-free towel. Critical warning: Never put shelves with under-shelf LED lighting in the dishwasher—water exposure destroys these components permanently.
Eliminate Frost Buildup from Interior Walls
Frost accumulation on freezer walls indicates potential seal problems but requires careful removal to avoid damaging insulation or interior liners.
Safe Frost Removal Method
Never use metal scrapers or sharp tools that could puncture interior walls. For light frost, wipe with a baking soda solution and let it sit for several minutes to loosen ice. For thicker buildup (over 1/4 inch), place bowls of hot water inside the closed freezer for 15-20 minutes to gently melt frost without excessive moisture. Wipe away melted ice immediately with dry cloths to prevent water from seeping into seams.
Interior Wall Cleaning Protocol
Spray cleaning solution onto microfiber cloths—not directly onto surfaces—to prevent oversaturation. Work from top to bottom so drips run onto areas you haven’t cleaned yet. Pay special attention to corners and behind shelf supports where debris accumulates. For persistent odors, follow with a diluted white vinegar rinse, then dry thoroughly. Pro tip: Keep a hairdryer on low setting nearby to help evaporate moisture in hard-to-reach areas.
Deep Clean Door Seals and Gaskets

Dirty door gaskets are the #1 cause of excessive frost buildup in Maytag bottom freezers—proper cleaning here prevents future problems.
Gasket Cleaning Technique That Extends Seal Life
Lift each fold of the rubber seal and clean thoroughly with a soft-bristle brush dipped in mild soapy water. Focus extra attention on the bottom corners where crumbs and ice particles collect from gravity. Rinse with a barely damp cloth, then dry completely with a lint-free towel—moisture left in gasket folds causes sticking and ice formation that breaks the seal.
Seal Inspection Checklist
While cleaning, inspect gaskets for these warning signs:
– Cracks or tears in the rubber material
– Areas where the seal doesn’t make full contact with the cabinet
– Discoloration or stiffness indicating material degradation
– Persistent gaps when closing the door
If you find damage, replace seals immediately—temporary fixes like petroleum jelly only mask problems and accelerate deterioration.
Safely Clean Electronic Components

Control panels and dispensers on your Maytag bottom freezer require special care to prevent moisture damage to sensitive electronics.
Electronic Area Cleaning Protocol
Wipe control panels with a microfiber cloth barely dampened with water—never spray directly onto surfaces. Use gentle, light strokes when cleaning touchscreens to avoid damaging sensors. For dispenser areas, use dry cloths only around openings where moisture could enter mechanisms. Critical warning: Never use vinegar or baking soda solutions near electronic components—these can cause corrosion over time.
Post-Cleaning Electronics Check
After cleaning, verify these functions before restoring power:
– Control panel displays respond to touch
– Temperature settings appear correctly
– Interior lights operate when door opens
– Any digital displays show proper information
If electronics malfunction after cleaning, leave the unit unplugged and contact Maytag service—do not attempt to dry out wet components yourself.
What Never to Use on Your Maytag Freezer
Certain common household items cause irreversible damage to your Maytag bottom freezer that voids warranties and creates safety hazards.
Forbidden Cleaning Products
Avoid these at all costs:
– Window cleaners (ammonia damages plastic surfaces)
– Bleach products (degrades rubber seals and causes yellowing)
– Abrasive cleansers (scratch surfaces creating bacteria traps)
– Petroleum-based products (deteriorate gasket materials)
– Concentrated detergents (leave residues that affect food)
Dangerous Cleaning Methods
These practices seem efficient but cause hidden damage:
– Using boiling water on cold surfaces (causes thermal shock)
– High-pressure sprayers (force moisture into insulation)
– Metal scrapers (puncture interior walls)
– Dishwasher cleaning for non-approved parts (warping and cracking)
Reinstall Components and Restore Power
Improper reassembly after cleaning causes immediate ice reformation and efficiency problems that undermine your entire effort.
Correct Reinstallation Sequence
Ensure all components are bone-dry before reinstalling shelves and bins—any moisture freezes instantly in the cold environment. Follow your manual’s diagram for proper shelf placement, as some positions accommodate airflow patterns. Organize food with frequently used items near the front to minimize door-open time. Allow 20-30 minutes after restoring power before restocking to let temperatures stabilize.
Post-Cleaning Verification Steps
Check these critical items before considering your cleaning complete:
– Door closes smoothly with no gaps around the seal
– Interior temperature reaches 0°F within 24 hours
– No unusual sounds from the cooling system
– All electronic controls function properly
Monthly Maintenance Schedule for Lasting Results
Preventative care between deep cleanings keeps your Maytag bottom freezer running efficiently and reduces future cleaning time by 70%.
Essential Monthly Tasks
- Wipe interior surfaces with baking soda solution
- Clean door seals thoroughly
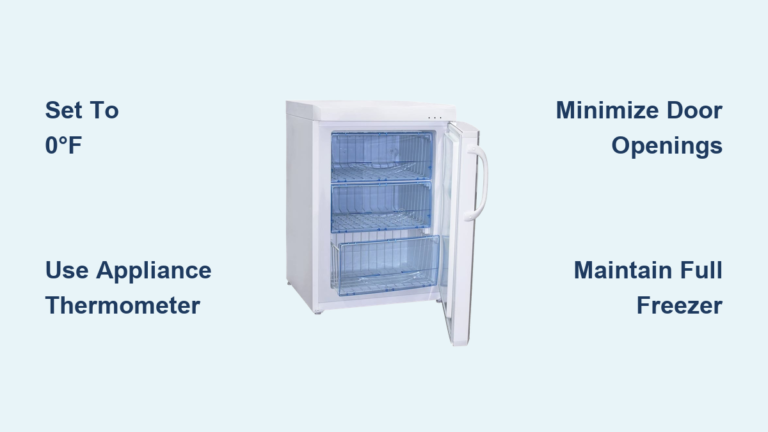
- Check temperature settings (should maintain 0°F)
- Remove and wash visibly soiled bins
Critical Prevention Habits
- Store all liquids in sealed containers
- Wrap foods properly to prevent moisture release
- Implement FIFO system (First In, First Out)
- Wipe spills immediately before they freeze
By following this precise how to clean Maytag bottom freezer process, you’ll maintain optimal performance while avoiding common mistakes that damage appliances. Consistent cleaning prevents the excessive frost buildup that strains your freezer’s compressor and adds to your energy bill. For persistent issues like water leaks or temperature fluctuations that continue after proper cleaning, contact Maytag’s customer service for professional diagnosis—don’t risk further damage trying to fix mechanical problems yourself. A well-maintained Maytag bottom freezer can reliably serve your household for 15+ years when cared for properly.