How to Clean Mold Off Freezer Seal
Discovering mold on your freezer seal isn’t just unsightly—it’s a serious health concern that can compromise your food safety and appliance efficiency. Black or green mold growth along the rubber gasket creates a breeding ground for harmful bacteria while preventing your freezer from sealing properly, causing energy waste and potential food spoilage. If you’ve noticed musty odors when opening your freezer or visible discoloration along the door edges, you’re facing a problem that requires immediate attention. This comprehensive guide provides proven methods to safely eliminate mold from freezer seals while protecting both your health and your appliance, with specific techniques that target even stubborn mold growth without damaging delicate rubber components.
Why Mold Grows on Freezer Seals and How to Stop It
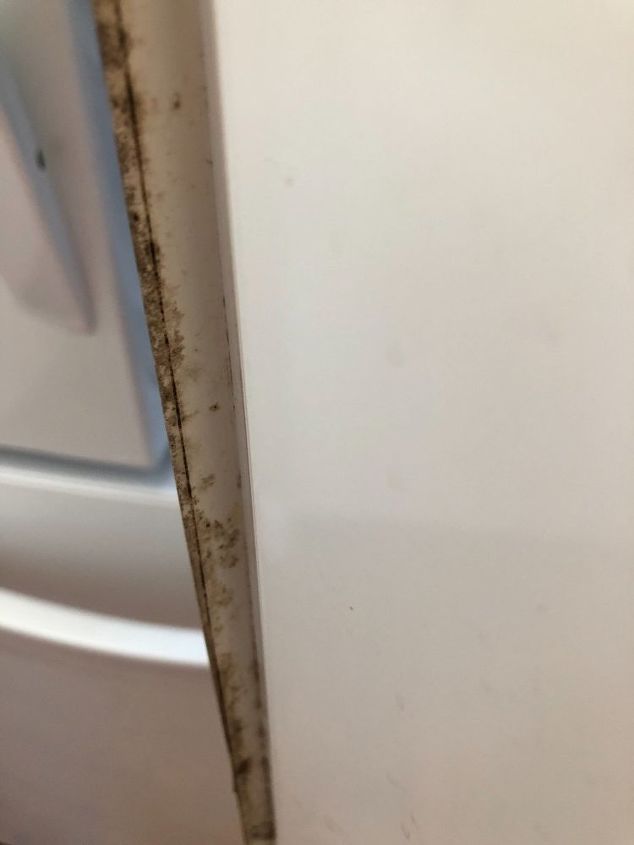
Freezer seals create the perfect environment for mold with their combination of moisture, darkness, and organic food particles. Unlike the freezing compartment itself, the rubber gasket maintains a temperature just warm enough for mold spores to thrive, especially where condensation forms during door openings. The constant exposure to humidity from defrost cycles and food storage creates ideal conditions for mold colonies to establish themselves in the gasket’s textured surface. When mold takes hold on your freezer seal, it not only looks unpleasant but actively prevents your freezer from maintaining proper temperature, forcing the compressor to work harder and increasing your energy bills by up to 30%.
What Causes Mold to Return After Cleaning
Incomplete Removal of Mold Spores
Many homeowners make the critical mistake of only treating visible mold without addressing the microscopic spores embedded in the rubber’s pores. Mold has an extensive root system called hyphae that penetrates deep into the gasket material, making surface cleaning ineffective for long-term solutions. Without proper treatment that reaches these hidden structures, mold will inevitably return within weeks, often more aggressively than before.
Improper Drying Techniques
Leaving even minimal moisture after cleaning creates immediate conditions for mold regrowth. The folds and crevices of freezer seals trap water that’s difficult to remove completely, especially in humid environments. Using towels that leave lint behind or skipping the critical air-drying step guarantees residual moisture that feeds new mold colonies.
Essential Safety Precautions Before Starting

Proper Ventilation and Protective Gear
Never attempt mold removal without proper respiratory protection—mold spores become airborne during cleaning and can cause serious respiratory issues. Use an N95 respirator mask rather than a simple dust mask, along with rubber gloves to protect your skin from both mold and cleaning solutions. Work in a well-ventilated area by opening windows and using fans to direct airflow away from your breathing zone. If you have asthma, allergies, or compromised immunity, consider having someone else handle the cleaning process.
Emptying and Defrosting Your Freezer Properly
Begin by removing all food items and placing them in a cooler with ice packs to maintain safe temperatures. Unplug the freezer and leave the door open to begin the defrosting process—this typically takes 4-6 hours depending on ambient temperature. Place towels along the base to catch melting ice and prevent water damage to your flooring. Never use sharp objects to accelerate defrosting as this can damage internal components and create additional moisture traps where mold will return.
Step-by-Step Mold Removal Process
Preparing the Ideal Cleaning Solution
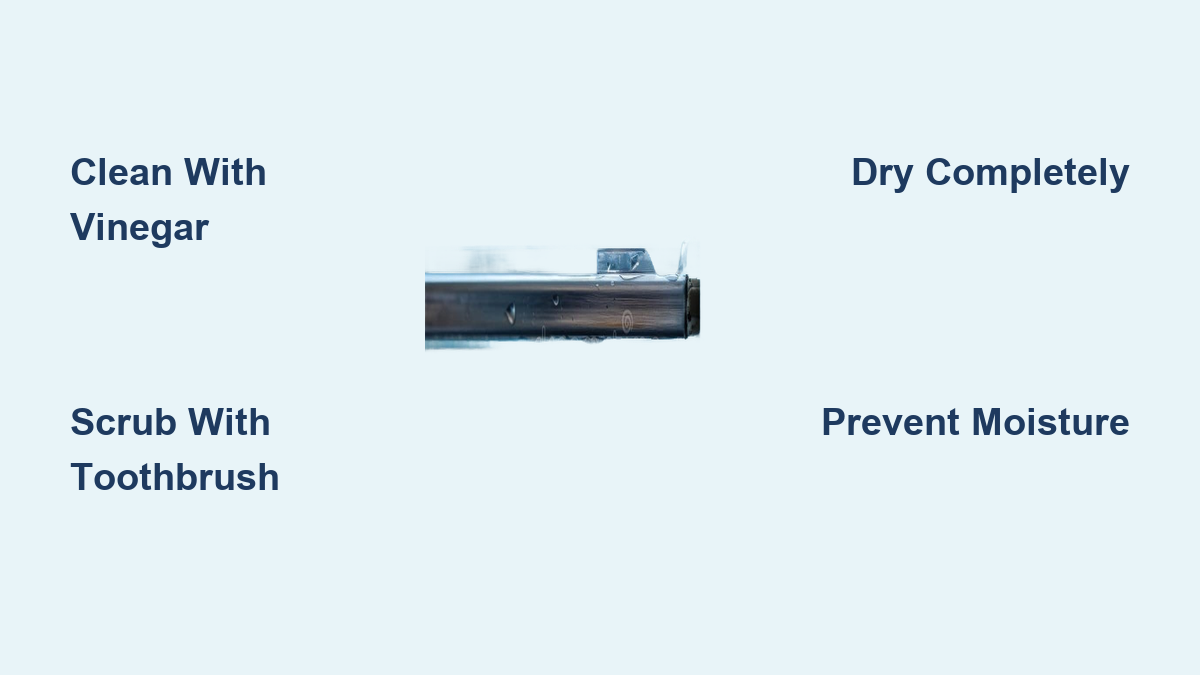
White Vinegar Method for Most Mold Types
Combine equal parts white vinegar and distilled water in a spray bottle for an effective, non-toxic solution that penetrates deep into rubber pores. Vinegar’s acetic acid breaks down mold at the cellular level while being gentle enough for rubber seals. For particularly stubborn mold, use undiluted vinegar but test on a small inconspicuous area first to ensure it doesn’t discolor your specific gasket material. The vinegar smell dissipates completely once dry and won’t leave chemical residues that could contaminate food.
Baking Soda Paste for Deep Cleaning
Create a thick paste using baking soda and water to tackle embedded mold in textured rubber surfaces. Apply the paste with an old toothbrush, working it into crevices where mold roots hide. The mild abrasiveness lifts mold without damaging rubber, while baking soda neutralizes odors at their source rather than just masking them. Let the paste sit for 15 minutes before wiping—this dwell time allows the cleaning action to penetrate deeply.
Effective Cleaning Techniques for Different Mold Severity
Light Surface Mold: Quick Daily Maintenance
For early-stage mold appearing as faint spots, dampen a microfiber cloth with your vinegar solution and wipe along the entire seal surface. Pay special attention to corners and folds where moisture collects. Follow with a dry cloth to prevent immediate regrowth. This simple daily wipe-down takes less than two minutes but prevents mold from establishing deep roots.
Established Mold Colonies: Deep Cleaning Protocol
For visible black or green patches, follow this precise sequence:
1. Spray vinegar solution generously and let sit for 10 minutes
2. Use a soft-bristled toothbrush to gently scrub in circular motions
3. Focus extra attention on hinge areas where mold concentrates
4. Wipe away loosened mold with a clean cloth
5. Repeat until no discoloration remains
6. Rinse with distilled water on a separate cloth
7. Dry thoroughly with a lint-free towel
Critical Drying Process Most People Skip
Proper Air Circulation Techniques
After cleaning, leave your freezer door fully open with towels placed underneath to absorb residual moisture. Position a fan to blow across the seal surface—never directly into the freezer compartment—to accelerate drying without forcing moisture deeper into crevices. The rubber gasket must be completely dry to the touch, including all folds and corners, before closing the door. This drying phase typically takes 2-3 hours but is non-negotiable for preventing immediate mold return.
Preventing Future Moisture Accumulation
Place silica gel packets near the seal area during the drying process to absorb lingering humidity. Once completely dry, apply a thin layer of food-grade mineral oil to condition the rubber and create a moisture-resistant barrier. This simple step not only prevents mold but extends the life of your freezer seal by preventing cracking and brittleness.
Preventing Mold Recurrence: Long-Term Strategies
Weekly Maintenance Routine
Establish a habit of wiping freezer seals with a dry microfiber cloth every time you clean your refrigerator. Once weekly, use a vinegar-dampened cloth for preventive cleaning—this takes less than 60 seconds but stops mold before it becomes visible. Pay special attention after storing particularly moist foods or during humid summer months when mold growth accelerates.
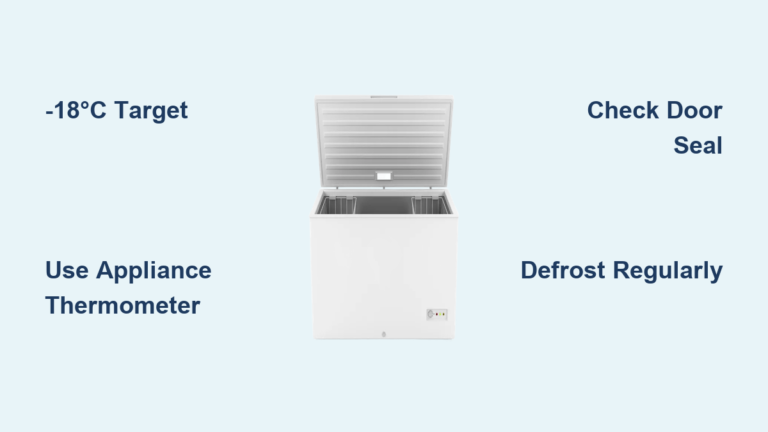
Environmental Control Measures
Place a small dehumidifier in your kitchen during humid seasons to maintain ambient humidity below 50%, the threshold where mold struggles to grow. Ensure proper air circulation around your freezer by leaving at least two inches of space between the appliance and walls. Consider installing a hygrometer near your freezer to monitor humidity levels and take preventive action before mold appears.
When to Replace Your Freezer Seal Instead of Cleaning
Identifying Irreparable Damage

If your seal shows cracks, tears, or permanent deformation that prevents proper closure, cleaning becomes ineffective regardless of technique. Test your seal’s integrity by closing the door on a dollar bill—if you can pull the bill out without resistance, the seal has failed and requires replacement. Persistent mold despite proper cleaning often indicates micro-tears in the rubber that create permanent moisture traps.
Cost-Benefit Analysis of Seal Replacement
Weigh the cost of a new seal (typically $30-$80 depending on model) against your freezer’s age and value. For units less than seven years old, replacement makes economic sense, but consider full appliance replacement for older models where other components may soon fail. Most manufacturers provide model-specific seal kits with installation instructions—this DIY project takes under an hour and restores your freezer’s efficiency immediately.
Final Verification and Testing
After completing your mold removal process, conduct these critical checks before reloading your freezer:
– Visually inspect the entire seal under bright light to confirm no discoloration remains
– Run your fingers along every inch to detect hidden mold in textured areas
– Perform the dollar bill test to verify proper sealing capability
– Monitor internal temperature for 24 hours to ensure proper cooling
By following these comprehensive steps, you’ll not only eliminate existing mold but create conditions that prevent its return. Proper freezer seal maintenance protects your food safety, reduces energy costs, and extends your appliance’s lifespan—making this simple cleaning task one of the most valuable household maintenance activities you can perform. Remember that consistent preventive care takes just moments each week but saves hours of difficult cleaning and potential appliance replacement down the road.