How to Defrost Amana Bottom Freezer
Ice buildup in your Amana bottom freezer gradually strangles cooling efficiency, hikes energy bills, and devours precious storage space. When frost accumulates beyond a quarter-inch thickness, your appliance works overtime just to maintain freezing temperatures, putting unnecessary strain on the compressor and shortening your freezer’s lifespan. Left unchecked, this ice fortress can prevent the door from sealing properly, creating a vicious cycle of even more moisture infiltration and freezing. This comprehensive guide delivers the exact steps to safely defrost your Amana bottom freezer while protecting your frozen food and preventing costly damage.
Understanding why ice forms helps you prevent future buildup. Every time you open the freezer door, warm, humid air rushes in and immediately condenses on the cold interior surfaces, eventually freezing into the frost you see. Damaged door seals, frequent door openings, and placing warm items inside all accelerate this process. By recognizing these triggers, you’ll implement smarter habits that keep ice formation under control between defrosting sessions.
Recognize Critical Ice Buildup Warning Signs
Visible frost on interior walls and shelves serves as your first alert that defrosting is needed. When ice reaches approximately a quarter-inch thickness—about the width of two stacked quarters—it’s time to act. Beyond visual cues, watch for reduced cooling performance where food packages feel less solidly frozen than usual. Frost forming directly on food packaging indicates moisture penetration, while ice ridges along the door seal can prevent proper closure. Unusual humming or clicking noises during operation often signal your compressor struggling against excessive ice.
Establishing a regular defrost schedule prevents emergency situations where your freezer stops cooling entirely. Even before reaching critical buildup levels, periodic defrosting maintains peak efficiency and avoids the frustration of digging through ice-encrusted compartments during meal preparation.
Assemble Your Defrosting Toolkit Immediately

Proper preparation prevents mid-process delays and protects your kitchen from water damage. Before unplugging your freezer, gather these essentials: soft cloths for wiping surfaces, mild dish soap, multiple large shallow pans for drainage, newspapers or towels for food insulation, and wooden cutting boards to protect interior surfaces. A plastic spatula (never metal) safely removes stubborn ice without risking punctures to hidden refrigerant lines.
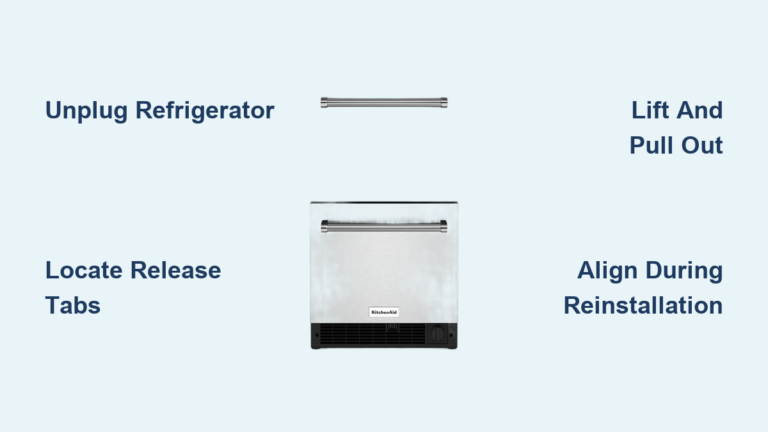
Critical safety note: Keep your Amana owner’s manual nearby to locate your specific model’s drain plug position. Some bottom freezer models require removing the lower kickplate to access drainage components. Having two drainage pans ready prevents overflow emergencies as melting accelerates.
Safely Transfer Frozen Food Before Defrosting

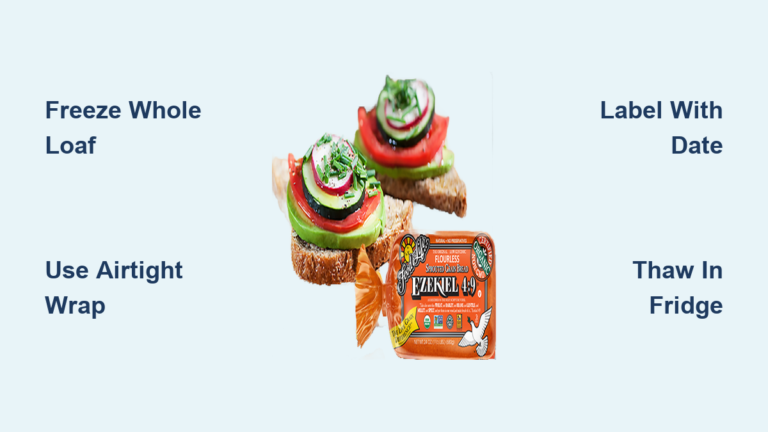
Approximately six hours before starting, turn your Amana freezer’s temperature control to its coldest setting to maximize food preservation during the process. Carefully remove all frozen items and wrap packages in three layers of newspaper, then cover with a thick blanket or comforter for insulation. This technique maintains frozen temperatures for 4-6 hours depending on room conditions. For longer protection or in warm climates, transfer items to a cooler packed with ice blocks.
Never leave food at room temperature for more than two hours—bacterial growth begins once items reach 40°F. During winter, a cool garage or basement provides adequate temporary storage, but avoid placing food in direct sunlight or near heat sources. Check food temperatures periodically with a food thermometer to ensure safety.
Create an Effective Drainage System

Locate your Amana bottom freezer’s drain plug—typically found near the floor in the front or back of the compartment. Place a large shallow pan directly beneath this opening to catch melting water. Models with a threaded hose adapter allow you to attach standard garden hose for directing water to a floor drain or sink, eliminating constant pan monitoring.
Pro tip: Line your drainage area with towels to absorb accidental spills. Check water levels every 15 minutes initially, as melting accelerates rapidly once the process begins. Have a second pan ready for quick swaps to prevent overflow disasters that could damage flooring or nearby cabinets.
Execute the Defrosting Process Step by Step
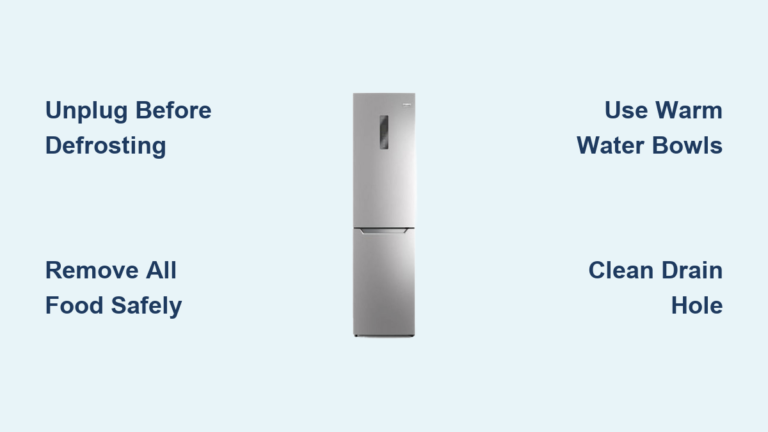
Begin by unplugging your Amana freezer or switching off its dedicated circuit breaker—this critical safety step prevents electrical hazards. With drainage prepared, open the freezer lid fully and place two bowls of hot (not boiling) water inside, then close the lid to trap steam. This technique safely accelerates melting without damaging plastic components.
Check progress every 30 minutes, removing softened ice chunks with your hands or plastic spatula. Never force stubborn sections—additional hot water bowls solve most resistance. Once all ice has melted, clean interior surfaces with mild detergent solution, paying special attention to the door gasket where debris accumulates. Rinse thoroughly with clean water, then completely dry all surfaces with soft cloths before restoring power.
Restore Power and Food Safely
After cleaning, reinstall shelves and baskets, then plug your Amana freezer back in. Allow 20-30 minutes for the interior to reach proper temperature before returning food—rushing this step risks partial thawing. When restocking, inspect items for ice crystals indicating temperature fluctuations; use these first as quality may be compromised.
Expert note: Monitor your freezer’s temperature for 48 hours using an appliance thermometer to ensure it maintains 0°F (-18°C) or lower. This confirms proper recovery and identifies potential cooling issues requiring service.
Accelerate Melting Without Risking Damage
When time is limited, strategically increase room temperature to speed melting. Run a space heater in the kitchen (not directed at the freezer) or position a fan to circulate warm air into the open compartment. Replace hot water bowls every 15-20 minutes for continuous steam production.
For stubborn ice sections, gently work a plastic spatula between ice and wall surfaces. Apply minimal pressure—never use knives, screwdrivers, or metal scrapers that can puncture refrigerant lines hidden behind thin interior walls. Such damage requires expensive repairs and releases environmentally harmful refrigerants.
Avoid Dangerous Defrosting Methods
Absolutely never use hair dryers, heat guns, or steam cleaners near your melting freezer—water accumulation creates serious electrical hazards even with careful positioning. Sharp metal tools pose unacceptable risks of puncturing refrigerant lines or damaging interior components. Chemical de-icers and commercial ice release sprays can leave food-contaminating residues and degrade plastic surfaces.
Critical warning: Boiling water can cause thermal shock to plastic components. Always use hot tap water (120-140°F) that’s hot to the touch but won’t cause instant burns.
Prevent Future Ice Buildup With Smart Habits
After successful defrosting, implement these maintenance practices: Inspect door gaskets monthly for cracks or compression, testing seal integrity by closing a dollar bill in the door—if it slides out easily, replace the gasket. Allow all cooked foods to cool to room temperature before freezing, and store liquids in airtight containers to minimize moisture release.
Pro tip: Organize freezer contents with older items in front to prevent forgotten foods from accumulating excessive frost. Keep the freezer at least half full for optimal efficiency, but avoid overpacking which restricts airflow.
Troubleshoot Persistent Ice Problems
If ice returns rapidly despite proper defrosting, your automatic defrost system may have failed. Signs include ice exceeding quarter-inch thickness within weeks of defrosting, water pooling beneath the unit, or frost forming only in specific areas. This system includes the defrost heater, thermostat, and timer—all working together to melt frost during normal operation.
Door seal issues often masquerade as defrost problems. Inspect the entire gasket perimeter for food particles, tears, or permanent compression. A properly functioning seal lies completely flat against the cabinet with no visible gaps when closed. Temperature control malfunctions can also cause ice problems—use an appliance thermometer to verify actual temperatures match dial settings.
Maintain Peak Performance With Regular Checks
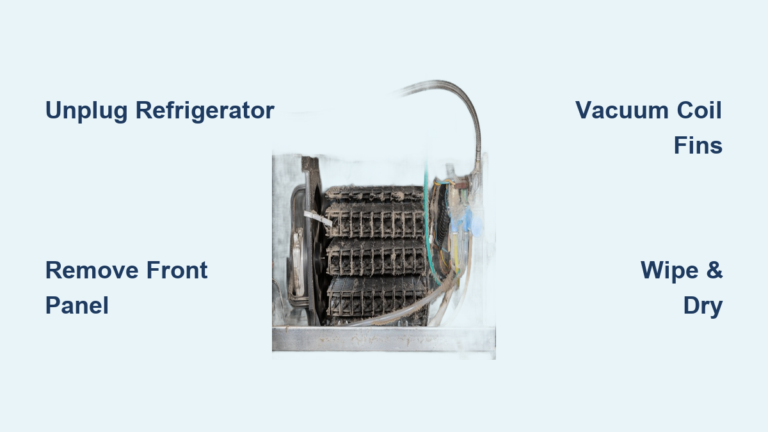
Establish a monthly maintenance routine: Wipe interior surfaces with mild detergent, check door seal integrity, and verify proper temperature maintenance. Clean the condenser coils quarterly to ensure efficient heat dissipation. Listen for unusual compressor noises that might indicate developing problems.
Final note: Most Amana bottom freezers require manual defrosting only when ice exceeds quarter-inch thickness—typically every 3-6 months with proper maintenance. Frost-free models still benefit from occasional manual defrosting if ice accumulates, indicating automatic system issues needing attention. By following these steps, your Amana bottom freezer will deliver reliable, efficient performance for years while keeping your frozen foods perfectly preserved.