How to Defrost a Freezer: Quick & Easy Steps
Your freezer is packed with frozen meals, but now it’s covered in thick ice buildup that’s making the door hard to close. You reach for last night’s leftovers only to find everything’s stuck together under layers of frost. This common kitchen problem wastes energy, reduces storage space, and could even damage your appliance if left unchecked. Learning how to defrost a freezer properly saves you money on energy bills and extends your appliance’s lifespan. In this guide, you’ll discover practical methods to safely and efficiently remove ice buildup from any freezer model, whether it’s a standalone unit or part of your refrigerator.
Why Ice Buildup Happens in Your Freezer
Excessive frost forms when humid air enters your freezer during normal door openings. Each time you grab frozen vegetables or ice cream, moisture from the room settles on cold surfaces and gradually accumulates. Older freezers with worn door seals allow even more moisture to seep in, accelerating the problem. Most manufacturers recommend defrosting when ice reaches about a quarter-inch thickness—any thicker and your freezer works significantly harder to maintain proper temperatures.
How Often Should You Defrost?
The frequency depends on your freezer type and usage patterns. Manual-defrost freezers typically need attention every 3-6 months, while frost-free models handle this automatically. If you notice any of these signs, it’s time to defrost:
– Difficulty closing the freezer door
– Noticeable reduction in storage space
– Unusual frost patterns on walls or shelves
– Increased energy consumption
What Happens If You Ignore Ice Buildup?
Neglecting frost accumulation creates multiple problems. Your freezer consumes up to 30% more energy trying to maintain freezing temperatures through the insulating ice layer. The compressor runs longer cycles, potentially shortening your appliance’s lifespan. In extreme cases, ice can block internal vents, causing temperature fluctuations that risk food spoilage. Regular defrosting prevents these issues and keeps your appliance running efficiently.
Essential Preparation Before Defrosting
Clearing and Protecting Your Food
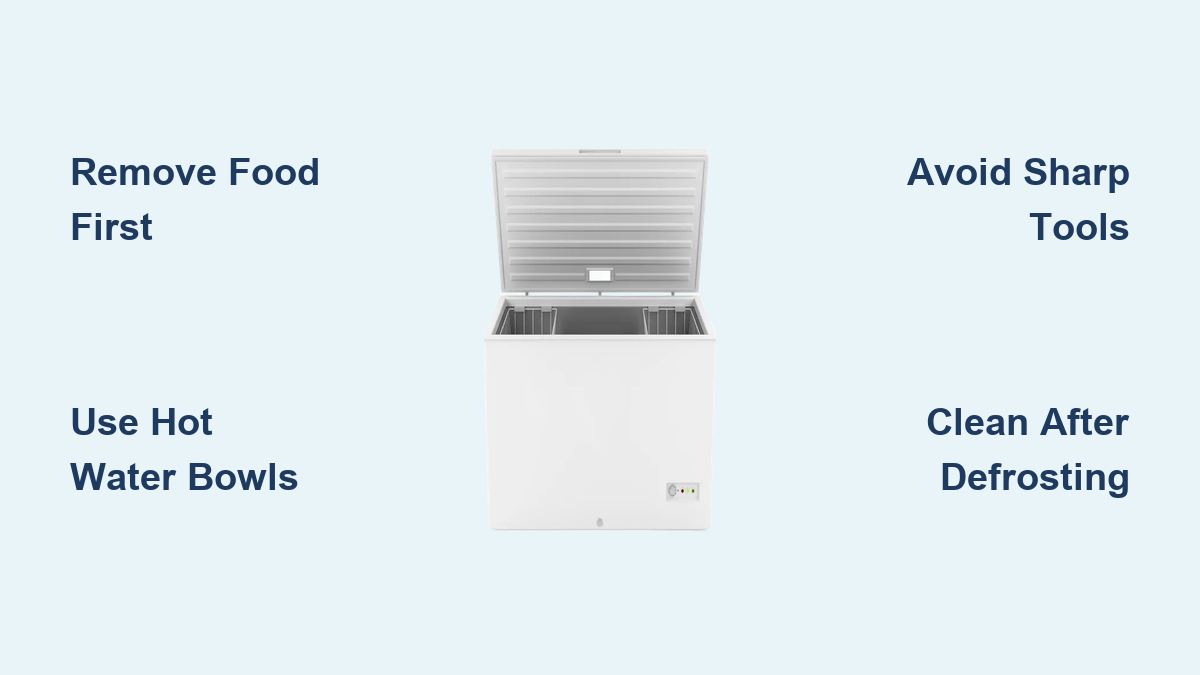
Before starting the defrosting process, gather insulated coolers and plenty of ice packs to temporarily store your frozen goods. Remove all items from your freezer, placing temperature-sensitive foods like meats in the bottom of coolers with ice packs surrounding them. Group similar items together to minimize how often you’ll need to open the cooler during the defrosting process. For quick defrosts under two hours, you might keep hardy items like frozen vegetables at the back of your kitchen counter away from direct sunlight.
Creating a Safe Workspace
Place towels along the front and sides of your freezer to catch melting water. For upright freezers, position shallow pans or cookie sheets inside to collect runoff before it reaches the floor. Chest freezers will require more absorbent material since water pools internally. Keep a siphon pump or turkey baster handy for removing standing water without bending over repeatedly. Never use sharp objects to chip ice—that risks puncturing coolant lines and ruining your appliance.
Fast Defrosting Methods That Won’t Damage Your Freezer
Hot Water Bowl Technique for Upright Freezers
This method safely accelerates melting without electrical risks. Boil two kettles of water, then carefully place them on heat-safe trays inside your empty freezer with the door closed. The steam raises the internal temperature gradually, causing ice to release from walls within 15-20 minutes. After each cycle, wipe down loosened ice with microfiber cloths and repeat until all frost disappears. This approach works particularly well for Samsung and LG models with sensitive electronic components.
Fan-Assisted Defrosting for Chest Freezers
Position a portable fan facing your open freezer at medium speed to circulate room-temperature air across icy surfaces. Place towels underneath to absorb runoff and check every 20 minutes for progress. This passive method takes 2-4 hours but requires minimal supervision. For faster results, combine with warm (not hot) water baths inside the freezer compartment—just be careful not to splash electrical components. GE and Whirlpool chest freezers respond exceptionally well to this gentle approach.
Never Use These Dangerous Shortcuts
Avoid the common mistakes that could ruin your appliance. Never use hair dryers, heat guns, or steam cleaners near freezer interiors—the concentrated heat can warp plastic components and damage insulation. Chiseling ice with screwdrivers or ice picks risks puncturing refrigerant lines, which would require expensive professional repairs. Most importantly, never leave heating elements unattended near melting ice—this creates serious electrical hazards.
Cleaning and Maintenance After Defrosting

Proper Interior Sanitization
Once all ice has melted, clean the interior with a solution of one tablespoon baking soda per quart of warm water. This neutralizes odors without harsh chemicals that might affect future food storage. Pay special attention to door gaskets and drain holes—use cotton swabs to remove debris from crevices. Wipe down all shelves and drawers before reinstalling them. For persistent odors, place an open box of baking soda inside after cleaning.
Preventing Future Ice Buildup
Extend time between defrosting sessions with these simple habits. Check door seals monthly by closing them on a dollar bill—if you can pull it out easily, replace the gasket. Keep your freezer at least 70% full for optimal efficiency (use water bottles if needed), as empty spaces allow more moisture circulation. Always cool hot foods completely before freezing them, and minimize door opening time during regular use. Modern freezers with humidity-controlled compartments significantly reduce frost formation.
Troubleshooting Common Defrosting Problems

When Ice Won’t Release From Walls
If stubborn frost remains after standard methods, create a vinegar solution (three parts water to one part white vinegar) in a spray bottle. Lightly mist affected areas—the acidity helps break ice’s bond with surfaces without damaging finishes. Wait 10 minutes before gently scraping with a plastic scraper. For Samsung models with internal vents, focus on clearing frost around these areas first since blocked airflow causes uneven cooling.
Handling Unexpected Water Leaks
Most freezers have internal drain tubes that channel meltwater to an external pan. If water pools instead of draining, locate the tube (usually at the back bottom) and clear blockages with a pipe cleaner or flexible wire. Never pour boiling water directly into the drain—it can crack plastic components. Fridges with bottom-front drain pans may need their collection trays emptied periodically during lengthy defrost sessions.
When to Call a Professional
While most defrosting can be handled DIY, certain situations warrant expert help. If your freezer develops a musty smell that persists after cleaning, moisture may have penetrated insulation. Continuous frost buildup despite regular defrosting could indicate failing door seals or compressor issues. Any visible damage to interior walls or unusual noises during operation require professional diagnosis. Most manufacturers recommend professional service for frost problems recurring within one month of proper defrosting.
Regular freezer maintenance pays off in lower energy bills and extended appliance life. By implementing these defrosting techniques every few months, you’ll maintain optimal performance while avoiding costly repairs. Remember that modern frost-free models still benefit from occasional manual defrosting to clear any residual ice around vents and seals. Keep this guide handy for your next defrosting session—you’ll complete the task faster with each attempt as you learn your specific freezer’s quirks.