Danby Freezer Not Cooling? Fix It Fast
You’ve opened your Danby freezer to find thawing food and warm compartments instead of solidly frozen items. This common problem affects thousands of Danby freezer owners each year, causing anything from minor inconvenience to complete food spoilage. When your Danby freezer not cooling properly, the causes range from simple user errors you can fix in minutes to component failures requiring professional repair. Understanding which issue affects your specific model is the first step toward restoring proper freezing temperatures and saving your perishable items from spoilage.
Danby freezers are compact appliances commonly found in homes, apartments, and recreational vehicles where space is limited. These units rely on a precise balance of components working together to maintain temperatures at or below 0°F (-18°C). When any single part of this system fails, the entire cooling process breaks down. The good news is that most cooling failures stem from a handful of predictable causes that you can diagnose with basic tools and some systematic troubleshooting.
This guide walks you through identifying exactly why your Danby freezer has stopped cooling properly, from quick checks you can complete without tools to more complex diagnostics requiring a multimeter. Most importantly, you’ll learn which fixes you can safely handle yourself and when it’s time to call for professional help—potentially saving you hundreds of dollars in unnecessary service calls or premature replacement.
Recognize Cooling Failure Signs
Detecting cooling problems early can mean the difference between a simple fix and costly food spoilage. Learn to spot the warning signs before your freezer reaches room temperature and your food becomes unsafe to eat.
The most obvious symptom is visible frost or ice buildup exceeding 1/4 inch thickness on the walls or between stored items. This excessive frost signals a breakdown in the defrost system or problems with door sealing. As frost accumulates, it acts as insulation, preventing the evaporator coils from absorbing heat efficiently and eventually leading to complete cooling failure. If you notice ice crystals forming on food packages that previously remained frost-free, this indicates moisture infiltration from a compromised seal.
Temperature fluctuations provide another clear indicator of trouble. If your frozen items feel soft rather than rock-hard, or if ice cream becomes scoopable when it should be firm, the internal temperature has risen above optimal range. Use an appliance thermometer placed in the center of the freezer compartment for an accurate reading. Allow 24 hours after any adjustment for the temperature to stabilize. Readings above 10°F (-12°C) confirm a cooling problem requiring investigation, while temperatures at or near 0°F (-18°C) indicate proper function.
Listen for unusual sounds from the back or bottom of the unit. A healthy compressor produces a consistent, low humming sound during operation. Pay attention to clicking sounds that occur repeatedly without the compressor running, loud buzzing noises, or complete silence where you previously heard humming. These sounds often precede or accompany cooling failures and can help pinpoint the failing component.
How Long Should a Danby Freezer Take to Cool?
If you’ve just plugged in your Danby freezer or adjusted the temperature setting, allow 24 hours for the unit to reach its optimal temperature. Danby recommends this stabilization period because the refrigeration system needs time to circulate refrigerant and establish consistent cooling. If after 24 hours your freezer still isn’t maintaining temperatures at or below 0°F, you’re dealing with a genuine cooling problem that requires troubleshooting.
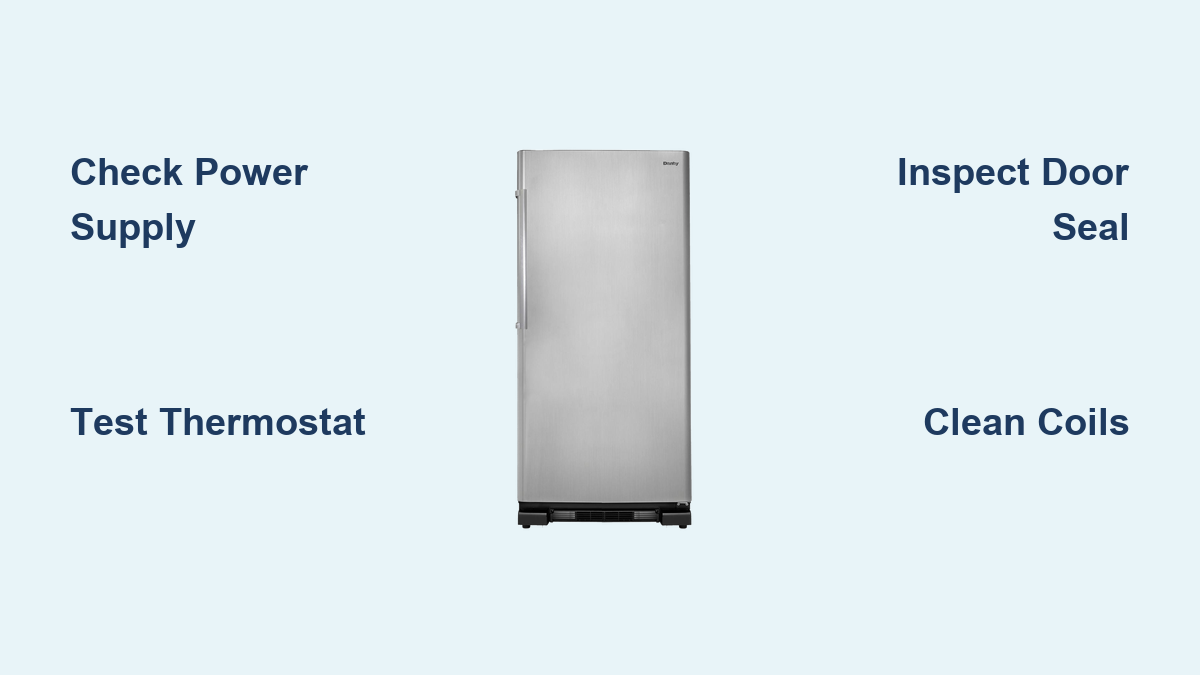
Check Power Supply First
Before diving into complex diagnostics, verify that your Danby freezer is actually receiving electrical power. Approximately 20% of “not cooling” complaints resolve with this simple first step that takes less than five minutes.
Begin by confirming the power cord is fully inserted into a working electrical outlet. Sometimes the plug works loose during cleaning, moving items in and out of the freezer, or from vibration during compressor cycles. Push the plug firmly into the outlet and ensure it sits securely. For portable or RV models, also check any adapters or extension cords in the power chain, as these can fail even when the wall outlet functions properly.
Test the outlet itself by plugging in a different device—a lamp or phone charger you know works. If the other device doesn’t turn on, check your home’s electrical panel for any tripped breakers and reset them if necessary. For units plugged into GFCI-protected outlets (common in kitchens), press the “reset” button on the outlet face.
Why Your Danby Freezer Has Power But Won’t Cool
If your freezer shows signs of power (lights illuminate, digital display works) but isn’t cooling, the problem likely lies with the thermostat, compressor, or refrigerant system. This critical distinction helps narrow your troubleshooting focus. The compressor should cycle on and off periodically—if you hear no humming sound from the back of the unit after several hours, you’ve eliminated power supply as the culprit and can move to thermostat testing.
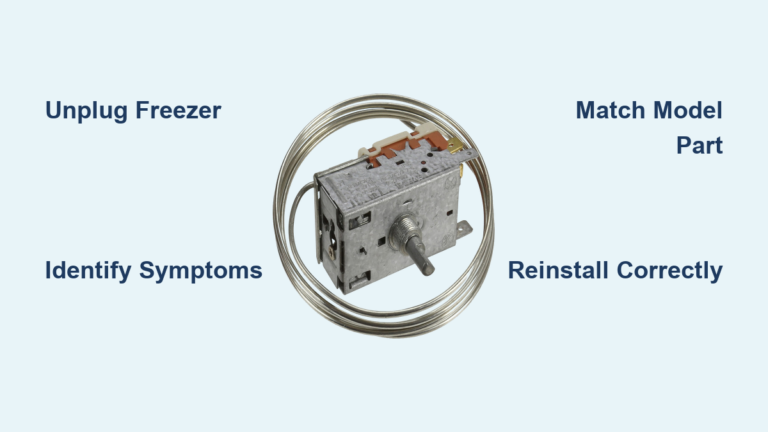
Test Thermostat Function
The thermostat acts as the brain of your freezer’s cooling system, signaling the compressor to run when temperatures rise above the set point. A faulty thermostat may fail to activate the compressor even when the interior has warmed significantly.
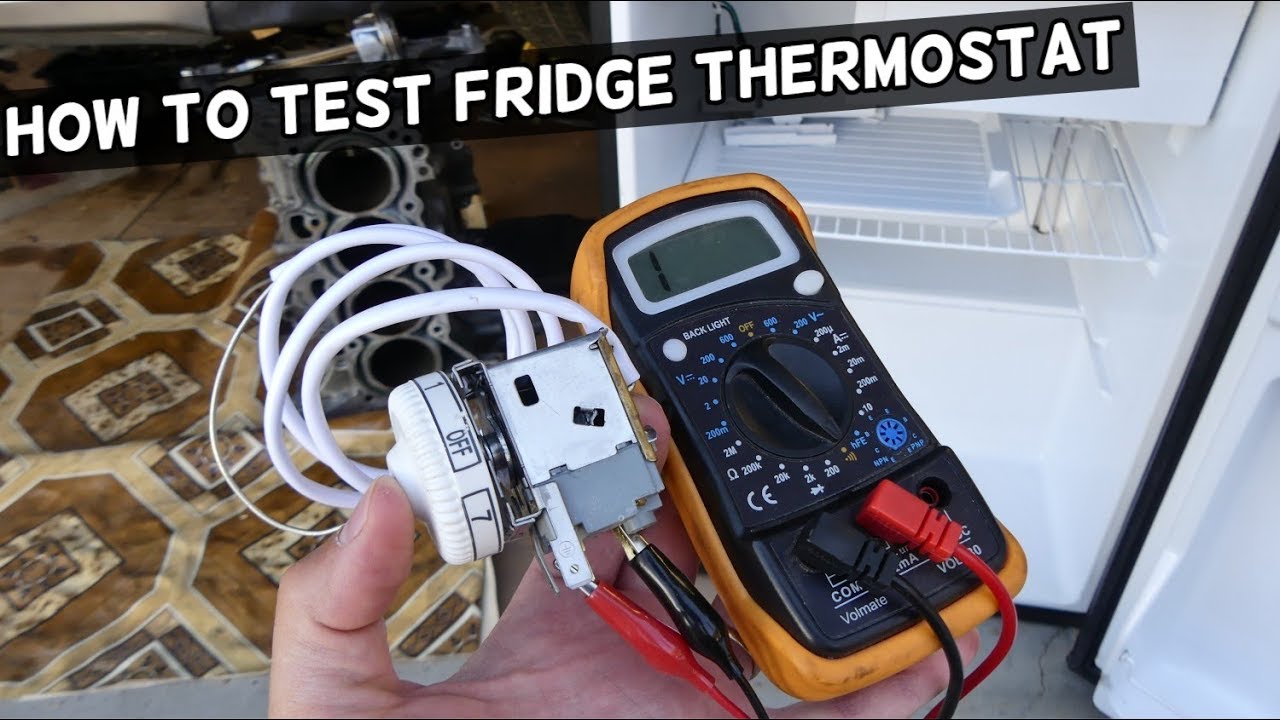
Locate the thermostat dial or digital temperature control inside your Danby freezer. For dial-based models, turn the dial to the coldest setting and listen for the compressor to engage within 10-15 minutes. You should hear the characteristic humming sound begin as the compressor starts. If you hear no compressor activity despite having power, the thermostat may have failed.
For a definitive test, use your multimeter set to the continuity setting. With the freezer unplugged, remove the thermostat cover and disconnect the wires from the terminals. Touch one multimeter probe to each terminal. The meter should show continuity when the thermostat is calling for cooling (turned to a cold setting) and should show infinite resistance when turned to the warmest setting. A thermostat that shows continuity regardless of its setting has failed and requires replacement.
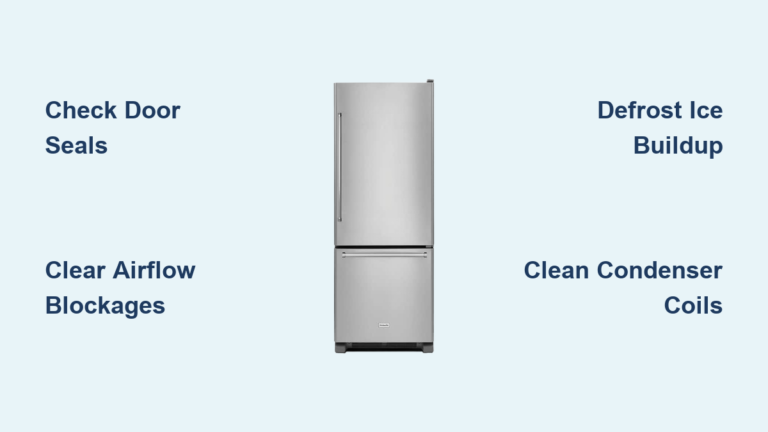
Inspect Door Seal Condition
The door gasket creates the critical seal that prevents warm ambient air from entering your Danby freezer. When this rubber seal wears, cracks, or accumulates debris, warm air infiltrates the compartment, forcing the compressor to work continuously while failing to maintain temperature.
Perform a simple visual inspection first. Examine the entire perimeter of the gasket for visible damage including cracks, tears, or areas where the seal has hardened and lost flexibility. Run your fingers along the seal while the door is closed, feeling for any gaps. Pay special attention to the corners, as these areas experience the most stress during opening and closing cycles.
The dollar bill test provides a practical assessment of seal effectiveness. Close the door on a dollar bill at several points around the perimeter, then attempt to pull the bill out. A properly sealing door will grip the bill firmly throughout its entire length. If the bill slides out easily at any point, the seal is compromised and needs attention.
How to Fix a Leaky Danby Freezer Door
Cleaning the gasket often resolves minor sealing problems. Use warm, soapy water to remove accumulated dirt and food residue, then dry thoroughly before closing the door. For gaskets that have hardened, applying a thin layer of petroleum jelly can temporarily restore pliability. However, for severely degraded seals, replacement is the only permanent solution. Most Danby door gaskets cost between $25-$50 and can be installed by carefully pressing the new seal into the retaining channel around the door frame.
Clean Condenser Coils

Condenser coils dissipate heat extracted from your freezer’s interior. When coated with dust, pet hair, and household debris, these coils can no longer release heat effectively, causing the compressor to overwork and eventually fail to maintain proper cooling.
Plan to clean condenser coils every three to six months, or more frequently if you have pets. Units positioned behind furniture or in tight spaces may require more frequent attention due to reduced air circulation.
For freezers with rear-mounted coils, unplug the unit and carefully pull it away from the wall. Use a coil brush or soft paintbrush to gently brush away accumulated debris from between the coil fins. Follow with a vacuum using the brush attachment to remove dislodged particles. Work carefully to avoid bending the delicate fins, which can restrict airflow.
Units with underneath-mounted coils require accessing the bottom compartment. Remove the lower kick plate by unscrewing the retaining clips. Shine a flashlight into the compartment to assess the buildup, then use your coil brush and vacuum to clean thoroughly. Some models include a small fan that circulates air across the coils—ensure this fan spins freely without obstruction.
Examine Evaporator Components
The evaporator coils absorb heat from your freezer’s interior, while the evaporator fan circulates the cold air throughout the compartment. Problems with either component can cause cooling failure even when the compressor runs normally.
Frost buildup on the evaporator coils indicates a defrost system malfunction. In automatic-defrost models, a heating element periodically melts frost from these coils. If any component fails, frost accumulates until it forms an insulating layer that prevents heat absorption. The result is gradual cooling loss despite a running compressor.
Access the evaporator coils by removing the interior back panel of the freezer compartment. Excessive frost—particularly if it exceeds 1/4 inch—confirms a defrost system problem. You may temporarily resolve the issue by manually defrosting the unit: unplug the freezer, remove all food, and allow the frost to melt naturally. Once defrosted, dry the interior thoroughly before restoring power.
Listen for Compressor Issues
The compressor serves as the heart of your Danby freezer’s refrigeration system. Compressor problems represent some of the most serious and expensive cooling failures.
A failing compressor often exhibits distinctive symptoms. It may run continuously without achieving proper cooling, as if the refrigerant isn’t circulating effectively. You might notice unusual clicking sounds when the compressor attempts to start, followed by silence or a humming sound that indicates the motor is trying but failing to engage.
Place your ear against the rear panel to listen for the compressor’s operation. Intermittent humming—cycling on and off frequently—or complete silence after extended operation suggests compressor distress. Clicking sounds that precede the humming indicate the overload relay attempting to start the compressor motor; repeated clicking without successful starting typically means the compressor motor has failed internally.
When to Call a Professional
Contact a certified appliance repair technician when troubleshooting points to compressor failure, refrigerant leaks, or electrical control board problems. These repairs demand specialized tools, genuine manufacturer parts, and handling of pressurized refrigerant systems, which federal regulations require certified technicians to perform.
Electrical issues beyond simple fuse replacement also warrant professional attention. If you’ve tested the thermostat, cleaned the coils, verified the door seal, and confirmed power supply, yet your Danby freezer still isn’t cooling, the problem likely lies in the temperature control board or internal wiring.
Professional service makes sense when the cost of diagnosis plus potential parts falls below the price of a new unit. For older Danby freezers or those requiring multiple component replacements, replacement may prove more economical than repair.
Prevent Future Cooling Problems
Regular maintenance extends your Danby freezer’s lifespan and prevents most cooling failures. Implement these preventive practices to keep your unit running efficiently for years.
Position your freezer away from heat sources including ovens, radiators, and direct sunlight. Maintain at least two inches of clearance on all sides to ensure adequate ventilation. Avoid leaving the door open for extended periods, and don’t overpack the freezer—proper air circulation requires space between items.
Protect electrical components from power fluctuations with a surge protector. Schedule condenser coil cleaning every three to six months, and inspect door seals monthly for damage or debris. These simple tasks take minutes but prevent the majority of cooling failures.
By understanding how your Danby freezer’s cooling system works and recognizing the early signs of problems, you can take swift action to restore proper function or call for professional help before food spoilage becomes an emergency. Most cooling issues stem from preventable causes, and regular maintenance remains the most effective strategy for reliable, long-term performance.