Amana Freezer Not Working: Quick Fix Tips
Your Amana freezer suddenly stops maintaining freezing temperatures, and now your ice cream is melting while frozen vegetables begin to thaw. This common household emergency can lead to hundreds of dollars in spoiled food if not addressed quickly. Before calling for expensive professional service, most Amana freezer problems can be diagnosed and often repaired with basic tools and systematic troubleshooting. This guide reveals the exact steps to identify why your Amana freezer isn’t working and determine whether you can fix it yourself or need expert help—potentially saving you hundreds in unnecessary service calls.
The most critical principle in freezer troubleshooting is working methodically from simplest explanations to most complex. What appears to be catastrophic failure is often just a tripped breaker, faulty start relay, or worn door seal. By following this structured approach, you’ll avoid replacing expensive components unnecessarily while restoring your freezer’s functionality efficiently.
Verify Electrical Power Connection Before Panic
If your Amana freezer shows no signs of life, don’t assume the worst—first confirm it’s receiving proper power. Your unit requires a dedicated 115-Volt, 60-Hz, AC-only 15- or 20-amp grounded circuit for reliable operation. Start by checking the obvious:
- Plug a working lamp or phone charger into the same outlet to verify power availability
- Critical check: Examine your home’s circuit breaker panel for any tripped switches—you might find the freezer circuit has shut off
- Don’t overlook GFCI outlets, especially if your freezer is in a garage or basement—press the reset button if present
If the outlet checks out but your freezer still won’t run, unplug the unit and inspect the power cord for damage. Many homeowners waste money on service calls when the issue is simply a loose connection at the outlet. Pro tip: After a power outage, try a hard reset by unplugging for 5 minutes before reconnecting—this often resolves temporary control board glitches.
Test for Silent Circuit Breaker Trips
Circuit breakers sometimes trip without fully moving to the “off” position, creating a false “on” appearance. To properly reset:
- Switch the breaker fully to the OFF position (you should feel resistance)
- Wait 10 seconds
- Move the breaker firmly to ON
If the breaker trips immediately upon reset, you likely have a serious electrical fault requiring professional diagnosis—do not continue resetting as this creates a fire hazard.
Diagnose Start Relay Failure Symptoms

When your Amana freezer’s compressor attempts to start but produces loud clicking or buzzing sounds before shutting down, the start relay is almost certainly failing. This small component on the compressor side provides the initial power boost needed for startup and commonly fails in models like the ABB2224DEW.
Here’s how to test it yourself:
- Unplug the freezer and locate the start relay (typically a small plastic box attached to the compressor)
- Remove the relay and shake it gently—if you hear rattling inside, replacement is needed immediately
- Use a multimeter to check for continuity between terminals; no continuity means defective relay
- Warning: If the relay shows visible burns or emits a burnt odor, replace it before further operation
Most start relay replacements take under 15 minutes with basic tools. Cost-saving insight: Genuine replacement relays cost $15-$25 online versus $150+ for service calls when this is the only problem.
Recognize Overload Relay Warning Signs
The overload relay (sometimes combined with the start relay) protects the compressor from overheating. When failing, you’ll notice:
- Compressor runs for 30-60 seconds then shuts down
- Unit works fine in morning but stops cooling by evening
- Warm compressor housing despite no cooling effect
For Amana bottom freezer models, part number 67005560 is the standard replacement. If replacing the relay doesn’t solve the problem, the compressor itself may be failing—a scenario requiring professional assessment.
Inspect Door Seal Integrity Immediately
A compromised door gasket causes 30% of apparent freezer failures, yet most homeowners never check this first. Warm air infiltration from a poor seal forces your compressor to work harder while introducing moisture that causes frost buildup.
Perform the dollar bill test:
- Close the freezer door on a dollar bill at multiple points around the perimeter
- Try pulling the bill out—you should feel significant resistance
- If the bill slides out easily at any point, your seal is failing
Common gasket failure points:
– Bottom corners (most vulnerable to wear)
– Areas near the door handle
– Sections with visible cracks or tears
Replacing a door gasket takes 20 minutes and costs $30-$50—far less than emergency food replacement. Expert note: Clean gaskets monthly with mild soap and water to maintain flexibility and prevent premature cracking.
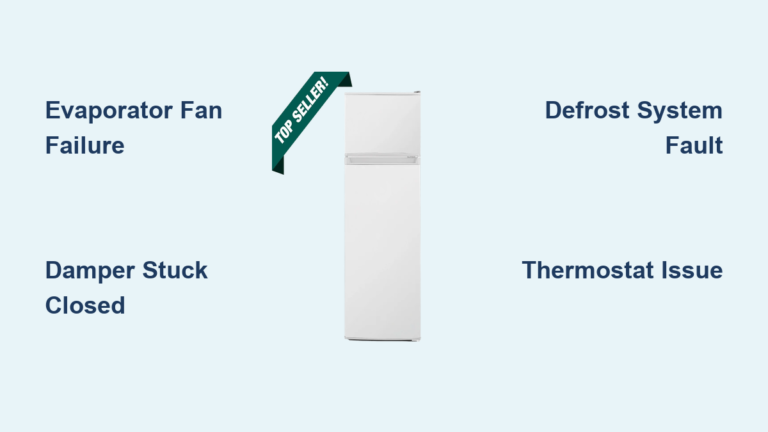
Check Evaporator Fan Operation for Airflow

When your freezer compartment warms but the compressor runs normally, the evaporator fan is likely the culprit—especially on Amana bottom freezer models. This fan circulates cold air throughout the freezer, and when it fails, temperatures rise despite proper refrigerant operation.
Diagnostic steps:
– Open the freezer door and listen for fan operation (should start immediately)
– If silent, manually activate the door switch while listening
– Remove rear panel to visually inspect fan blade movement
Critical warning: If you see heavy frost buildup behind the panel, the defrost system has failed—address this before replacing the fan. For ABB2224DEW models, check for ice obstructing the fan blades before condemning the motor.
Test Thermistor and Temperature Controls
Your Amana freezer’s thermistor constantly monitors internal temperature and signals the control board when cooling is needed. When faulty, it sends incorrect readings that prevent proper compressor cycling.
Simple thermistor test:
– Locate the thermistor (usually in a plastic housing near evaporator coils)
– Unplug freezer and disconnect thermistor wires
– Measure resistance with multimeter at room temperature
– Expected reading: Approximately 5k-15k ohms (varies by model)
– Problem indicator: No resistance change when warming thermistor in hands
If thermistor readings don’t change with temperature, replacement is needed. Time-saver: Many Amana thermistors cost under $20 and install in minutes—no professional required.
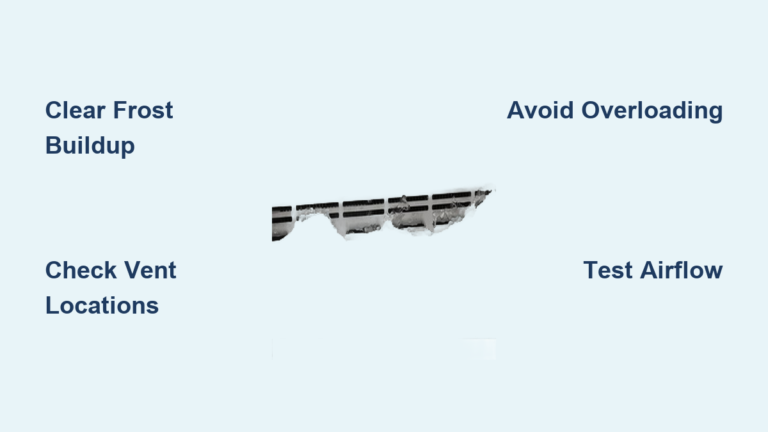
Evaluate Defrost System Components

Excessive frost buildup on the rear freezer wall indicates defrost system failure—the #1 cause of cooling problems in Amana freezers over 3 years old. This system includes three critical components:
Defrost heater:
– Located behind evaporator coils
– Test for continuity with multimeter
– Failure sign: No continuity reading
Defrost thermostat:
– Clips directly to evaporator coils
– Should show continuity when cold, none when warm
– Failure sign: Permanent continuity or no continuity
Defrost timer:
– Typically behind kickplate or in control housing
– Manually advance with screwdriver to force defrost cycle
– Failure sign: No compressor restart after advancing
Pro tip: For Amana bottom freezers, replacing the $12 defrost timer often resolves “freezer not working” issues without needing professional service.
Clean Condenser Coils for Immediate Improvement
Dirty condenser coils cause 25% of cooling failures but take just 10 minutes to clean. Located either at the back or bottom front of your unit:
- Unplug freezer and move away from wall
- Use a soft brush to remove dust between coil fins
- Vacuum loosened debris from coils and surrounding area
- Critical: Maintain 2-3 inch clearance from walls for proper airflow
Maintenance schedule: Clean coils every 6 months in homes with pets or dusty environments; annually otherwise. Warning: Never use sharp objects that could puncture coils—this creates refrigerant leaks requiring professional repair.
Recognize When to Call a Professional
While many Amana freezer issues are DIY-fixable, certain symptoms require professional intervention:
- Compressor running continuously with inadequate cooling
- Oil residue around refrigerant lines (indicates leak)
- Hissing or bubbling sounds from sealed system
- Unit less than 2 years old (likely covered under warranty)
Cost decision point: If repair estimates exceed 50% of a new unit’s price and your freezer is over 8 years old, replacement becomes more economical. Energy insight: New Energy Star models can save $50+ annually on electricity versus decade-old units.
Final Diagnostic Checklist Before Service Call
Before scheduling expensive professional service, verify these critical points:
- ✅ Power confirmed at outlet with working appliance test
- ✅ Circuit breaker fully reset (off then on)
- ✅ Start relay tested and replaced if faulty
- ✅ Door seal passes dollar bill test
- ✅ Condenser coils cleaned of dust/debris
- ✅ Evaporator fan operating with unobstructed airflow
- ✅ Defrost system components tested for functionality
Most “Amana freezer not working” emergencies resolve with one of these simple fixes. By methodically working through this guide, you’ll either restore freezing capability yourself or provide precise information to a repair technician—ensuring you only pay for necessary service when DIY solutions won’t work. Remember that regular maintenance prevents 80% of cooling failures, so establish a quarterly checklist to keep your Amana freezer operating efficiently for years to come.