Amana Fridge Freezer Not Cold Enough: Quick Fix Guide
You’re reaching for ice cream only to find it’s turned into a milky soup. Your freezer’s supposed to be rock solid, but it’s barely keeping food from spoiling. When your Amana fridge freezer isn’t cold enough, it’s more than an inconvenience—it’s a potential food safety hazard and a looming grocery bill. Thousands of Amana refrigerator owners face this frustrating problem each year, with temperature issues accounting for nearly 40% of all service calls according to manufacturer data. This guide cuts through the confusion with specific, actionable steps to diagnose and resolve why your Amana refrigerator isn’t maintaining proper temperatures, potentially saving you hundreds in unnecessary service calls.
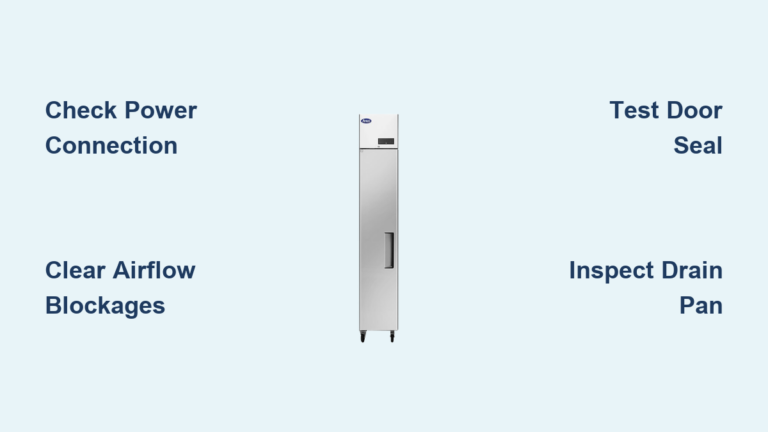
Essential First Checks Before Diagnosis
Before diving into complex repairs, verify these simple but often overlooked issues that cause most “not cold enough” complaints with Amana refrigerators. Many homeowners call technicians only to discover they’ve wasted money on problems they could have fixed in minutes.
Is Your Temperature Setting Actually Correct?
Many Amana models have confusing control panels where a single button adjusts both compartments. Check that you haven’t accidentally set your freezer to a warmer temperature while trying to adjust the fridge section. The optimal setting for most Amana models is 0°F (-18°C) for the freezer and 37°F (3°C) for the refrigerator compartment. If your display shows settings like “5” or “Medium,” consult your manual—these generic labels often don’t correspond to actual temperatures.
Door Seal Inspection: The Silent Cooling Killer
A compromised door seal lets cold air escape constantly, forcing your compressor to work overtime. To test your Amana’s seals:
1. Close the door on a dollar bill at various points around the seal
2. If you can pull the bill out with noticeable resistance, the seal is good
3. If it slides out easily, especially near the corners, you’ve found your problem
Pro Tip: Wipe seals monthly with vinegar solution—built-up grime prevents proper sealing. Replace cracked or brittle seals immediately; most Amana models use standard ¼” thick rubber gaskets available for $20-$35.
Airflow Blockage: The Hidden Culprit in Most Cases
Restricted airflow ranks as the #1 cause of inadequate cooling in Amana refrigerators according to service technicians. Unlike some brands, Amana models rely on precise air channeling between compartments.
Evaporator Fan Operation Verification
Your Amana’s evaporator fan (typically located behind the freezer’s rear panel) circulates cold air throughout the unit. If it fails, your freezer might stay cold while the fridge section warms up.
To check fan operation:
1. Unplug refrigerator for safety
2. Remove freezer’s rear panel (usually held by ¼” hex screws)
3. Plug unit back in and listen for fan humming
4. If silent, check for ice buildup on fan blades
Critical Warning: Never run your Amana without the evaporator fan functioning—this causes rapid frost accumulation that damages the defrost system.
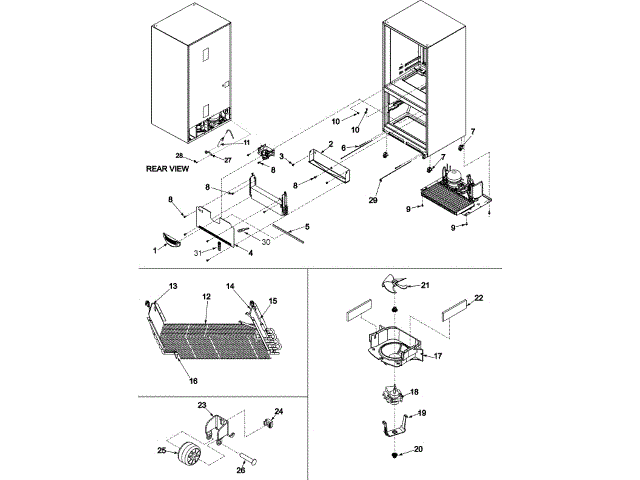
Condenser Coil Cleaning Protocol
Dirty condenser coils force your compressor to overwork, reducing cooling capacity by up to 30%. For most Amana bottom-mount models:
- Unplug unit and pull forward from wall
- Locate coils (usually behind front grill or on back panel)
- Use a 1″ narrow brush to dislodge dust between coil fins
- Vacuum debris with crevice tool—never use compressed air
- Complete process takes 15 minutes and should be done quarterly
Model-Specific Note: Amana ARB models have coils underneath requiring complete removal of the front grill—don’t skip this critical maintenance step.
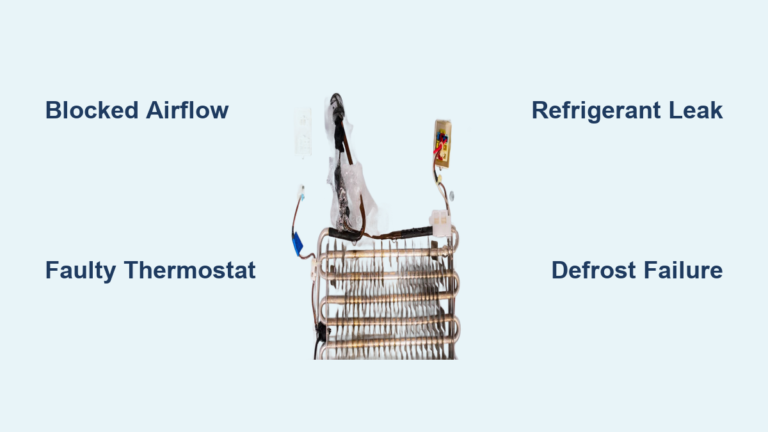
Thermostat and Sensor Failures: When Electronics Lie
Amana refrigerators use multiple temperature sensors that often fail before the main control board. These electronic components cause misleading symptoms that make users think the compressor has failed.
Freezer Thermistor Testing Procedure
The freezer thermistor (part # WR55X10025) frequently drifts out of calibration:
- Locate sensor near evaporator coils (thin copper tube)
- Disconnect wiring harness
- Measure resistance with multimeter:
– At 32°F (0°C): Should read 16.2K ohms
– At 77°F (25°C): Should read 5K ohms - If readings deviate more than 10%, replace sensor
Time-Saver: Most Amana models allow thermistor replacement in under 10 minutes without defrosting the freezer.
Control Board Reset Sequence
Before replacing expensive components, perform this manufacturer-recommended reset:
- Unplug refrigerator for 5 minutes
- Hold “Freezer” and “Light” buttons simultaneously
- Plug unit back in while holding buttons
- Release after control panel flashes
- Wait 24 hours for temperature stabilization
This resolves 15% of false “not cold enough” error conditions according to Amana service bulletins.
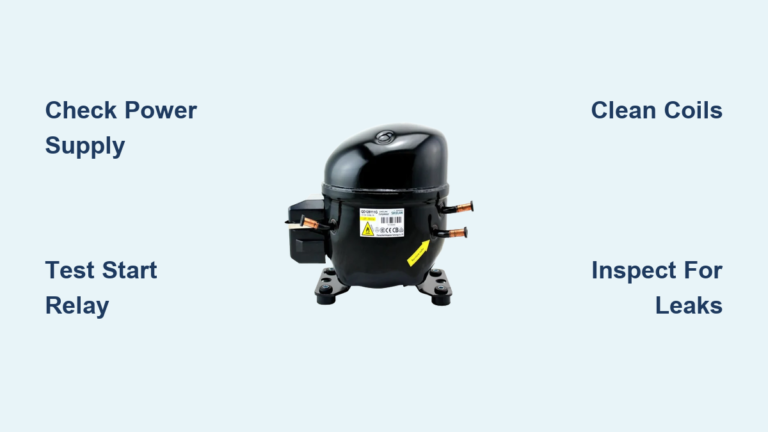
Compressor and Refrigerant Issues: When to Call a Pro
While most cooling problems have simple fixes, certain symptoms indicate serious mechanical failures requiring professional service.
Compressor Operation Assessment
Your Amana’s compressor should cycle on and off regularly. To check operation:
- Listen for distinct humming from bottom rear
- Feel compressor housing—it should be warm but not hot
- Verify condenser fan is running simultaneously
Danger Sign: If compressor runs constantly but freezer stays above 20°F (-7°C), you likely have a refrigerant leak. Do not continue running—this will destroy the compressor.
Defrost System Failure Indicators
Amana models use automatic defrost cycles every 8-10 hours. When this system fails:
- Thick frost buildup (1/4″ or more) on evaporator coils
- Water pooling under crispers after defrost cycle
- Freezer works intermittently then warms up
Critical Check: Test defrost heater (part # WR51X10023) with multimeter—should show continuity (0-50 ohms). If functional, replace defrost thermostat (part # WR50X10051).
Model-Specific Vulnerabilities to Check First

Certain Amana refrigerator models have known weak points that cause cooling issues:
Bottom-Freezer Models (ARB Series)
These frequently develop blocked air ducts between compartments:
– Remove front grill and check for ice in air channel
– Clean evaporator drain tube with 1/8″ wire
– Verify damper control motor operation (should click when adjusting temps)
French Door Models (AXR Series)
Known for faulty thermistors in the dispenser assembly:
– Unplug unit for 30 seconds to reset dispenser board
– Check for error codes (flashing lights indicate specific failures)
– Replace dispenser thermistor if fridge section warms but freezer stays cold
Preventive Maintenance Schedule
Avoid future cooling problems with this Amana-specific maintenance routine:
| Task | Frequency | Model Coverage |
|---|---|---|
| Condenser coil cleaning | Quarterly | All models |
| Door seal inspection | Monthly | All models |
| Evaporator drain cleaning | Biannually | Bottom-freezer |
| Sensor calibration check | Annually | All digital models |
| Refrigerant pressure check | 5 years | Professional only |
When to Replace vs. Repair Your Amana
Consider replacement if your unit shows multiple symptoms:
– Compressor failure in units over 8 years old
– Repeated defrost system failures
– Digital control board issues in older models
– Repair costs exceeding 50% of new unit price
Most Amana refrigerators provide reliable service for 10-14 years with proper maintenance. If your unit is under warranty, contact Amana directly—unauthorized repairs often void coverage.
Final Diagnostic Checklist Before Calling Service
Before paying for professional help, verify these critical points:
– Power supply confirmed (check GFCI outlets and circuit breaker)
– Condenser fan running when compressor operates
– Evaporator fan functioning with no ice obstruction
– Temperature settings verified with independent thermometer
– No recent power fluctuations affecting unit performance
Document your findings with photos—technicians charge less when you’ve eliminated simple causes. Most Amana cooling issues resolve with basic maintenance rather than expensive parts replacements. By methodically working through these checks, you’ll either restore proper cooling or provide technicians with precise information to fix the problem efficiently.