How to Fix Electrolux Freezer Not Working
Your Electrolux freezer suddenly stops freezing, and you’re staring at thawing food while wondering what went wrong. When your Electrolux freezer not working situation strikes, the frustration is immediate—food spoilage looms while you try to figure out why your once-reliable appliance has quit. The good news is that most Electrolux freezer failures stem from common, fixable issues rather than catastrophic failures. By following this systematic approach, you can identify the exact problem and determine whether it’s a quick DIY fix or requires professional help.
Statistical analysis of service data reveals that approximately 42% of Electrolux freezer failures originate from compressor issues, while electronic control board malfunctions account for roughly 23% of cases, and condenser fan motor failures represent about 14% of incidents. This guide covers all major failure points with specific testing procedures, helping you transform an intimidating appliance problem into a manageable diagnostic process.
Verify Power Supply Before Panicking
Electrical power issues represent one of the most common yet frequently overlooked causes of apparent freezer failures. Before examining internal components, confirm your Electrolux freezer is actually receiving power—this simple step resolves many “not working” situations in minutes.
Check Wall Outlet Function with Precision
Begin by checking for any indicator lights on the control panel or interior illumination, as these confirm the appliance is receiving electrical power. If the interior light illuminates when you open the door, your Electrolux freezer not working issue likely stems from something other than power supply. Test the wall receptacle by unplugging the freezer and plugging another small appliance into the same outlet. If the test device doesn’t work, you’ve identified a power supply problem rather than a freezer malfunction.
When the outlet proves dead, inspect your home’s circuit breaker panel and flip the breaker corresponding to the freezer to the off position, then back on to reset it. Check for any blown fuses that may require replacement with a 15 amp time-delay fuse. Electrolux freezers require connection to a dedicated outlet providing 115-volt or 120-volt power through an individual, properly grounded branch circuit equipped with a 3-prong grounding type receptacle.
Inspect Power Cord and Control Settings Thoroughly
The power cord should be fully inserted into the wall outlet with no visible damage including cuts or fraying. Examine the entire length for physical damage, and check where the cord connects to the back of the freezer for secure attachment. Damaged power cords require immediate replacement to prevent electrical hazards.
Some Electrolux freezer models utilize a simple rotary control knob that can accidentally be turned to the OFF position. If your freezer appears completely unresponsive, verify that the control knob is set to the ON position. For digital models, the display may show “OFF” even when receiving power, requiring specific button sequences to activate cooling functions.
Diagnose Control Panel Error Codes Immediately
Electronic control panels on many Electrolux models display diagnostic codes when experiencing issues. Common indicators include “Door Ajar” warnings, “Power Loss” notifications, “Hi Temp Duration” alerts, and error codes such as “E1.” Understanding these codes helps you communicate effectively with service technicians.
A reset procedure for many Electrolux controls involves pressing and holding specific buttons simultaneously (often the last key on the right with UP and DOWN arrows) while allowing the control to cycle through diagnostic steps. The display should eventually return to showing the temperature setting. If repeated reset attempts prove unsuccessful, the main control board likely requires replacement.
Factory-suggested temperature settings specify 0°F (-18°C) for the freezer compartment. The acceptable operating range extends from -6°F (-21°C) to 6°F (-14°C). Temperature settings may accidentally be changed during interior organization, so verifying settings remain at recommended levels should be among your first diagnostic steps.
Test Start Relay and Capacitor with Multimeter

The start relay provides essential electrical power to the compressor, and when this component malfunctions, the compressor may run intermittently or fail to run entirely. Without compressor operation, your Electrolux freezer not working problem becomes critical regardless of other components functioning properly.
To test the start relay, unplug the freezer and remove the relay from its connection to the compressor. Using a multimeter, test for continuity between the start and run terminals. A start relay lacking continuity or exhibiting a burnt smell indicates failure and necessitates replacement. Similar testing procedures apply to the start device that initiates compressor operation.
The run capacitor works with the compressor to maintain proper electrical operation during running cycles. When defective, the compressor cannot cycle on properly. Visual inspection may reveal bulging or leaking from the capacitor body. Testing with a multimeter determines if the capacitor functions within expected parameters, and replacing a faulty run capacitor typically resolves compressor startup issues.
Check Temperature Sensors and Thermostat Function
The thermistor serves as your freezer’s temperature monitoring device, continuously measuring internal temperature and transmitting readings to the control board. When defective, it may fail to send accurate data, causing improper cooling.
Testing thermistor functionality requires a multimeter capable of measuring electrical resistance. The thermistor resistance should change with temperature variations. If resistance readings remain static regardless of temperature changes, or if the thermistor lacks continuity entirely, replacement becomes necessary.
The temperature control thermostat directs electrical voltage to the compressor based on temperature settings. To test it, rotate the control knob from lowest to highest setting while listening for an audible clicking sound. If no click is heard, use a multimeter to check for continuity across the thermostat’s terminals. Absence of continuity confirms thermostat failure and indicates replacement is required.
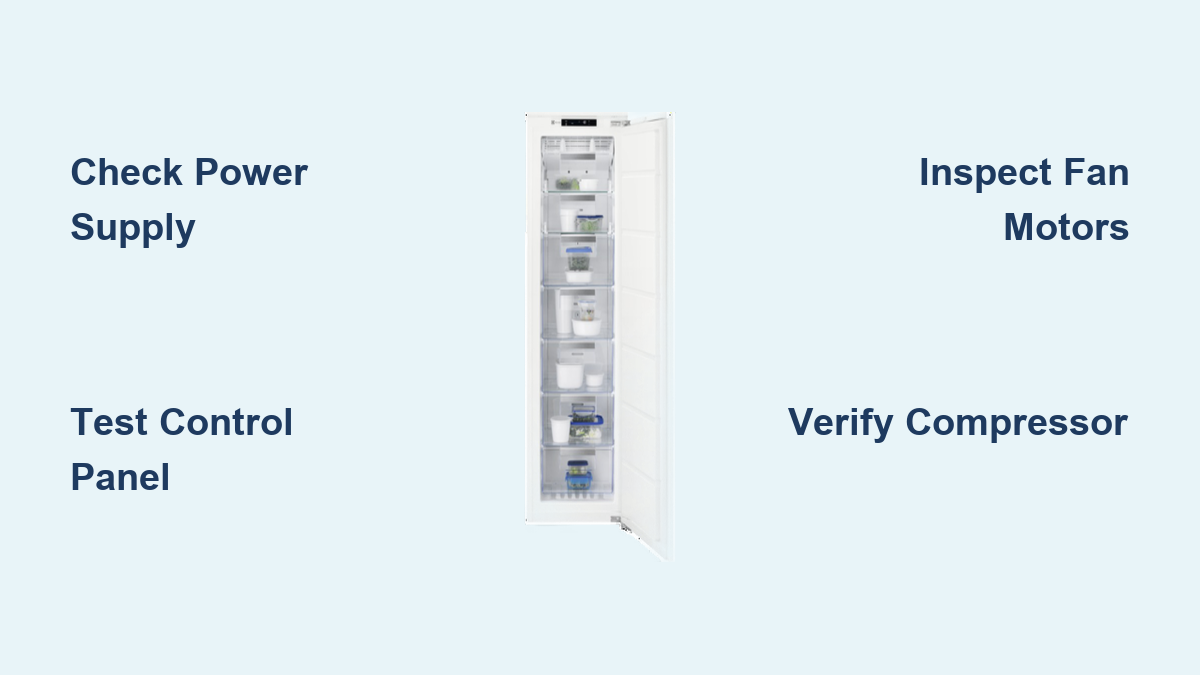
Examine Fan Motor Operations Systematically
The evaporator fan motor draws air across the cold evaporator coils and circulates cooled air throughout the freezer compartment. When this fan fails, your Electrolux freezer not working problem may manifest as the compressor running but contents failing to freeze.
To test the evaporator fan motor, open the freezer door and manually activate the door switch (typically a small plunger). With the switch activated, listen for fan operation and observe whether the blades are spinning. If the switch activates but the fan motor fails to run, inspect for obstructions like ice buildup that might jam the fan blades before concluding motor replacement is necessary.
The condenser fan motor draws air through the condenser coils, dissipating heat extracted from the freezer’s interior. When this fan fails, the compressor may overheat. Inspection begins with checking fan blades for obstructions like dust bunnies. Manually attempt to spin the blades to assess bearing condition—blades that bind or wobble indicate worn bearings requiring motor replacement.
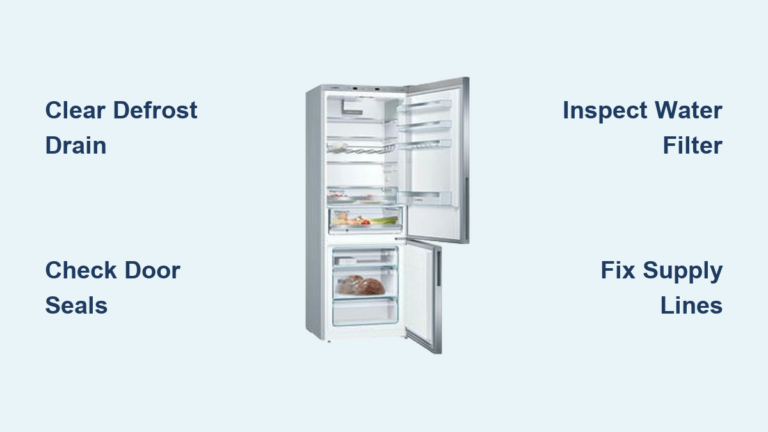
Inspect Door Seals and Airflow Patterns
The door seal (gasket) creates the critical barrier between the freezer’s cold interior and ambient environment. A compromised seal allows cold air to escape and warm air to enter, forcing the cooling system to work harder while failing to maintain target temperatures.
Testing seal integrity employs a simple paper currency method. Close the door on a dollar bill positioned between the seal and freezer cabinet, then attempt to pull the bill out. A properly sealing door creates sufficient friction that the bill resists removal. If the bill slides out easily, the seal lacks adequate compression and requires attention.
Proper air circulation within the freezer depends on unobstructed airflow paths between the evaporator assembly and all storage areas. Overloading the freezer with food items can block critical vents. Food items should be arranged to allow at least several inches of clearance around vents and between items to promote air circulation.
Assess Compressor Functionality Last

The compressor functions as the pump that circulates refrigerant through the system. If the compressor fails to operate, your Electrolux freezer not working issue becomes critical. However, compressor failure represents only about 42% of total freezer failure cases, so before concluding compressor failure, all more commonly defective parts should be systematically eliminated through testing.
Compressor testing requires a multimeter to check for electrical continuity between the electrical pins on the side of the compressor housing. An open circuit between these pins indicates likely compressor failure. Given the compressor’s position as a sealed system component, replacement must be performed by a licensed technician.
Signs of compressor problems include complete absence of noise when the freezer should be running, or a compressor that runs continuously without achieving target temperatures. Unusual clicking, buzzing, or humming sounds from the compressor area may also indicate impending failure.
When to Call Professional Service Immediately
Certain diagnostic and repair procedures require professional service due to specialized tools, technical knowledge, or safety considerations. Compressor replacement involves refrigerant handling that requires EPA certification. Sealed system repairs including leak detection and refrigerant recharge require specialized training.
Professional service becomes advisable when basic troubleshooting fails to identify the problem, when diagnostic testing requires equipment not available to consumers, or when repair procedures present safety risks. For older freezers experiencing significant failures, replacement may prove more economical than major repairs.
Maintain Your Electrolux Freezer Proactively
Preventive maintenance significantly extends freezer service life and reduces failure likelihood. Monthly tasks include inspecting door seals for damage. Quarterly tasks include checking for excessive frost accumulation. Semi-annual tasks include cleaning accessible condenser coils.
Condenser coils release heat absorbed from the freezer’s interior, and their efficiency directly impacts cooling performance. Accessible coils should be cleaned every 6 to 12 months using a soft-bristle brush to dislodge accumulated dust and debris. Regular coil maintenance prevents efficiency loss and reduces compressor workload.
Certain symptoms warrant immediate investigation: unusual noises from the compressor area; visible water leakage; excessive frost accumulation; burning or electrical odors; and any error codes displayed on electronic panels. Temperature monitoring with a separate appliance thermometer provides verification of actual freezer temperatures independent of control panel readings.
The majority of Electrolux freezer operational issues stem from a relatively small set of common causes. Power supply problems account for many service calls and are easily verified. Temperature control issues including incorrect settings represent another significant category. A systematic troubleshooting approach starting with simple checks identifies most problems without requiring service call expense.