Hotpoint Freezer Not Working: Quick Fix Tips
Your Hotpoint freezer suddenly stops working, and the panic sets in—hundreds of dollars worth of frozen food is at risk of spoiling within hours. When your Hotpoint freezer not working properly, every minute counts. Whether it’s completely dead, running constantly without cooling, or making strange noises, understanding the root cause can help you determine if it’s a simple DIY fix or requires professional help. This guide provides specific troubleshooting steps for the most common Hotpoint freezer failures, so you can take immediate action to protect your food and potentially avoid costly repairs.
A malfunctioning freezer disrupts the delicate balance of your appliance’s cooling system. Hotpoint freezers rely on multiple electrical and mechanical components working in perfect coordination to maintain the critical -18°C temperature needed for food safety. When any single part fails, the entire freezing process breaks down. By learning to identify specific failure symptoms and following these targeted diagnostic steps, you can often solve the problem yourself—saving both time and money while preserving your frozen inventory.
Confirm Power Is Actually Reaching Your Freezer
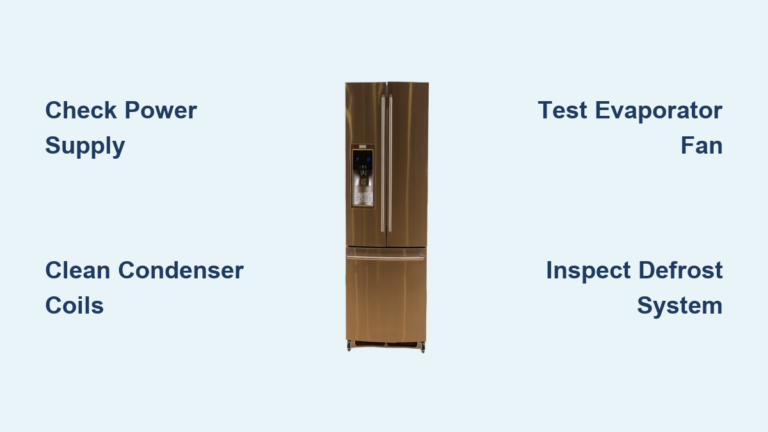
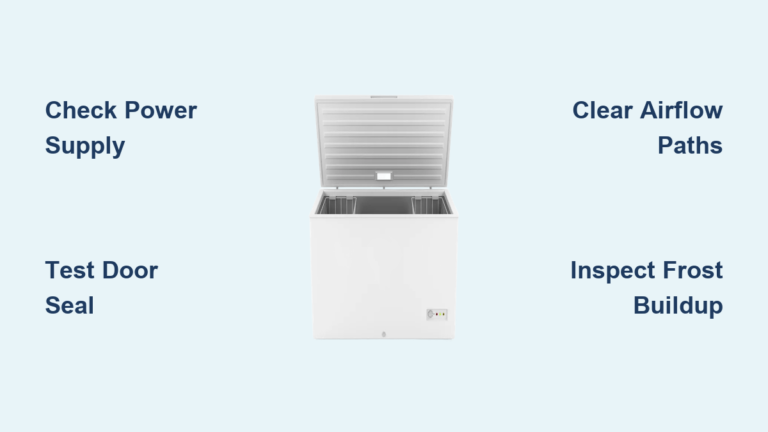
Before dismantling your appliance, rule out the simplest explanation: no power. A Hotpoint freezer not working with no lights, sounds, or compressor activity usually means the unit isn’t receiving electricity.
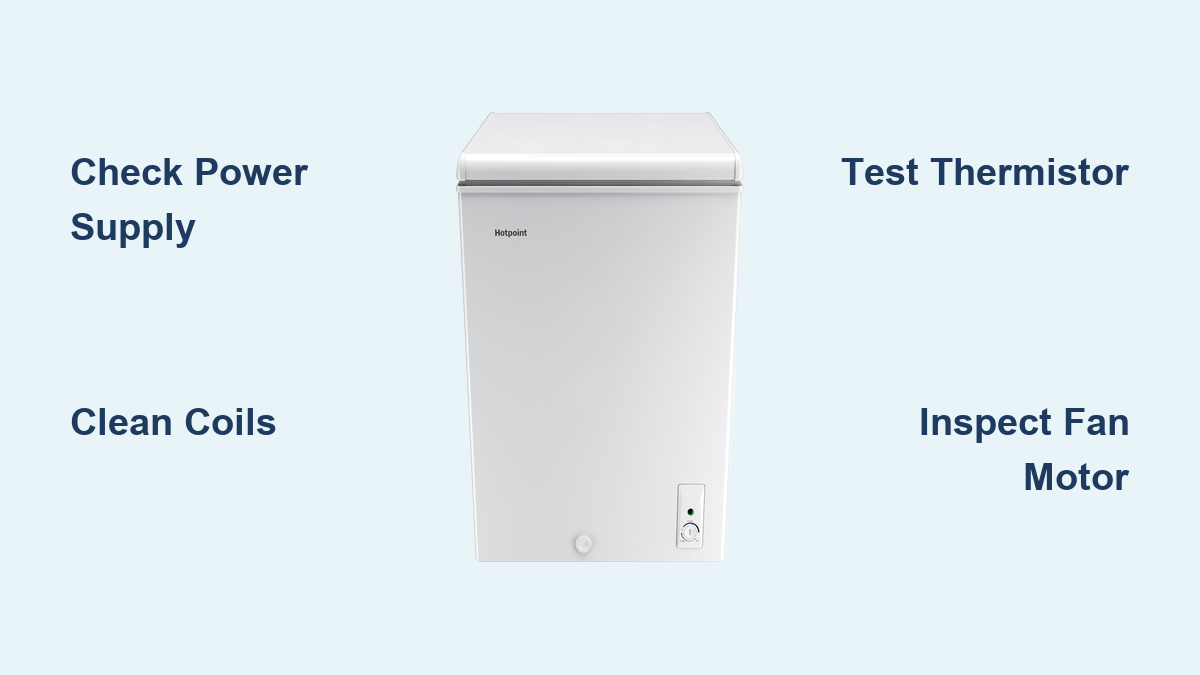
Check that the power cord is fully inserted into both the freezer and wall outlet. Test the outlet by plugging in another device—many homeowners discover the outlet itself has failed or is controlled by a wall switch they didn’t realize was off. Inspect your circuit breaker panel for tripped switches, and reset any that have flipped. If you have a GFCI outlet (common in kitchens), press the “reset” button on the outlet face.
Pro tip: Never plug your freezer into a GFCI outlet if possible—these are designed to trip with minor electrical fluctuations and can leave your freezer powerless for hours, ruining your food. If you must use a GFCI outlet, ensure it serves only the freezer with no other appliances sharing the circuit.
Decode Your Hotpoint Freezer’s Indicator Light Signals
Modern Hotpoint freezers communicate problems through specific light patterns—understanding these codes saves diagnostic time. An amber light typically indicates the fast freeze function is active, which is normal operation, not an error. This setting runs the compressor continuously for 24 hours to accommodate large quantities of fresh food.
If lights flash erratically or display unusual patterns, consult your user manual for model-specific error codes. Some models use specific blink sequences to indicate thermistor failures, defrost system issues, or control board malfunctions. No lights at all despite confirmed power supply suggests an internal fuse has blown or wiring problems exist.
Diagnose Thermistor Failure in 3 Steps

The thermistor is your freezer’s temperature sensor—if it fails, your Hotpoint freezer not working properly may run constantly or not cool at all because the control board receives incorrect temperature data.
Check for these thermistor failure symptoms:
– Freezer runs nonstop but never reaches proper temperature
– Temperature fluctuates wildly without explanation
– Compressor cycles on and off too frequently
To test the thermistor:
1. Unplug freezer and locate the thermistor (usually near evaporator coils)
2. Set multimeter to measure resistance
3. Record readings at room temperature, then after placing in freezer for 15 minutes
A healthy thermistor shows changing resistance as temperature changes. Static readings or no continuity means replacement is needed—typically a $20-$40 part that takes 30 minutes to replace.
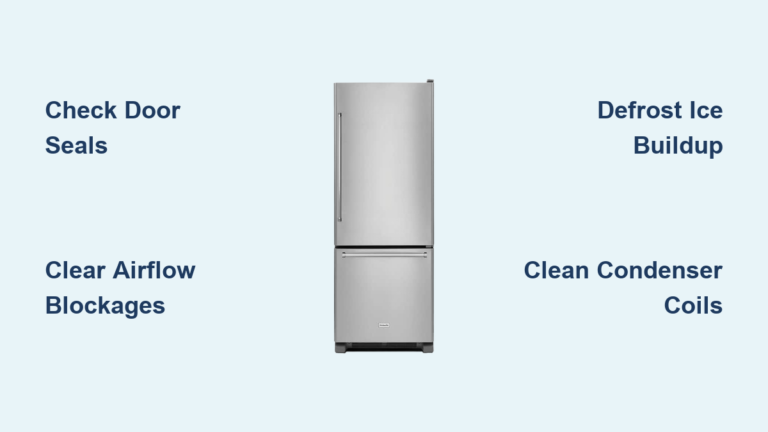
Clean Condenser Coils: The Most Overlooked Fix
Dirty condenser coils cause 30% of all cooling failures in Hotpoint freezers. When dust and debris coat these heat-exchange coils, your freezer can’t release heat properly, making the compressor work harder while delivering less cooling.
To clean condenser coils:
– Unplug freezer and pull it away from the wall
– Locate coils (usually on back or beneath front kickplate)
– Use a soft brush to remove loose debris
– Vacuum remaining dust with narrow nozzle attachment
– Allow 24 hours before plugging back in
This 20-minute maintenance task should be performed every 6-12 months. After cleaning, your freezer should cool more efficiently, reducing energy consumption by up to 15% while extending compressor life.
Fix Evaporator Fan Motor Issues in Under 30 Minutes

The evaporator fan circulates cold air throughout your freezer—if it fails, your Hotpoint freezer not working properly may have a running compressor but warm interior because cold air isn’t circulating.
Test the evaporator fan:
1. Open freezer door and locate the small door switch
2. Press and hold the switch (simulating closed door)
3. Listen for fan motor starting within 5 seconds
No fan operation indicates either a failed motor or obstruction. Remove any ice buildup blocking the fan blade before replacing the motor. Replacement takes 20-30 minutes and costs $50-$75 for parts. Listen for clicking or whirring sounds—that means the motor is trying to start but failing, requiring immediate replacement.
Replace Faulty Start Relay Causing Clicking Sounds
That distinctive clicking noise from your compressor area usually means a failing start relay—the component that provides the initial power surge to start the compressor.
Diagnose start relay failure:
– Unplug freezer and locate relay on compressor
– Remove relay and shake gently—a rattle indicates broken parts
– Test for continuity with multimeter between start and run terminals
No continuity means replacement is needed. This $15-$30 part takes 10 minutes to swap. Warning: Always discharge static electricity by touching metal before handling to prevent damaging the new relay.
Test Defrost System Components for Frost Buildup

Excessive ice on evaporator coils (more than 1/4 inch thick) indicates defrost system failure. The defrost heater, thermostat, and timer must all function properly to prevent this common problem.
Test defrost heater:
– Disconnect heater leads
– Measure resistance—should read 15-30 ohms
– Infinity reading means heater is burned out
Test defrost thermostat:
– At room temperature: should show no continuity
– When cooled with ice: should show zero ohms resistance
Replace faulty components ($25-$40 each) after unplugging freezer for 30 minutes to allow frost to melt before accessing components.
Fix Door Seal and Alignment Problems Immediately
A poorly sealing door lets warm, moist air enter constantly—forcing your freezer to run longer while introducing moisture that creates frost buildup.
Check door seal integrity:
– Close door on dollar bill at multiple points
– If bill slides out easily, gasket needs replacement
– Clean gasket with mild soap and warm water to restore flexibility
For misaligned doors, adjust leveling feet—raise the side where the door gap appears larger. Allow 24 hours after adjustments for components to settle. Proper door alignment can reduce compressor run time by up to 25%.
When to Call a Professional vs. DIY Repair
Not all Hotpoint freezer not working issues are DIY-friendly. Call a technician immediately if:
– You smell burning electrical odors
– Refrigerant is leaking (oily residue near coils)
– Compressor is extremely hot to touch
– Multiple components show failure signs
For most electrical component replacements (thermistor, start relay, defrost parts), capable DIYers can save $150-$300 in service calls. But sealed system repairs (compressor, refrigerant leaks) require EPA-certified technicians and typically cost $600-$1,000—often more than replacing older units.
Make the Repair or Replace Decision
Weigh these factors when your Hotpoint freezer not working properly:
– Age of appliance: Under 5 years favors repair
– Repair cost vs. replacement: If repair exceeds 50% of new unit cost, replace
– Energy efficiency: Newer models use 40% less energy than 10-year-old units
– Warranty status: Check if sealed system components (often 5-year coverage) are still protected
For freezers under 2 years old with compressor issues, contact Hotpoint UK customer service at 0344 822 4224—they may cover repairs under warranty. Always get written estimates before authorizing service.
Prevent Future Failures With These Maintenance Tips
Extend your Hotpoint freezer’s lifespan with these simple habits:
– Clean condenser coils every 6 months
– Leave 2-3 inches clearance around unit for ventilation
– Never overload freezer—allow air circulation space
– Check door seals monthly for tears or deformation
– Set temperature to -18°C (standard factory setting)
Proper maintenance prevents 80% of common failures, saving you from future emergencies when your Hotpoint freezer not working threatens your frozen food supply.
Final Note: When your Hotpoint freezer not working properly, systematic troubleshooting of these common failure points will resolve most issues. Start with power supply verification, then progress through component testing—addressing the simplest fixes first. By understanding your appliance’s specific symptoms and applying these targeted solutions, you’ll maximize your chances of restoring proper operation while minimizing repair costs. Remember that regular maintenance prevents most failures, so schedule coil cleaning and seal inspections to avoid future emergencies.