Freezer Not Freezing? How to Diagnose & Fix
Your freezer suddenly stops freezing, and suddenly you’re faced with a freezer full of thawing food and a pressing question: what went wrong? This frustrating scenario ranks among the most common appliance problems homeowners face, and the causes range from simple fixes you can handle yourself to complex repairs requiring professional service. Before you panic about replacing your appliance or calling a technician, work through this comprehensive troubleshooting guide. Most freezing failures stem from a handful of identifiable causes, and many can be resolved with basic diagnosis and simple interventions. This guide walks you through systematic steps to diagnose why your freezer isn’t freezing, distinguish between quick fixes and serious problems, and determine whether professional repair makes sense for your situation.
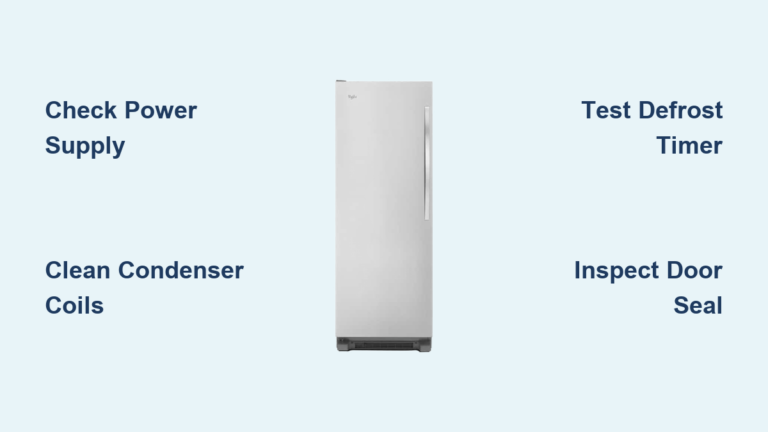
Understanding how your freezer should work provides the foundation for effective diagnosis. A properly functioning freezer maintains temperatures at or below 0°F (-18°C), with acceptable operating ranges spanning from -6°F to 6°F. When temperatures rise above freezing, food begins thawing and potentially spoiling within hours. The cooling system relies on several components working in harmony: the compressor circulates refrigerant, the condenser coils release heat, the evaporator coils absorb warmth from inside the freezer, and fans circulate cold air throughout the compartment. Problems anywhere in this system can prevent proper freezing, but the diagnostic process helps isolate exactly where the breakdown occurs.
Confirm Power Supply and Temperature Settings
Before diving into complex component testing, start with the simplest possible causes. A freezer that appears broken may simply be unplugged, set incorrectly, or affected by a tripped circuit breaker.
Check that your freezer is receiving power by verifying the interior light illuminates when you open the door. If it doesn’t, ensure the unit is firmly plugged into its outlet. Test the outlet by plugging in another device like a lamp or phone charger. If that device works but your freezer doesn’t, you may have an electrical problem specific to the appliance. Also check your home’s circuit breaker box and reset the breaker corresponding to the freezer if it has tripped.
Verify your freezer is set to the recommended 0°F temperature. Temperature settings frequently drift out of calibration or get accidentally bumped during routine use. After making any adjustment, allow 24 hours for temperatures to stabilize before concluding the issue isn’t resolved. New installations and units that have experienced power interruptions need this same stabilization period.
If your freezer has a digital display, check that demo mode hasn’t been accidentally enabled. Demo mode displays the unit without actually cooling—a common oversight on newly purchased appliances. Finally, inspect the power cord for visible damage that might indicate a wiring problem requiring professional attention. Don’t ignore this simple step—nearly 30% of “broken” freezers simply need power verification.
Test Door Seal Effectiveness with the Dollar Bill Method
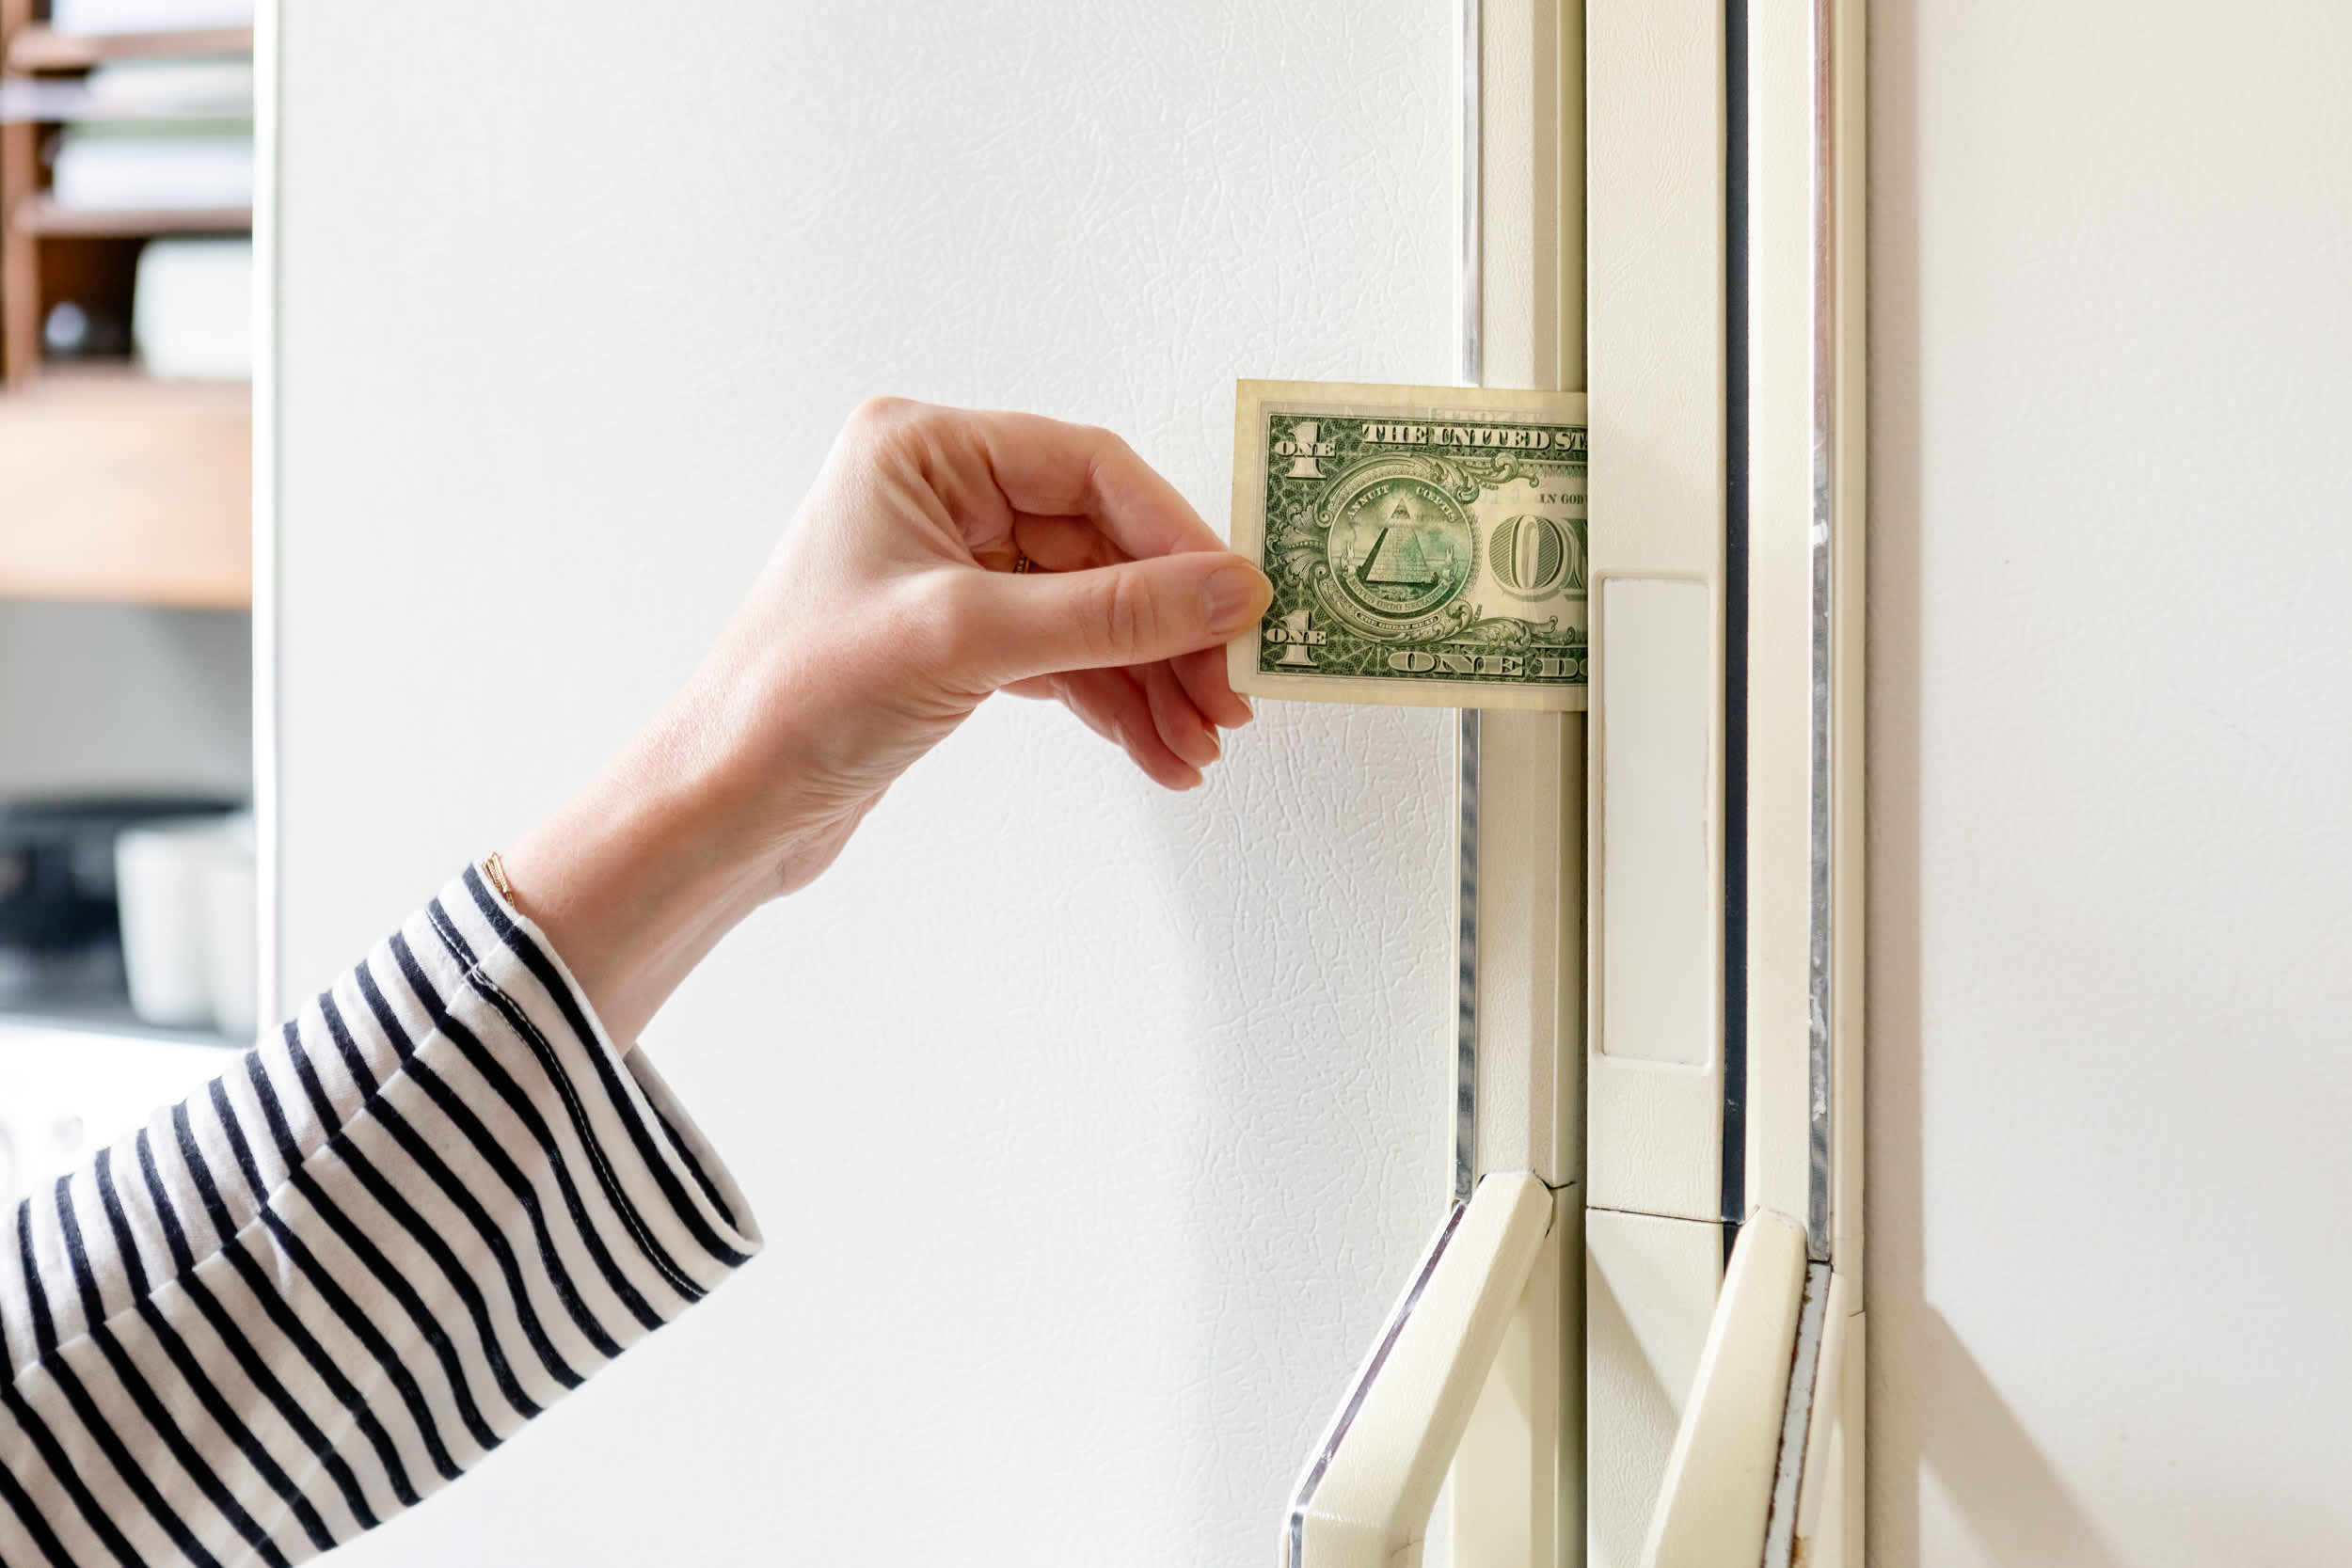
A compromised door seal ranks among the most frequent culprits when freezers fail to maintain freezing temperatures. The gasket creates the essential barrier that keeps cold air inside while preventing warm room air from entering. When this seal fails, your freezer essentially runs continuously without ever achieving proper temperatures.
Perform the dollar bill test by closing a dollar bill or piece of paper in the door, then attempting to slide it out. If the paper slides out easily with minimal resistance, your gasket isn’t sealing properly. Test multiple points around the entire door perimeter—weak spots in certain areas may escape detection if you only test one location.
Inspect the gasket itself for visible damage. Look for cracks, tears, warping, or areas where the seal has become flattened and won’t spring back. Food residue, sticky substances, and general grime can prevent the gasket from making complete contact with the cabinet. Clean gaskets with warm, soapy water, rinsing thoroughly and drying completely. After cleaning, apply a thin layer of petroleum jelly to keep the material flexible.
Also check whether items inside the freezer are preventing the door from closing fully. Overstuffed shelves, bins that have shifted out of position, or containers sticking out past the door frame can create small gaps that allow significant cold air to escape. Ensure shelves and bins sit properly in their tracks and rearrange contents to allow complete door closure.
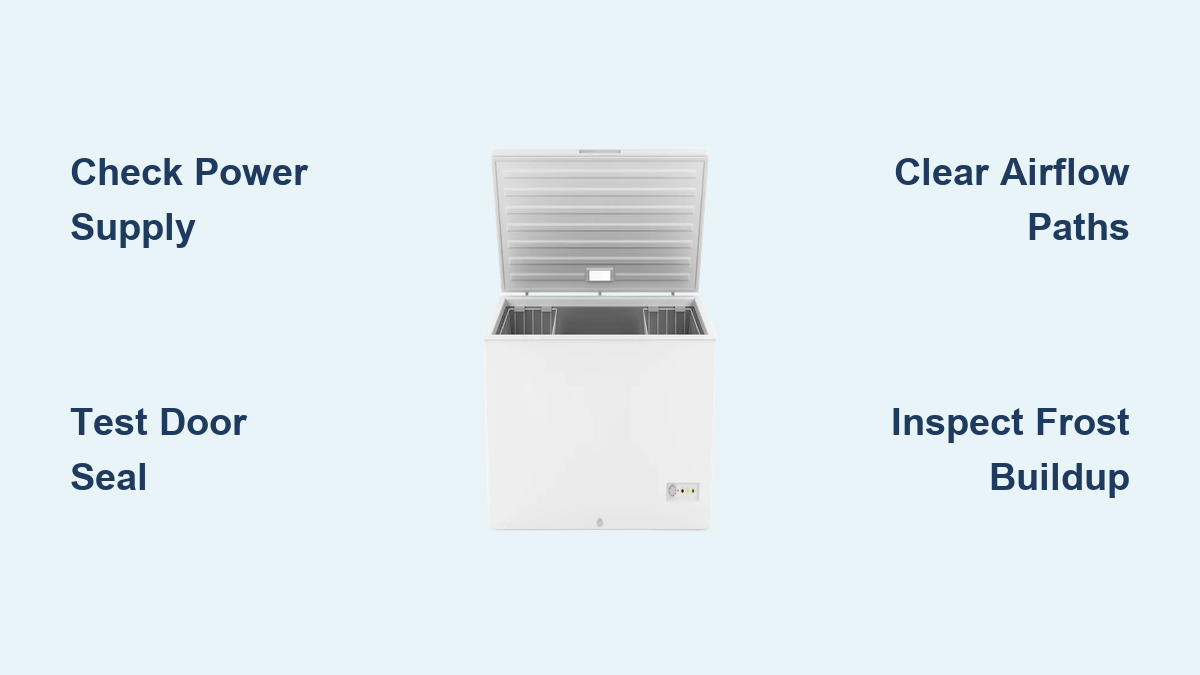
Remove Items Blocking Critical Airflow Paths

Even with perfect power and sealing, your freezer won’t freeze properly if cold air cannot circulate throughout the compartment. Airflow restrictions create warm spots where food fails to freeze while the appliance runs constantly attempting to reach the set temperature.
Locate the evaporator fan typically positioned on the back wall of the freezer compartment. If items are packed too tightly around the fan cover, airflow diminishes dramatically. Remove stored items near the back wall and leave several inches of clearance around the fan cover. Even when the freezer doesn’t appear overly full, poorly arranged contents can block critical airflow paths.
Check vents between the freezer and refrigerator compartments to ensure they remain unobstructed. Food packages, ice accumulation, or displaced items blocking these vents prevent cold air from flowing between compartments. Rearrange stored items to ensure vents stay clear. This affects both the freezer’s ability to freeze and the refrigerator’s ability to maintain proper cooling.
For refrigerator-freezer combinations, clean the condenser coils located either at the back or bottom of the unit. Dust, pet hair, and debris accumulate on these coils over time, creating insulation that prevents proper heat release. Dirty coils force the system to work harder while achieving poorer results. Unplug the unit and clean coils every two to three months using a coil brush or vacuum crevice attachment.
Identify Defrost System Failures Through Frost Inspection

Excessive frost inside your freezer signals defrost system problems that directly impact freezing capability. Frost accumulation insulates surfaces, blocks airflow, and forces the appliance to work harder while failing to maintain proper temperatures.
Open your freezer and examine the interior walls. A thin layer of frost is normal, but thick ice buildup covering the back wall or panels indicates the defrost system isn’t functioning correctly. When frost accumulates on the evaporator coils, it blocks heat absorption and prevents proper cooling.
The defrost system includes the defrost heater, defrost thermostat, and defrost timer or electronic control board. When any component fails, ice accumulates on the coils and back wall. To inspect, unplug the refrigerator and remove the back panel inside the freezer to examine the evaporator coils. Ice covering the coils confirms defrost system malfunction.
If you discover excessive frost, you may need to manually defrost the unit while awaiting professional service. Move all food to a cooler with ice packs, lay towels around the freezer base, unplug the unit, and allow all ice to melt completely. After defrosting, clean and thoroughly dry the interior before restoring power. Most modern freezers have automatic defrost, so recurring frost buildup after manual defrosting indicates a component failure requiring professional diagnosis.
Check Thermostat Response with the Click Test
The thermostat or electronic control system regulates when the compressor runs to maintain your set temperature. When this control system fails, your freezer may not activate cooling cycles properly.
Test your thermostat by turning the temperature dial from its lowest setting to its highest setting. Listen carefully for a distinct click indicating the thermostat is responding to the change. No click suggests potential thermostat failure. While this test doesn’t definitively confirm the thermostat is working correctly, it reveals whether the component is receiving and responding to input.
For digital controls, ensure settings are correct and the display shows normal operation. Check that demo mode is disabled if your unit has this feature. If settings appear correct but cooling doesn’t occur, the electronic control board may have failed. Control board problems are complex and typically require professional diagnosis—testing requires electrical knowledge and proper equipment.
The defrost temperature sensor tells the freezer how cold it is inside. When this sensor malfunctions, the control system cannot maintain proper temperatures. If temperature settings are correct and no excessive frost is blocking airflow, the temperature sensor likely needs replacement. This repair involves complex electrical systems and is best handled by professionals.
Verify Evaporator and Condenser Fan Operation
Multiple fans work together to maintain proper freezer temperatures. The evaporator fan circulates cold air throughout the freezer compartment, while the condenser fan draws cool air through the condenser coils. When either fan fails, airflow and heat dissipation become compromised.
Test the evaporator fan by opening the freezer door and manually holding down the door switch—which normally turns the fan off when the door opens. Listen for the fan to start running. If the fan doesn’t operate when the switch is depressed, the motor may have failed or power delivery is faulty. During normal operation, you should hear the fan running quietly when the compressor cycles on; silence or unusual noise indicates potential problems.
The condenser fan draws cool air through the condenser and over the coils. When this fan fails, the compressor can overheat and your freezer’s internal temperature rises. A failing condenser fan often accompanies other signs like the compressor running hotter than normal or the freezer struggling to maintain temperature. Because accessing the condenser fan can be tricky, professional diagnosis is recommended to determine whether fan blades turn properly and whether the motor has worn out.
Listen for routine fan operation during normal cooling cycles. Buzzing or clicking sounds may indicate a struggling fan motor. Constant or unusual noise when the compressor runs signals developing motor problems that require attention before complete failure occurs.
Diagnose Compressor and Start Relay Problems
The compressor circulates refrigerant through the cooling system, making it the heart of your freezer’s operation. Compressor problems represent more serious failures that often require professional assessment and sometimes justify appliance replacement.
Listen for the routine humming sound the compressor makes when starting. Pay attention for at least 30 minutes—if the humming sound doesn’t kick in, the compressor may not be working correctly. The compressor should cycle on periodically to maintain temperature, then turn off when the set point is reached. A compressor that runs constantly without cycling off often indicates the system cannot achieve proper cooling due to another failing component.
Perform the relay rattle test by unplugging the refrigerator, removing the back panel to access the compressor compartment, disconnecting the start relay, and gently shaking it. A rattling noise similar to dice in a cup indicates a failed relay requiring replacement. No rattle suggests the problem may lie with the compressor itself.
When the compressor runs but the freezer doesn’t cool, refrigerant loss through a leak in the system may be the cause. Low refrigerant prevents proper heat absorption and cooling. While the compressor may run continuously attempting to achieve temperature, insufficient refrigerant means cooling never occurs. Refrigerant leaks require certified technicians to locate the leak, repair it, and recharge the system with the correct refrigerant type—this is not a DIY repair due to environmental regulations and the specialized equipment required.
Determine When Professional Repair Is Necessary
Some freezer problems require professional diagnosis and repair due to complexity, safety concerns, or warranty considerations. Recognizing when to call an expert saves time, prevents further damage, and can be more cost-effective than repeated failed DIY attempts.
Electrical component replacement involving start relays, electronic control boards, temperature sensors, and thermostats involves work that can be dangerous without proper training. Professional service ensures correct part identification and safe installation. Compressor diagnosis, repair, or replacement requires specialized tools and refrigerant handling certification. In many cases, compressor replacement costs approach or exceed the price of a new freezer, making professional assessment of repair versus replacement options valuable.
Consider your freezer’s age when evaluating repair versus replacement. Most freezers have an expected lifespan of 10 to 15 years. Major repairs on units approaching this age often justify replacement rather than investment in a failing appliance. Also consider the cost of the repair relative to replacement cost—if professional repair exceeds half the cost of a new unit, replacement typically makes more financial sense.
If the same issue recurs after DIY repair attempts, professional diagnosis can identify underlying causes that weren’t addressed initially or reveal additional failing components working together to create persistent problems.
Follow This Step-by-Step Freezer Diagnosis Sequence
When your freezer isn’t freezing, work through this systematic diagnostic sequence to identify the root cause. First, confirm power availability and correct temperature settings, allowing 24 hours for stabilization after any changes. Second, test door seal integrity with the paper test, clean gaskets, and ensure nothing prevents complete door closure. Third, remove items blocking the evaporator fan and vents, rearranging contents to leave proper clearance. Fourth, inspect for excessive frost indicating defrost system problems requiring professional service. Fifth, listen for compressor hum, fan noise, and normal operational sounds—silence or unusual new noises help pinpoint failing components.
Simple fixes like reorganizing contents, cleaning door seals, and clearing dust from condenser coils resolve many freezing problems without professional service. More complex issues involving compressors, start relays, defrost systems, and electronic controls typically require professional diagnosis and repair. Regular maintenance including coil cleaning, seal inspection, and proper loading techniques prevents many common freezing problems and extends your freezer’s lifespan. When troubleshooting reveals major component failures on older units, replacement often provides better value than expensive repairs.