Freezer Not Freezing Water? Fix It Fast
You’ve filled your ice cube trays with water, waited the usual 4-6 hours, and discovered your freezer isn’t freezing water properly. Instead of solid ice cubes, you find slushy or completely liquid water—a frustrating problem that signals deeper issues with your appliance. When your freezer fails to maintain the critical 0°F (-18°C) temperature threshold required for proper freezing, food safety and quality rapidly deteriorate. This seemingly simple problem often stems from one of several common culprits ranging from simple airflow blockages to failing mechanical components. The good news is that most freezers not freezing water can be restored to peak performance with systematic troubleshooting and targeted repairs—often without professional help.
Understanding why your freezer isn’t freezing water requires examining three interconnected systems: cold air retention (seals), air circulation (fans and vents), and component functionality (relays, thermostats, and motors). Many homeowners waste money on unnecessary service calls when the solution involves simple maintenance they can perform themselves. This guide provides the specific diagnostic steps and repair procedures needed to identify and fix the exact reason your freezer fails to freeze water, saving you time, money, and potentially spoiled food.
Door Seal Failures That Let Cold Air Escape
When your freezer isn’t freezing water properly, compromised door seals represent the most common and easily overlooked cause. A single gap in the gasket allows warm ambient air to infiltrate while precious cold air escapes, forcing your appliance to work overtime with diminishing results.
Conduct the paper dollar test to verify seal integrity: Close a dollar bill or standard piece of paper in the door so it extends outward, then attempt to pull it out. If the paper slides out easily with minimal resistance, your seal lacks sufficient tension. Test multiple points around the entire door perimeter, as seals often fail unevenly with weak spots developing in high-use areas. Critical warning: Even a 1/8-inch gap along just 10% of the seal perimeter can increase energy consumption by 65% while preventing proper freezing.
Clean and maintain gaskets monthly using warm, soapy water to remove food residue and sticky spills that prevent proper sealing. For stubborn buildup, a baking soda paste effectively removes grime without damaging the rubber material. After cleaning, apply a thin layer of petroleum jelly to condition the seal and prevent drying. If cleaning doesn’t restore grip or you notice cracks, tears, or permanent deformation, replace the gasket immediately—it’s a surprisingly affordable fix ($30-$100 depending on model) that dramatically improves freezing performance.
Airflow Blockage Fixes: Clearing Fan and Vent Obstructions
Proper air circulation remains essential for consistent freezing temperatures throughout your freezer compartment. When airflow becomes restricted, cold air can’t reach all areas equally, resulting in warm spots where water refuses to freeze properly.
Overpacking is the #1 airflow culprit—items placed too close to the back wall or directly under the evaporator fan cover create physical barriers to cold air movement. Immediately remove excess items and rearrange remaining contents to maintain at least 2 inches of clearance around all vents and the evaporator fan housing. For side-by-side models, ensure nothing protrudes into the hidden air channel connecting freezer and refrigerator compartments—a common oversight that causes freezer warming while refrigerator temperatures remain normal.
Defrost ice buildup on fan blades creates another frequent obstruction. Unplug your appliance, locate the evaporator fan cover (typically on the back freezer wall), and inspect for ice accumulation. Use warm water (never hot) to melt ice safely, then verify fan blades spin freely before reassembly. Pro tip: A turkey baster filled with warm water simultaneously clears the defrost drain—a dual solution that prevents recurring ice blockages.
Diagnosing Frozen Evaporator Fan Motor Problems
The evaporator fan motor circulates cold air throughout your freezer compartment. When this component fails, cold air generated at the evaporator coils cannot distribute properly, resulting in water that won’t freeze despite normal compressor operation.
Listen for fan operation with the freezer door open (hold the door switch closed manually). You should hear a distinct whirring sound within 30 seconds of opening the door. No sound indicates potential motor failure. Visual check: Remove the back panel inside the freezer to inspect fan blades for ice buildup or physical damage. Manually spin the blades—if they resist movement or produce grinding noises, the motor bearings have likely failed.
Test motor continuity using a multimeter set to ohms. Disconnect power, remove the motor wires, and check for resistance across the terminals. No reading indicates complete motor failure requiring replacement ($100-$200 part cost). DIY difficulty: Moderate—requires basic electrical knowledge but straightforward access in most models. If uncomfortable with electrical testing, consult a professional.
Start Relay Testing: The Hidden Culprit Behind Cooling Failure

The start relay provides the initial electrical surge needed to activate your compressor. When this small but critical component fails, your freezer won’t freeze water despite appearing otherwise functional—a common but easily diagnosable problem.
Perform the shake test: Unplug your appliance, locate the start relay (attached directly to the compressor terminals), and gently remove it. Shake the relay near your ear—a distinct rattling sound indicates internal contact failure requiring immediate replacement ($30-$80 part cost). No rattle suggests functionality, though professional testing provides definitive confirmation.
Replacement procedure: Match the new relay exactly to your model number (found on the appliance’s data plate). Disconnect wires one at a time, noting positions, then attach them to the identical terminals on the new relay. Critical warning: Always disconnect power before relay replacement—working near the compressor carries significant electrical risks.
Electrical Supply Checks Before Calling a Technician
Surprisingly often, freezers not freezing water suffer from simple electrical issues that homeowners can verify in minutes—potentially avoiding unnecessary service calls.
Verify outlet functionality by plugging a lamp or phone charger into the same outlet. If these devices don’t work, check your circuit breaker panel for tripped switches or blown fuses. Essential check: Ensure your freezer connects to a dedicated 15-20 amp circuit—not shared with other high-draw appliances like microwaves or coffee makers.
Inspect the power cord thoroughly for visible damage, fraying, or bent prongs that might prevent proper connection. Pay special attention to both ends and areas where the cord bends frequently. While rare, cord damage can cause intermittent power loss that prevents consistent freezing.
Temperature Verification: Measuring What Your Freezer Really Reads
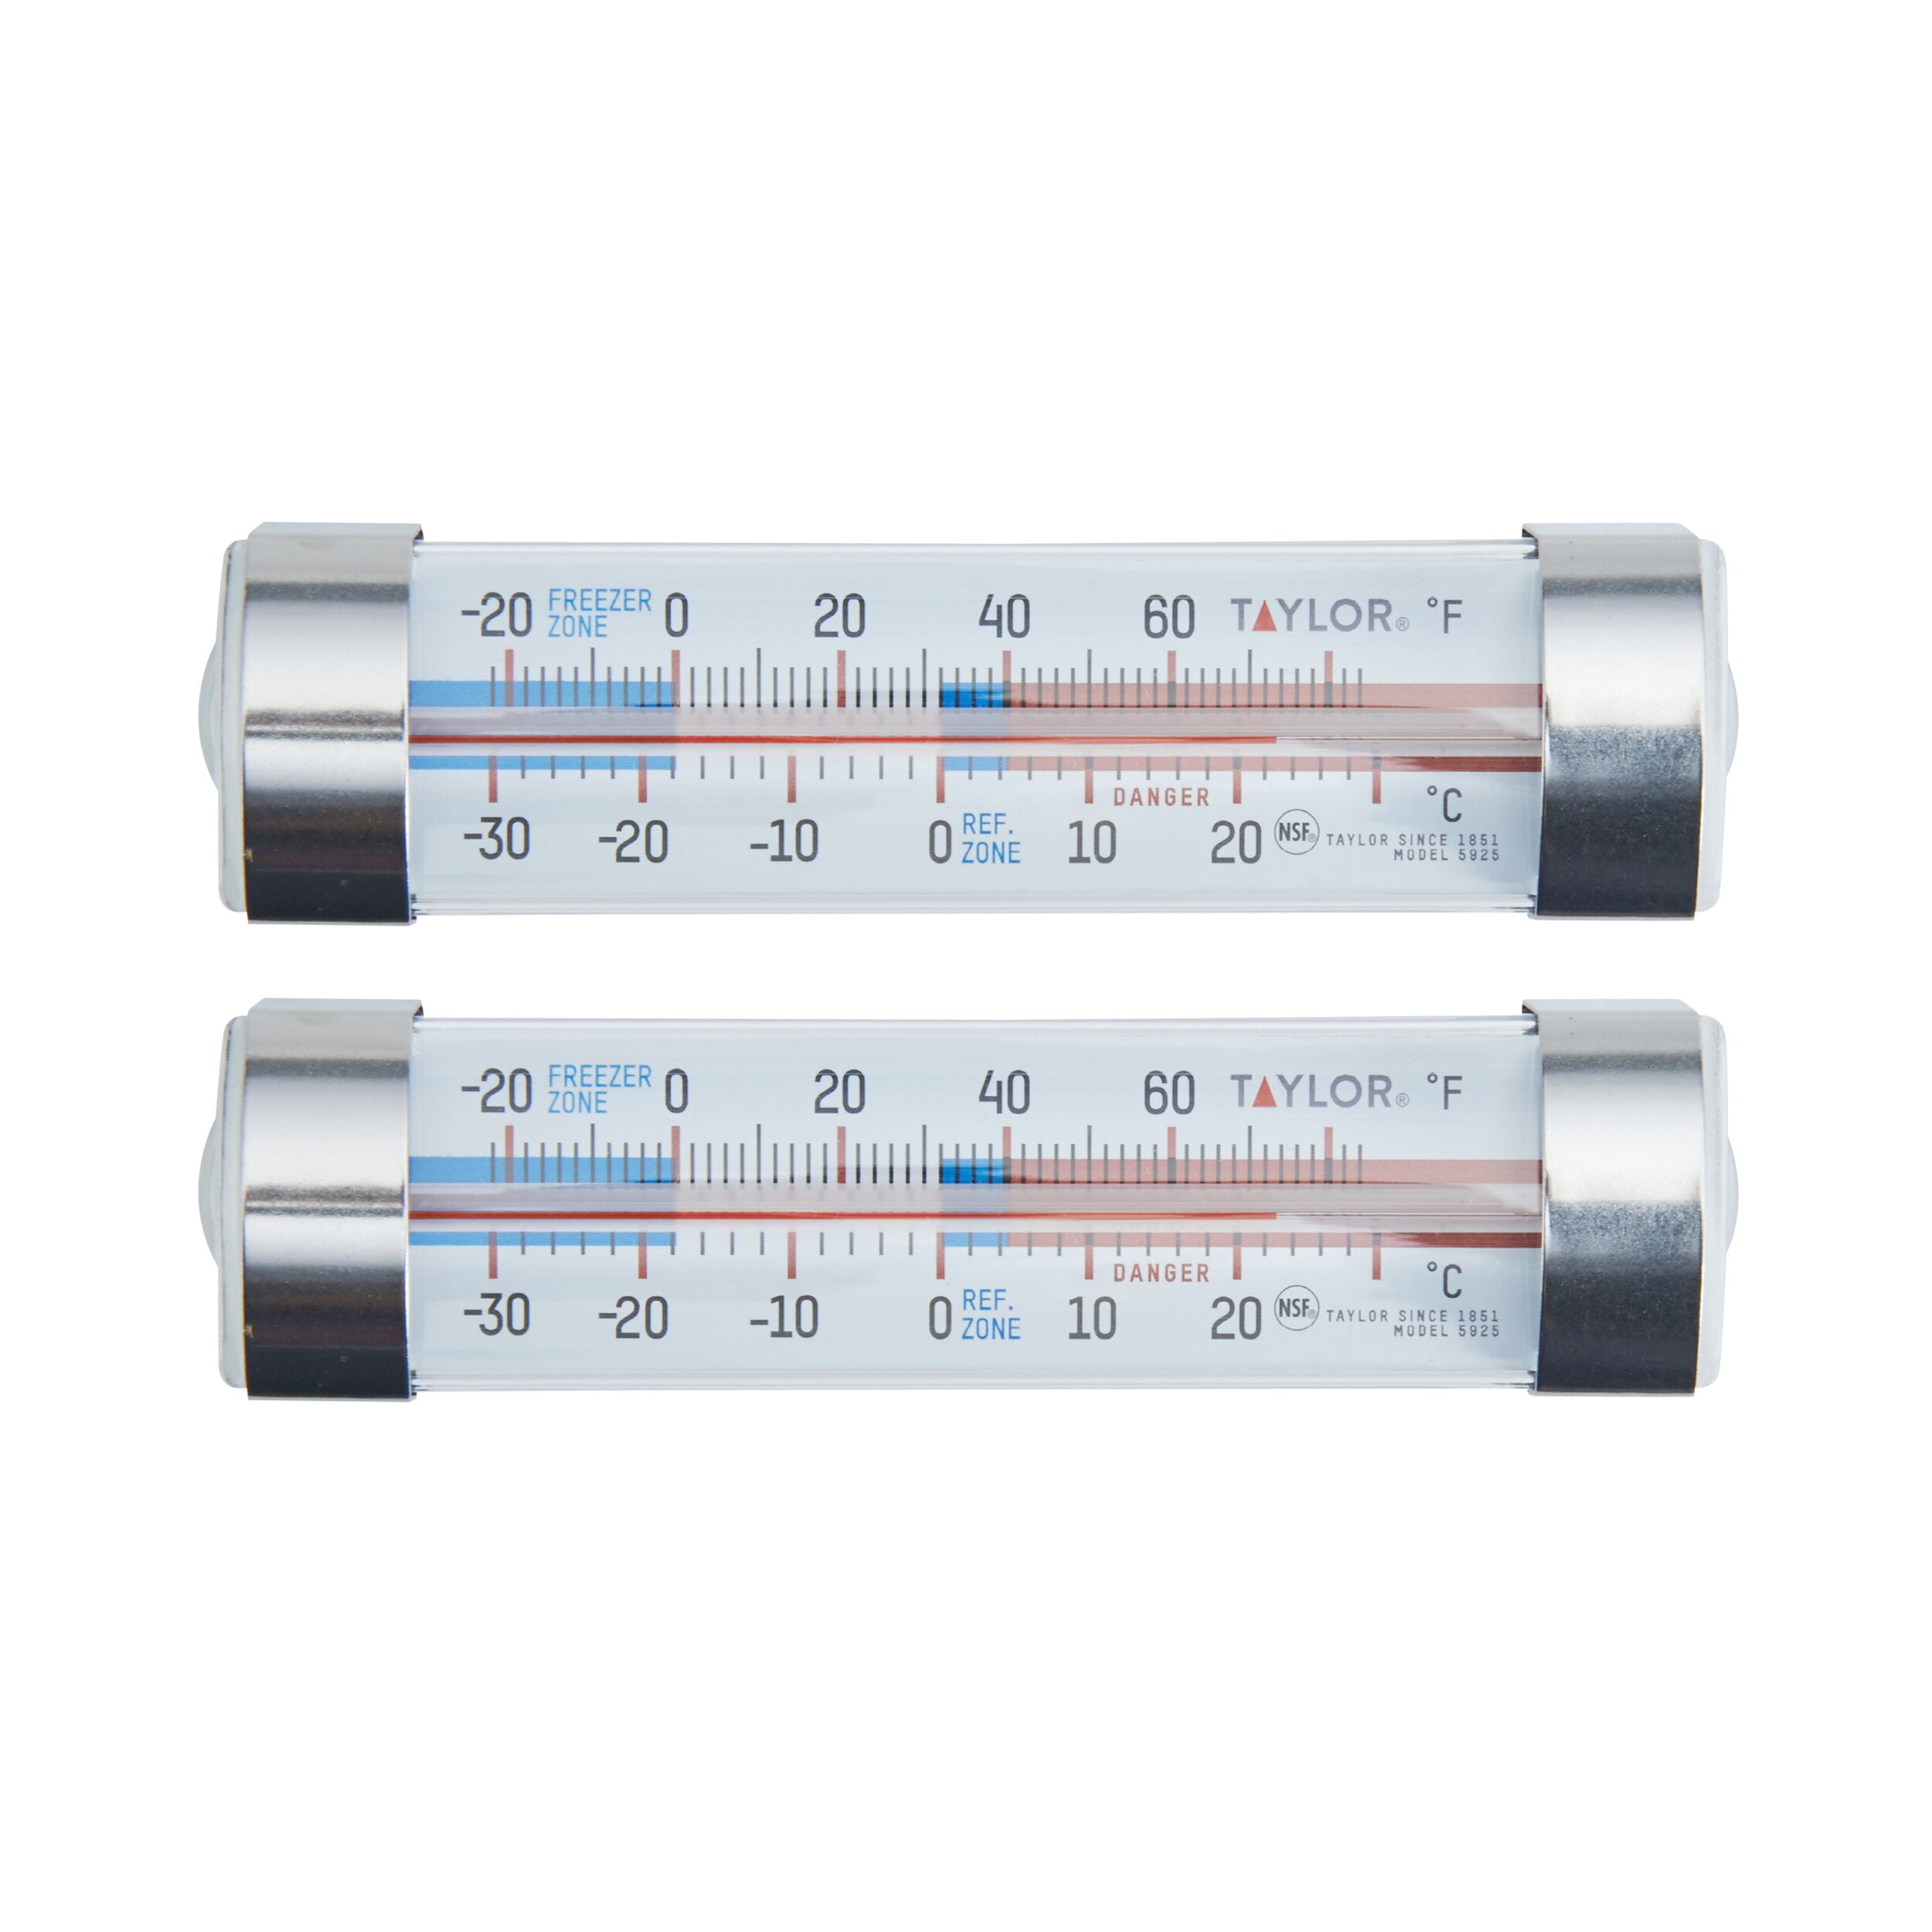
Your freezer’s built-in thermostat may display 0°F while actual temperatures run significantly higher—a critical distinction when diagnosing why water won’t freeze properly.
Use an appliance thermometer for accurate readings: Place it in a glass of vegetable oil (which freezes at approximately 31°F, similar to most foods) and leave it in the freezer’s center for 24 hours. Record readings at 6-hour intervals to capture temperature fluctuations. Warning: Temperatures above 10°F indicate serious problems requiring immediate attention.
Check temperature distribution by placing thermometers in multiple locations—top, bottom, front, and back. Significant variations (more than 5°F) indicate airflow problems rather than complete system failure. This targeted data helps pinpoint whether the issue affects the entire freezer or specific zones.
Preventive Maintenance Schedule for Reliable Freezing
Implementing regular maintenance prevents most freezing problems and extends your appliance’s lifespan by years. Follow this simple schedule to avoid future issues with water not freezing:
Monthly tasks:
– Visually inspect door seals for debris or damage
– Verify temperature settings remain at 0°F
– Remove frost accumulation exceeding 1/4 inch
– Ensure proper item arrangement for airflow
Quarterly tasks:
– Clean door gaskets with warm, soapy water
– Check door closing effectiveness using the paper test
– Verify freezer remains level using a bubble level
– Inspect exterior for signs of wear or damage
Semi-annual tasks:
– Clean condenser coils (located either behind rear panel or beneath unit)
– Check and replace charcoal filters if equipped
– Test evaporator fan operation and clearance
Repair vs. Replace: Cost Analysis for Freezer Components

When facing freezer repairs, consider these critical cost factors before investing in parts:
Affordable DIY repairs (under $100):
– Start relay replacement ($30-$80)
– Door gasket replacement ($30-$100)
– Basic coil cleaning (free with proper tools)
Moderate repairs ($100-$300):
– Evaporator fan motor replacement ($100-$200)
– Thermostat replacement ($50-$150)
Major repairs (consider replacement):
– Compressor replacement ($600-$1,400)
– Control board replacement ($200-$500)
Decision rule: If repair costs exceed 50% of a new unit’s price or your appliance is over 10 years old with multiple component failures, replacement typically makes better financial sense. For single-component failures on units under 10 years, repair usually proves more economical.
When to Call a Professional Immediately
Certain situations require expert service to prevent further damage or safety hazards:
Sealed system problems involving refrigerant leaks or compressor failure require EPA-certified technicians due to legal restrictions and specialized equipment needs. Warning: Attempting these repairs yourself violates federal law and creates environmental hazards.
Electrical component failures with visible burn marks, melting, or unusual odors indicate serious electrical issues requiring professional assessment. Never attempt repairs when you detect these warning signs.
Recurring problems after multiple DIY fixes suggest underlying issues needing professional diagnosis—particularly when the same component fails repeatedly.
A freezer not freezing water properly doesn’t have to mean expensive replacement or professional service. By systematically addressing door seals, airflow obstructions, and component functionality using these proven methods, you can restore proper freezing performance and protect your food investment. Implement the monthly maintenance routine described here to prevent most common freezing problems before they develop. When issues do arise, use the diagnostic steps to determine whether a simple DIY fix or professional service represents the most appropriate solution for your specific situation. Remember that consistent 0°F temperatures remain essential for food safety—don’t ignore persistent freezing problems that put your household at risk.