GE Upright Freezer Not Freezing? Fix It Fast
You open your GE upright freezer expecting to find solidly frozen food, but instead discover mushy, partially thawed items despite the unit running normally. The lights work, the display shows proper settings, and you hear the compressor humming—yet your freezer fails to maintain freezing temperatures. This frustrating disconnect between apparent operation and actual cooling performance affects thousands of GE upright freezer owners each year. When your GE upright freezer not freezing properly, the problem typically stems from one specific component in the refrigeration system failing while others continue functioning normally. This guide provides a systematic approach to diagnose and fix your GE upright freezer cooling problems, saving you from costly service calls and preventing food spoilage.
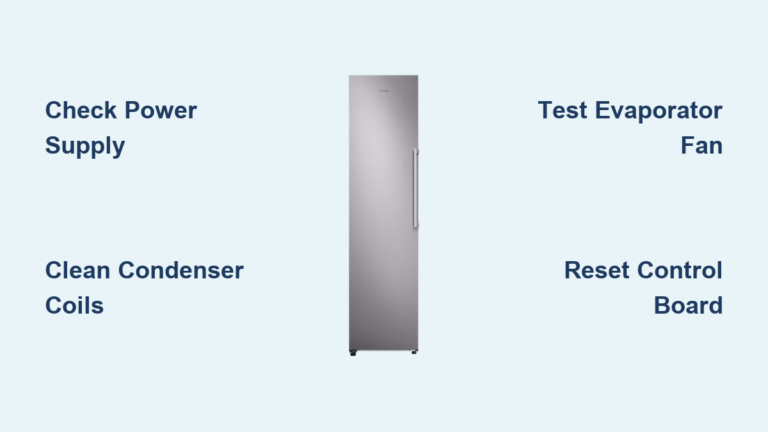
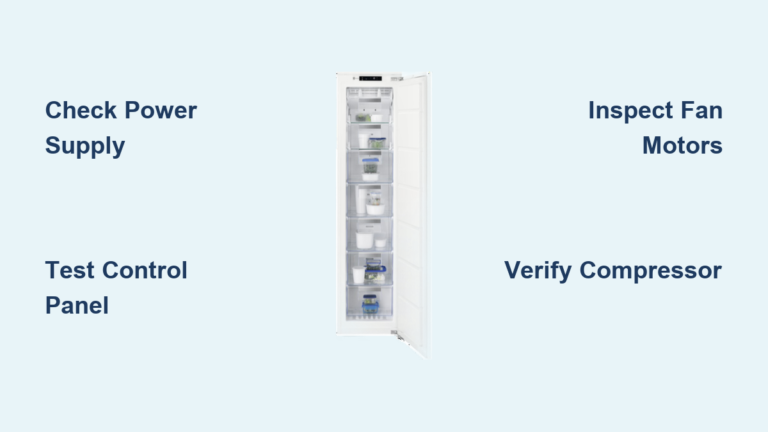
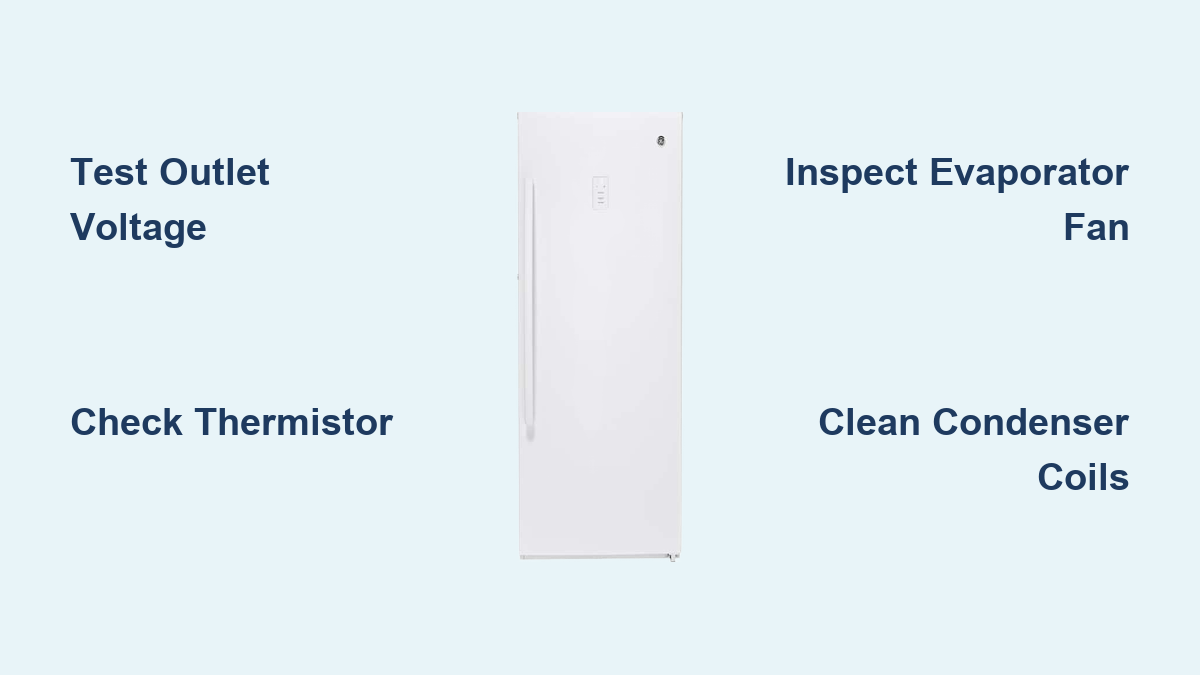
Verify Wall Outlet Power for Your GE Upright Freezer
Before dismantling your freezer, confirm it’s receiving proper electrical power—this simple check resolves many “not freezing” issues immediately. Many owners assume power is adequate because lights and displays function, but insufficient voltage can prevent critical cooling components from operating correctly while allowing basic electronics to work.
Test Receptacle Voltage with Multimeter
Use a multimeter set to AC voltage to test your wall outlet where the freezer plugs in. Insert probes into the slots and verify you’re getting 110-120 volts (standard for North American homes). If readings fall below 105 volts, your freezer won’t operate at full capacity. No multimeter? Plug a lamp or phone charger into the same outlet to verify power—simple but effective.
Check Circuit Breaker and GFCI Protection
Locate your electrical panel and identify the breaker controlling your freezer circuit. A tripped breaker sits in a middle position—not fully on or off. Flip it completely off, then firmly back on. Many kitchen circuits use GFCI outlets that can trip unnoticed; these have test and reset buttons on the faceplate. Press reset to restore power, but consider relocating your freezer to a non-GFCI circuit since these can trip during normal operation, causing undetected temperature rises.
Diagnose Faulty Thermistor in GE Upright Freezer
The thermistor (temperature sensor) constantly monitors internal conditions and tells your control board when cooling is needed. When this small component fails, your GE upright freezer not freezing properly despite running normally because the system lacks accurate temperature data.
Locate and Test Thermistor Resistance
Find your thermistor mounted on the rear freezer wall near the evaporator coils—typically behind a small access panel. Disconnect power, then unplug the sensor’s two-wire connector. Set your multimeter to measure resistance (ohms) and connect probes to the thermistor terminals. At room temperature (70°F), expect 5,000-15,000 ohms. For verification, place the sensor in ice water; resistance should jump to 30,000+ ohms as it cools.
Replace Failed Temperature Sensor
If your thermistor shows infinite resistance (no continuity) or fails to change resistance with temperature, it needs replacement. Critical tip: Match the replacement part exactly to your model number—thermistors vary by resistance curve. This $20-$40 part often solves mysterious cooling failures in GE upright freezers like the FUF14SVARR.
Fix GE Upright Freezer Control Board Display Errors
Your freezer’s control board acts as the central command center, receiving temperature data and activating cooling components. When display segments malfunction or show erratic readings, the board may be failing to regulate temperature properly—even if the freezer appears operational.
Identify Control Board Failure Patterns
Look for these red flags indicating board problems:
– Partially illuminated temperature displays showing “888” or incomplete numbers
– Erratic temperature fluctuations despite consistent external conditions
– Compressor cycling on/off too frequently or not starting when needed
– Unresponsive control panel buttons despite power indicators working
Pro tip: Before replacing the control board (typically $100-$200), verify all other components first—thermistors and start relays fail more frequently and are less expensive to replace.
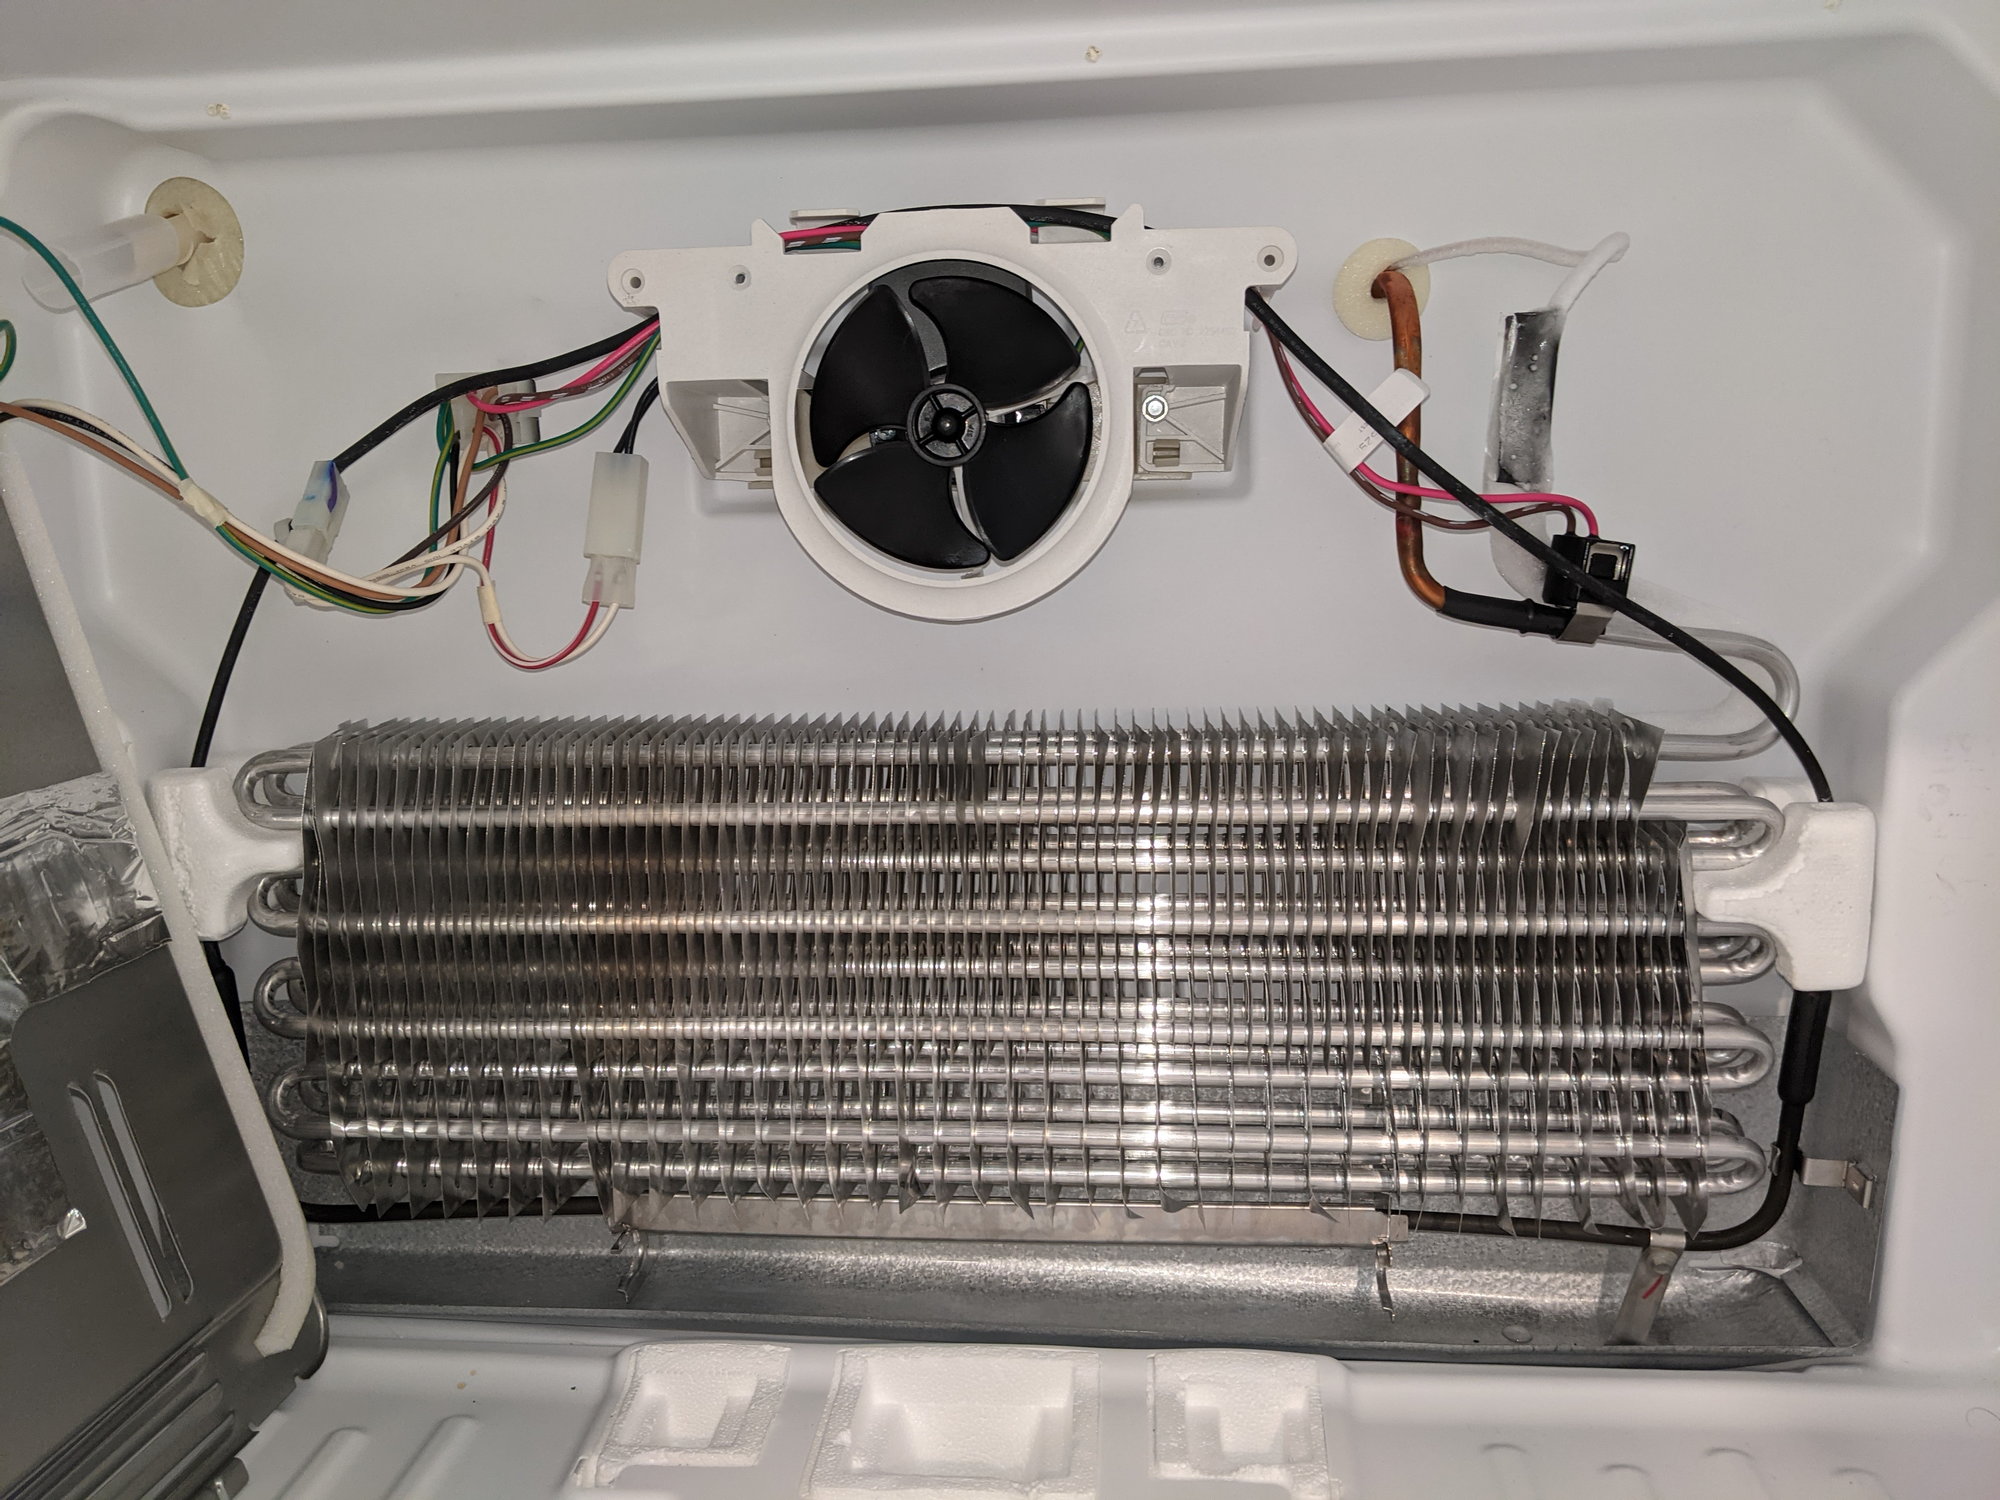
Repair GE Upright Freezer Evaporator Fan Motor Issues
The evaporator fan circulates cold air from the coils throughout your freezer compartment. When this fan fails, the bottom may stay frozen while upper sections warm dangerously—creating the classic “GE upright freezer not freezing evenly” problem.
Test Fan Operation and Door Switch
Access the fan behind the rear interior panel and observe operation when someone closes the door (or manually presses the door switch). The fan should activate immediately. If silent, test the door switch with a multimeter for continuity—it’s a common failure point that costs under $15 to replace. Listen for grinding or clicking noises indicating failing fan bearings.
Replace Faulty Evaporator Fan Motor
If the fan won’t run despite proper door switch function, replace the motor (typically $50-$80). Warning: Disconnect power before attempting replacement—these fans operate on line voltage. Most GE models require only screw removal and wire connector disconnection for replacement.
Troubleshoot GE Upright Freezer Compressor Start Problems

The compressor circulates refrigerant through your system. When it fails to start properly, your freezer runs but doesn’t cool—creating the frustrating scenario where your GE upright freezer not freezing despite apparent operation.
Test Start Relay and Overload Protector
Locate the start relay on the compressor (usually a small black or white cube). Remove it and test for continuity between terminals with a multimeter. No continuity or a burnt smell indicates failure—replace this $30-$50 part. Check the overload protector (metal disc attached to compressor) for continuity; no continuity means it’s tripped from overheating.
Assess Compressor Health
If the start relay tests good but compressor remains silent, test windings with a multimeter. Three terminals should show specific resistance values between them (typically 2-10 ohms). Infinite resistance on any winding indicates internal failure. Critical note: Compressor replacement usually costs more than a new freezer—consider replacement if your unit is over 8 years old.
Clean Dusty Condenser Coils on GE Upright Freezer
Dirty condenser coils force your compressor to work harder, reducing cooling efficiency until your GE upright freezer not freezing properly. This common issue worsens gradually, often going unnoticed until cooling fails completely.
Locate and Access Coil System
Most GE upright freezers have coils either:
– Behind the unit (requiring 4-6 inches clearance from wall)
– Underneath behind a front kickplate
– Built into cabinet walls (self-cleaning models)
Pull the freezer away from the wall and inspect for dust accumulation—thick buildup severely impacts performance.
Proper Coil Cleaning Technique
Use a soft-bristled coil brush to gently remove debris, brushing parallel to fins to avoid damage. Follow with a vacuum to remove loosened particles. Never use water on electrical components. Perform this simple maintenance every 6 months to maintain optimal cooling performance.
Clear Ice Buildup from GE Upright Freezer Evaporator Coils
Excessive frost on evaporator coils blocks airflow, causing your GE upright freezer not freezing properly despite running continuously. This problem often develops gradually as the automatic defrost system fails.
Manual Defrost and Defrost System Testing
Unplug the freezer and allow ice to melt completely (4-8 hours). Once clear, test defrost components:
– Defrost heater: Check for continuity (should read 15-50 ohms)
– Defrost thermostat: Should show continuity when cold, none when warm
– Defrost timer: Manually advance to test defrost cycle activation
Replace any failed component—most cost $20-$60 and install in 30 minutes.
Reset GE Upright Freezer Electronics After Power Fluctuations
Temporary electronic glitches can make your GE upright freezer not freezing properly despite no hardware failure. A hard reset often resolves these issues immediately.
Complete Power Cycle Procedure
Disconnect power for at least 5 minutes—this allows capacitors to fully discharge and control boards to reset. Either unplug directly or flip the circuit breaker. Wait the full 5 minutes before restoring power. Allow 4-6 hours for temperature stabilization before retesting.
Pro tip: If your freezer has an electronic control lock feature, simultaneously press and hold the “Freezer” and “Light” buttons for 3 seconds after power restoration to clear any locked settings.
When to Call a Technician for GE Upright Freezer Repairs
Some issues require professional expertise to avoid safety hazards or further damage. Call a technician when:
- Refrigerant appears low (hissing sounds, oil residue)
- Compressor replacement is needed (requires EPA certification)
- Electrical components show burn damage
- Multiple components fail simultaneously in units over 8 years old
Cost reality check: Repairs exceeding 50% of a new unit’s cost rarely make economic sense for freezers older than 10 years.
Prevent GE Upright Freezer Cooling Failures with Monthly Maintenance
Regular upkeep prevents most “GE upright freezer not freezing” problems before they occur. Implement these simple practices:
- Monthly: Check for frost buildup (more than ¼ inch indicates defrost system issues)
- Every 6 months: Clean condenser coils and verify proper clearance
- Annually: Test door seals by closing on dollar bill—should resist easy removal
- Immediately: Address unusual noises or temperature fluctuations
Pro tip: Keep a freezer thermometer visible at eye level—it provides instant feedback on actual temperatures, not just what the display claims. This simple $10 tool catches developing problems before food spoils.
By following this systematic approach, you’ll diagnose and fix most GE upright freezer not freezing problems efficiently. Remember that component failures often occur in sequence—fixing one issue may reveal another weakened component. When in doubt, consult your model-specific service manual before proceeding with repairs. Proper maintenance and timely attention to early warning signs will keep your GE upright freezer performing reliably for years to come.